|
Welcome,
Guest
|
TOPIC: 1973 Century Resorter 16 Restore
Re:1973 Century Resorter 16 Restore 7 years 9 months ago #130848
|
Please Log in or Create an account to join the conversation.
CC-John
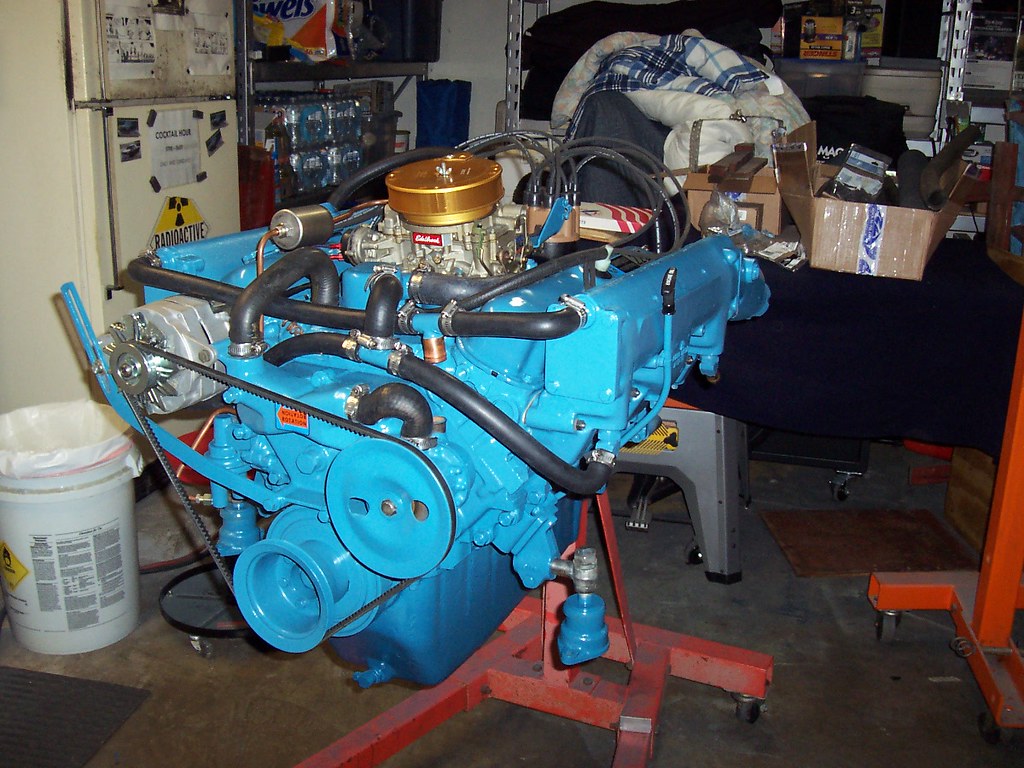
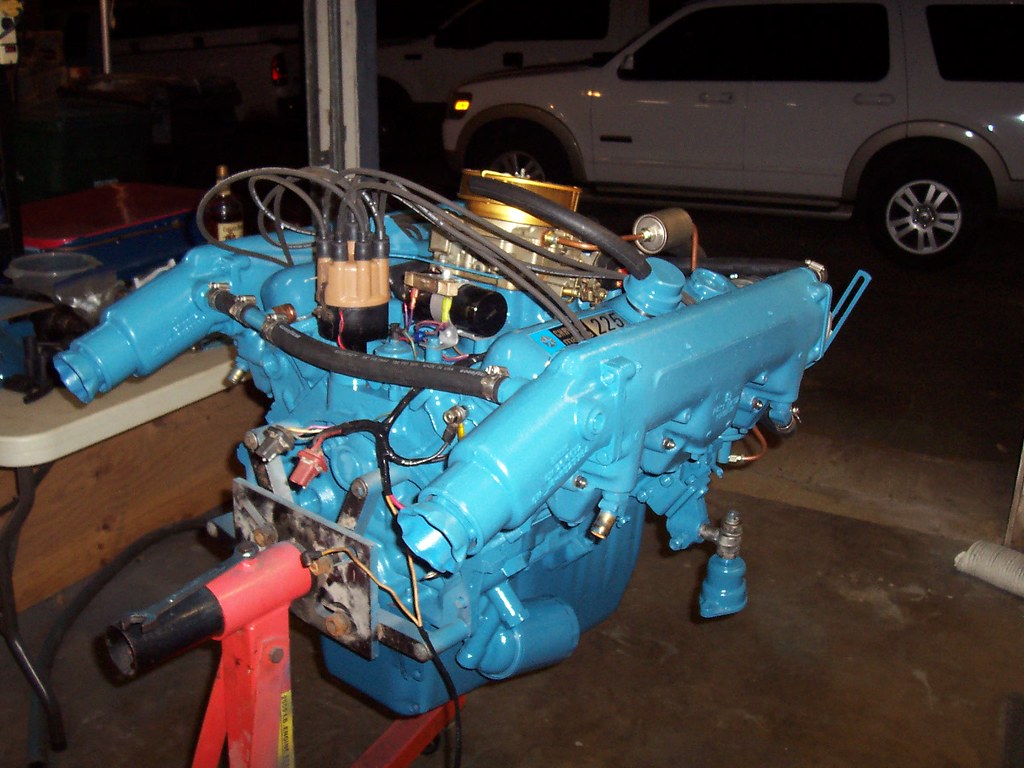
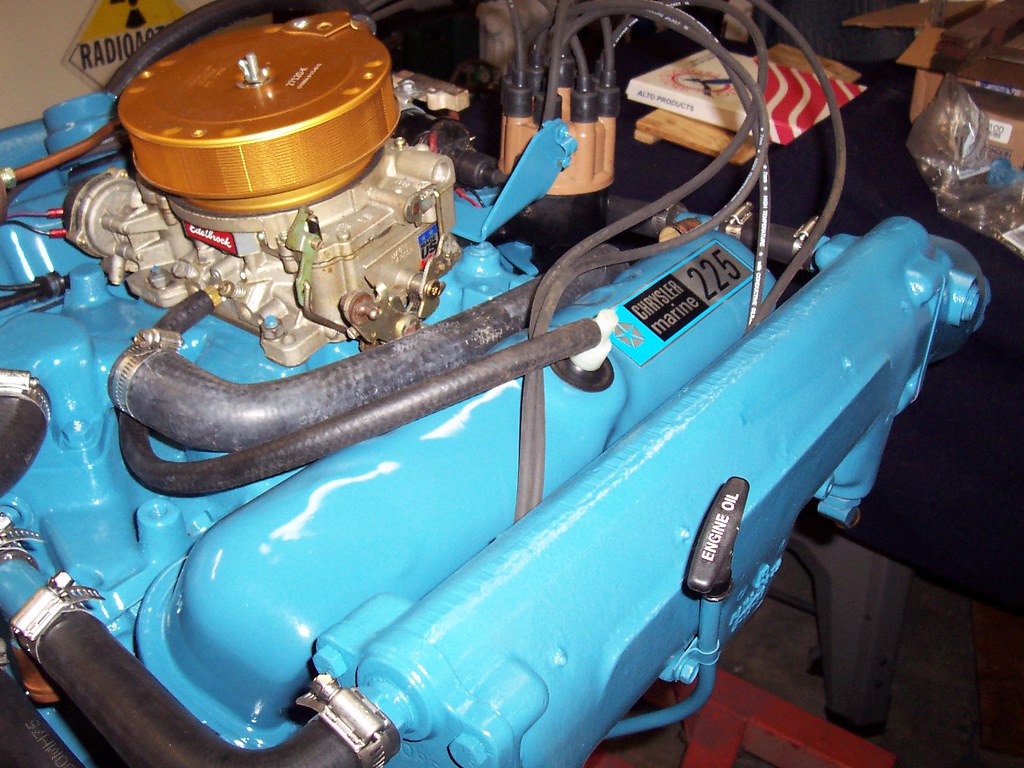
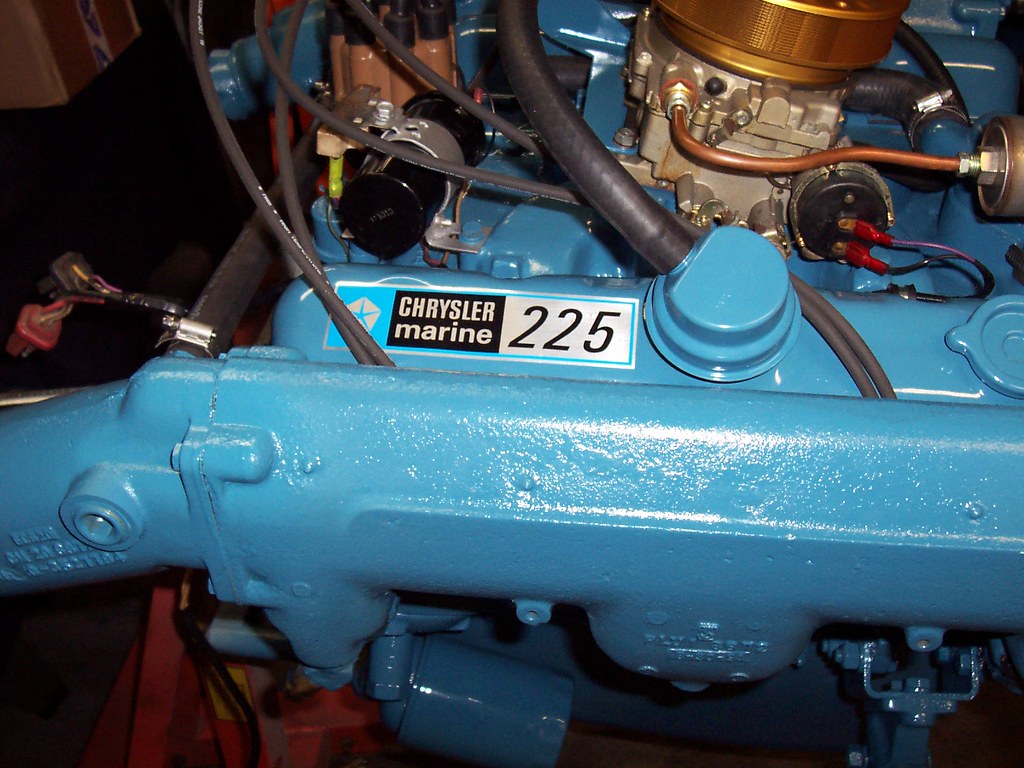
1973 Century Resorter 16, 225HP Chrysler LM318 1978 Chris Craft 251 Catalina Express, 330HP Pleasurecraft 350 (383 Stroker) |
Re:1973 Century Resorter 16 Restore 7 years 9 months ago #130855
|
|
Please Log in or Create an account to join the conversation. |

Re:1973 Century Resorter 16 Restore 7 years 9 months ago #130858
|
Please Log in or Create an account to join the conversation. |

Re:1973 Century Resorter 16 Restore 7 years 9 months ago #130860
|
Please Log in or Create an account to join the conversation.
CC-John
1973 Century Resorter 16, 225HP Chrysler LM318 1978 Chris Craft 251 Catalina Express, 330HP Pleasurecraft 350 (383 Stroker) |
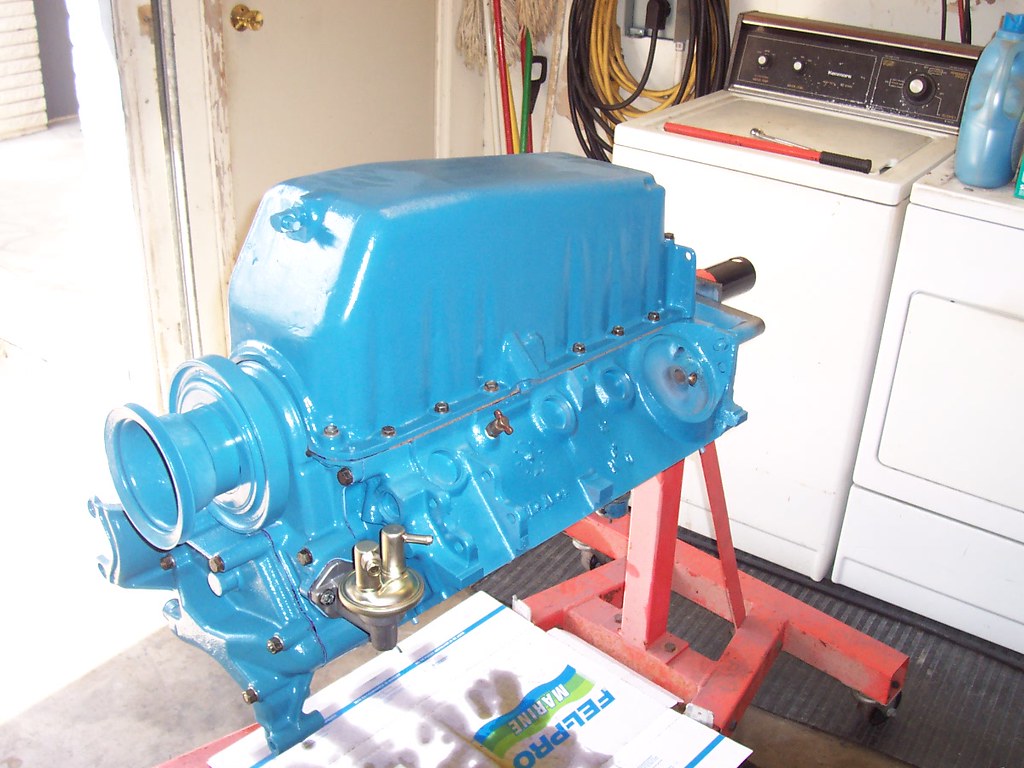
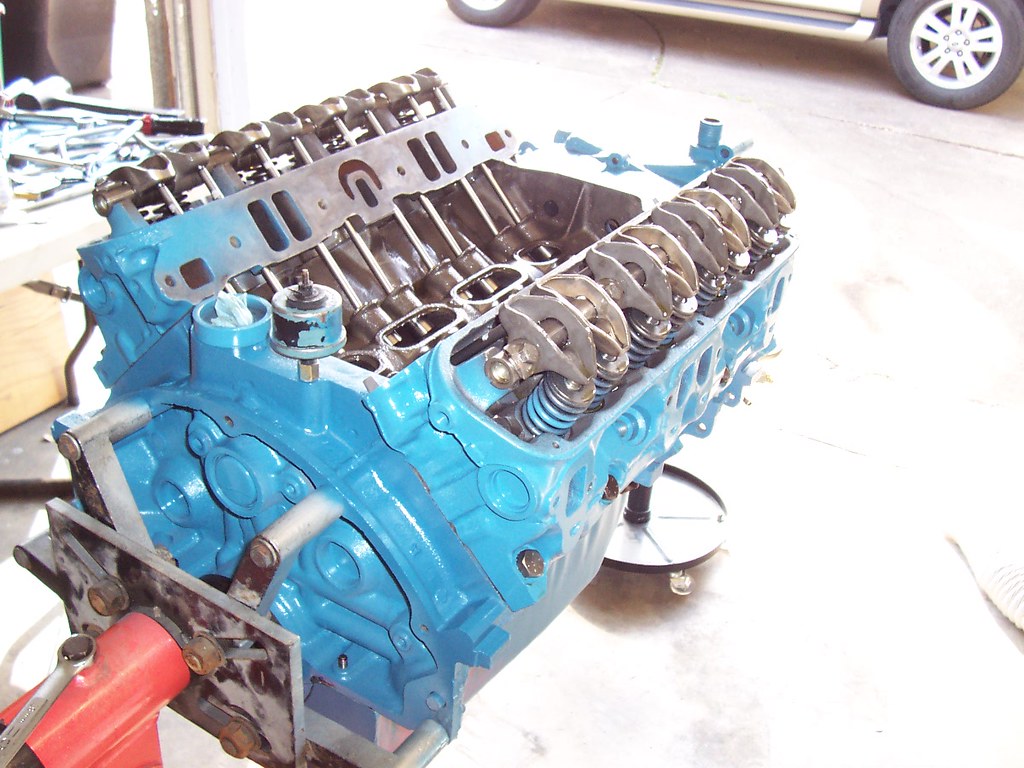
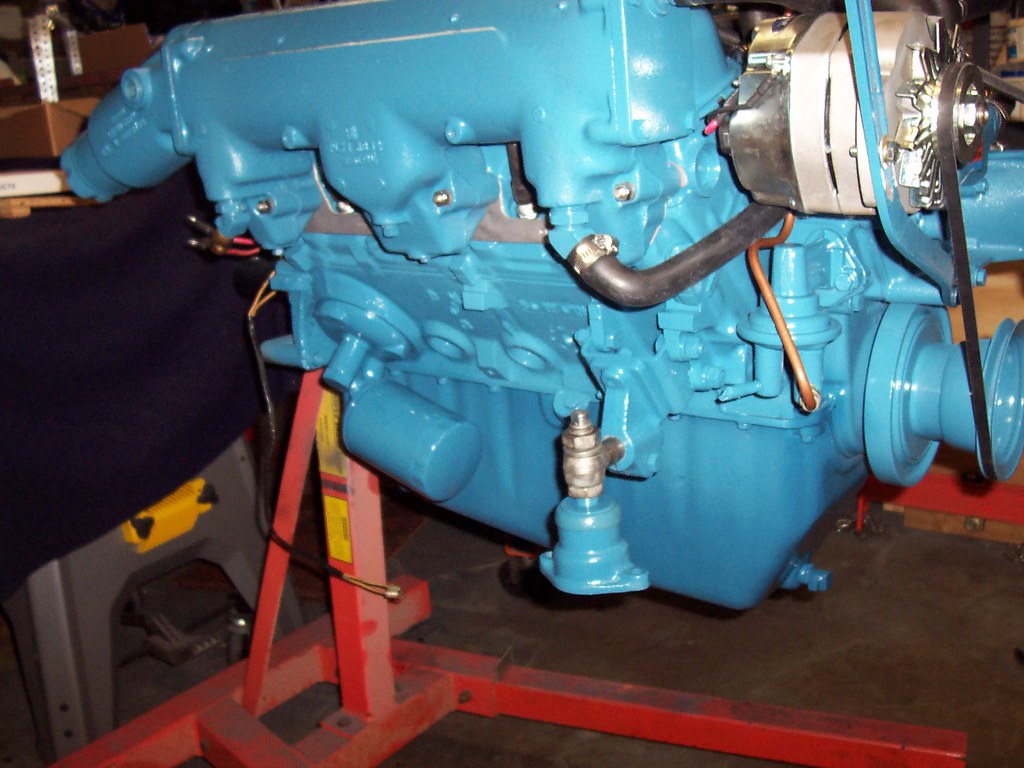
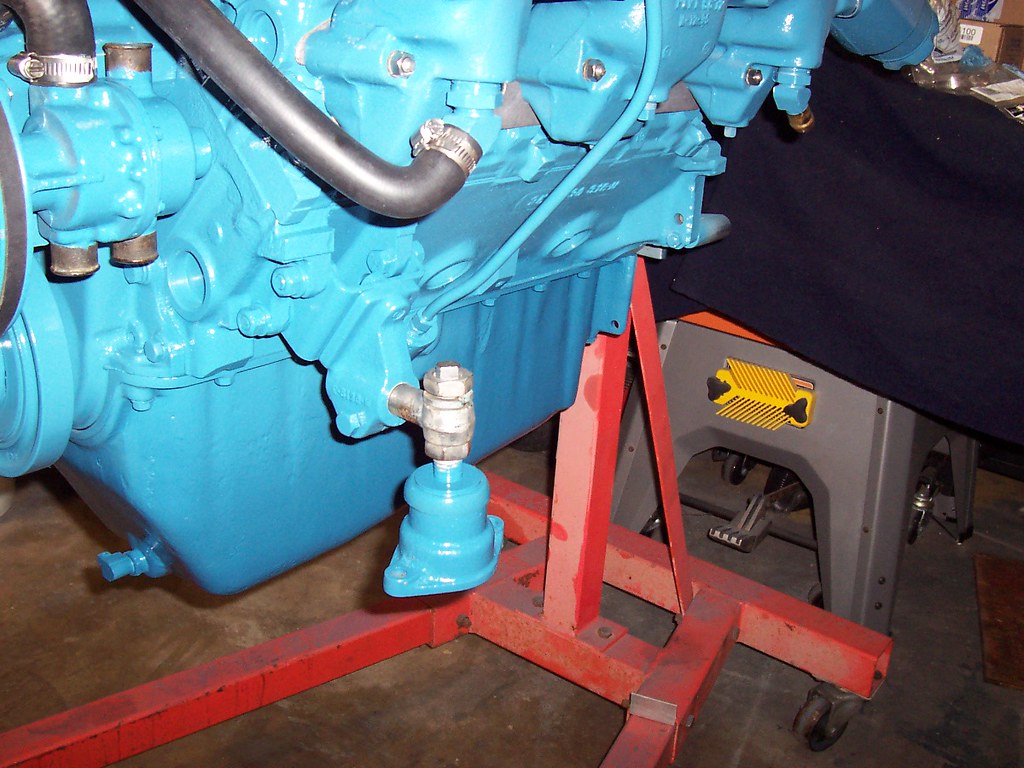
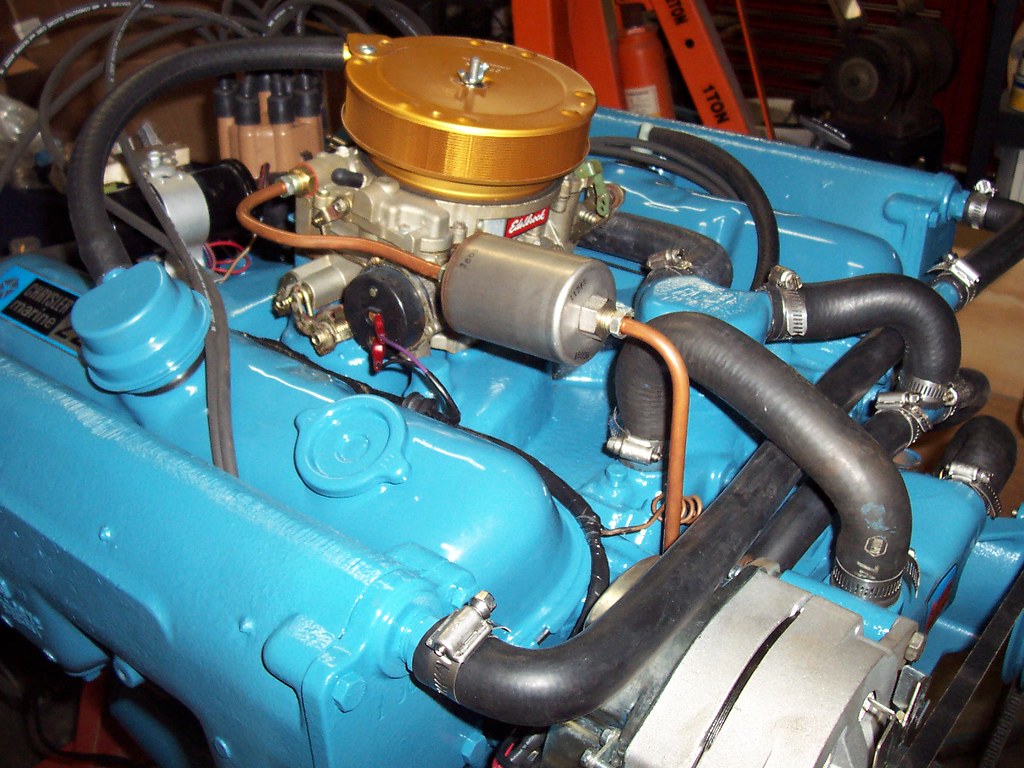
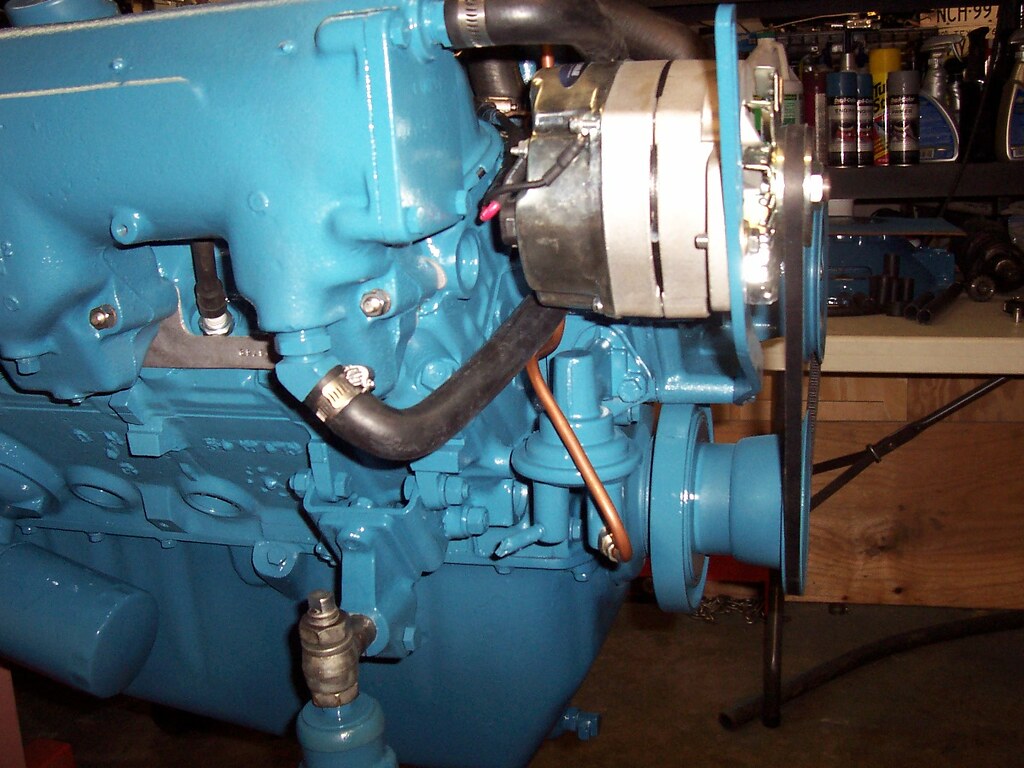
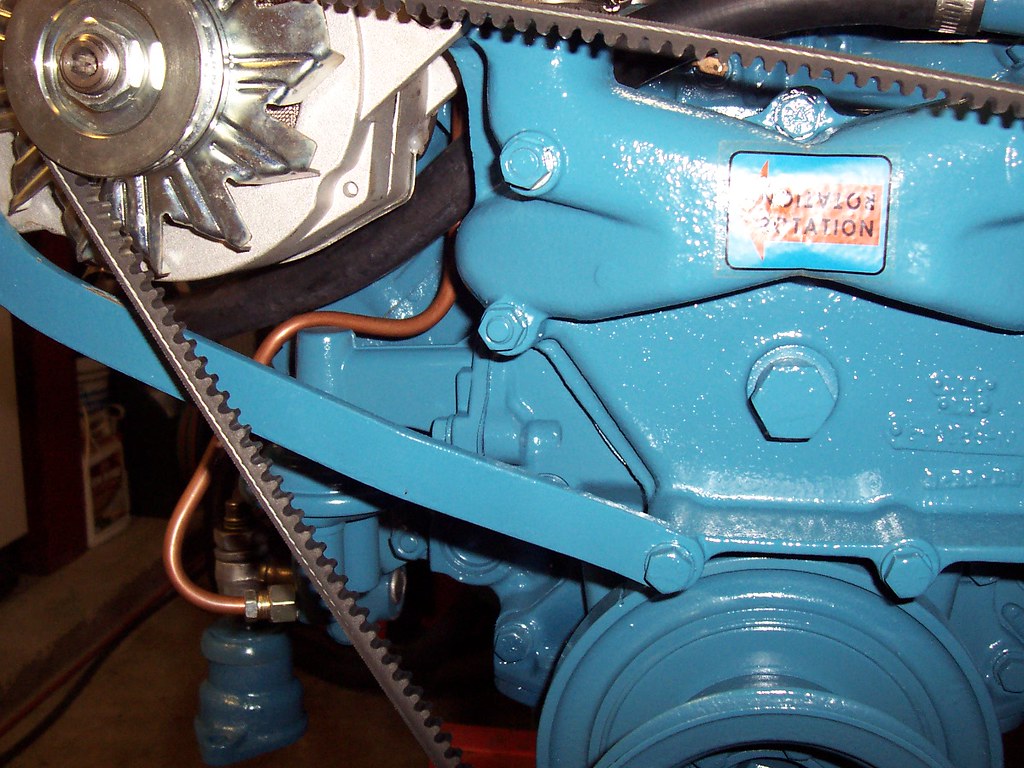
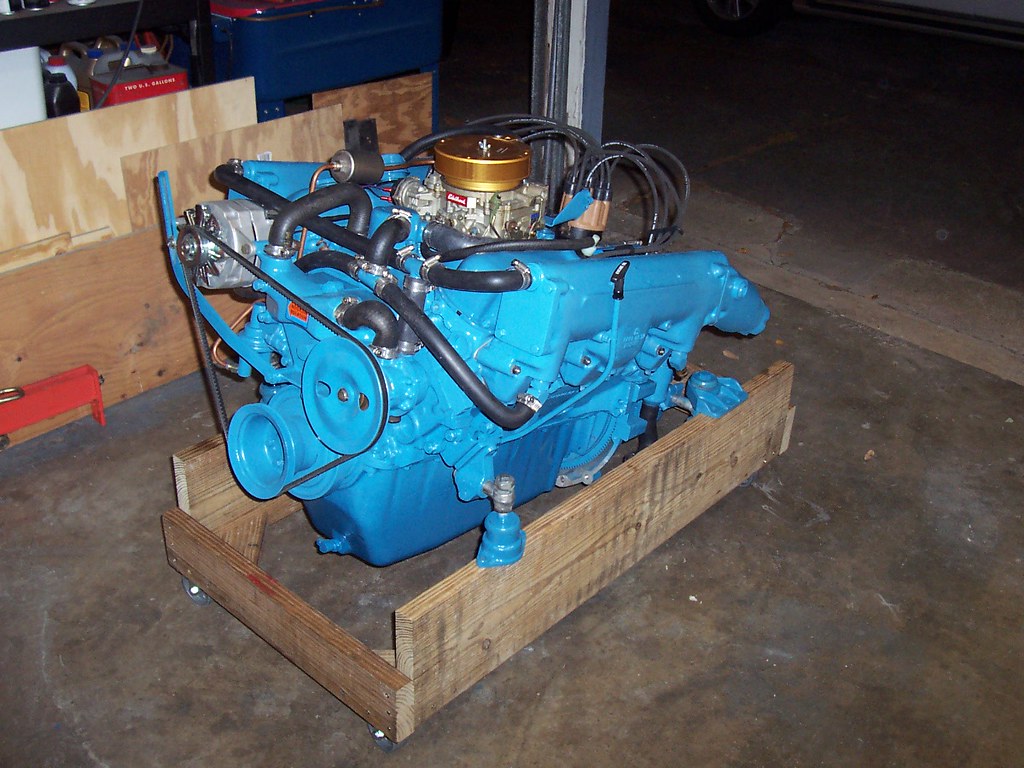
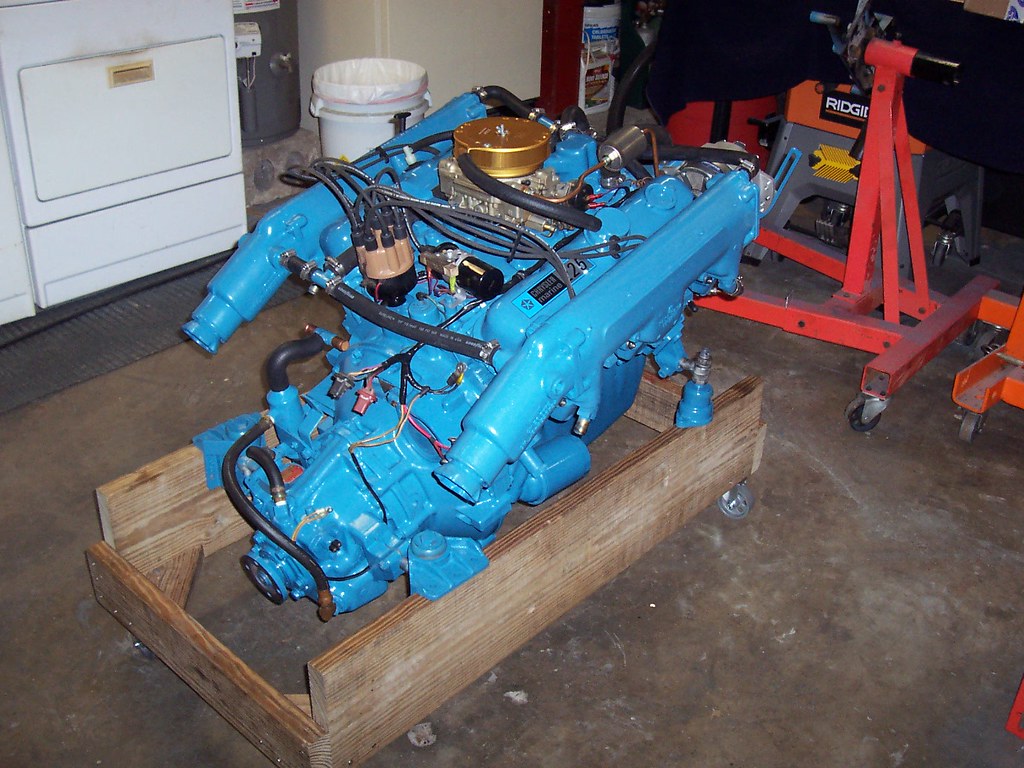
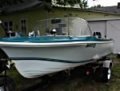
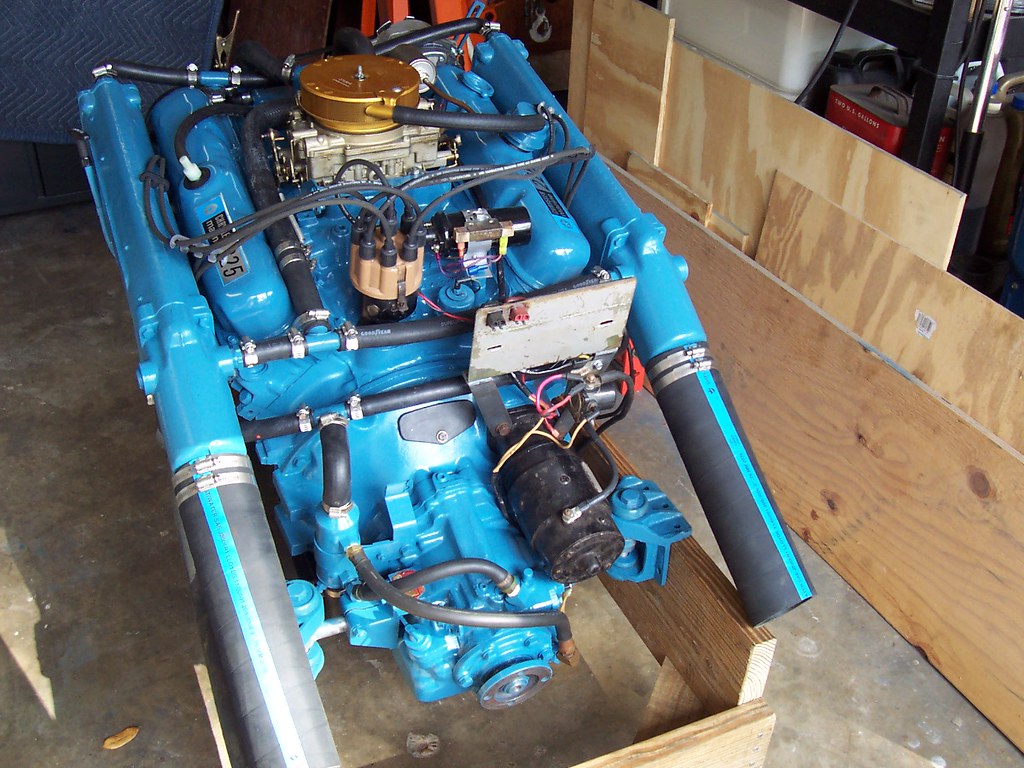
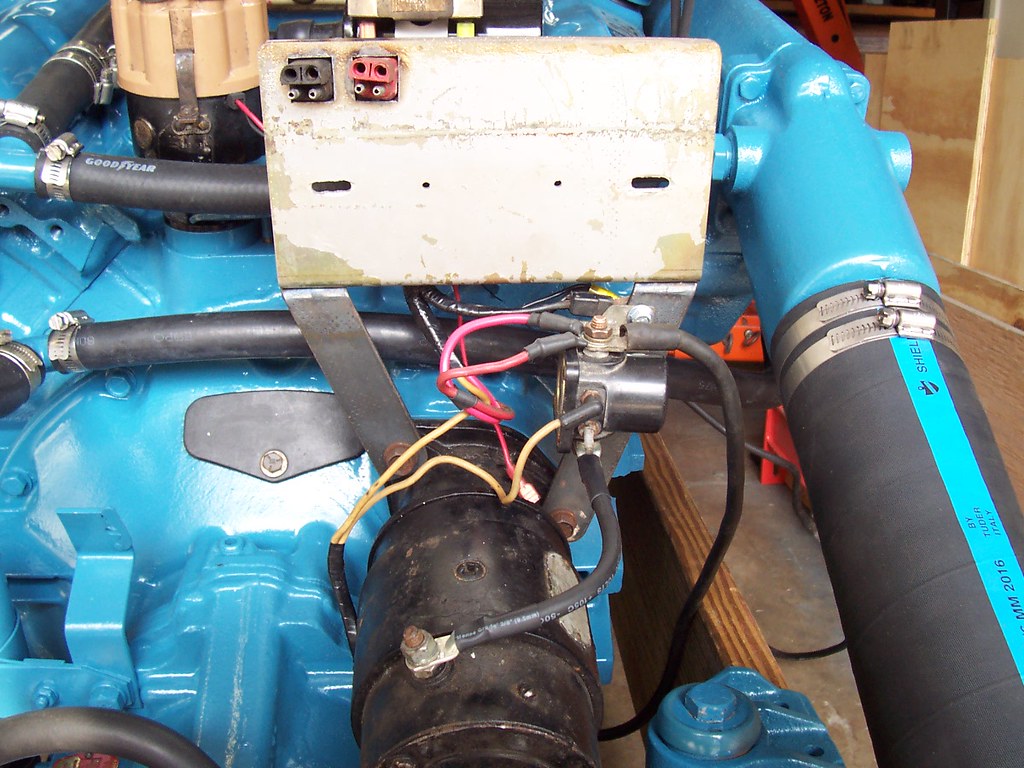
1973 Century Resorter 16 Restore 7 years 9 months ago #130894
|
Please Log in or Create an account to join the conversation.
CC-John
1973 Century Resorter 16, 225HP Chrysler LM318 1978 Chris Craft 251 Catalina Express, 330HP Pleasurecraft 350 (383 Stroker) |
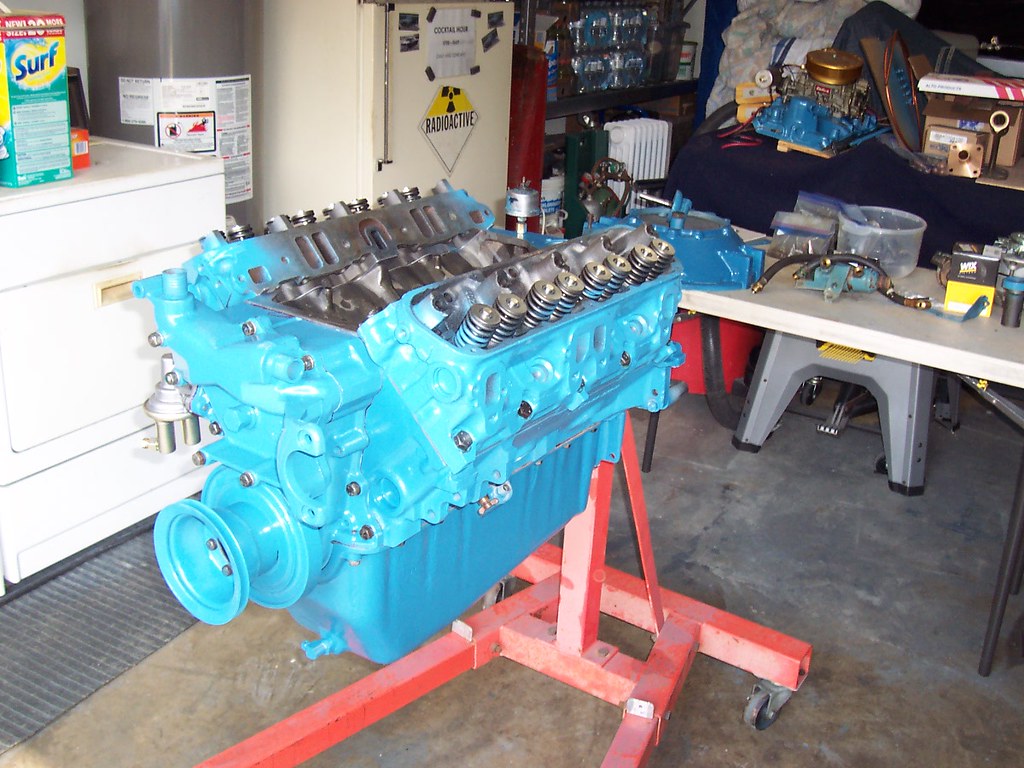
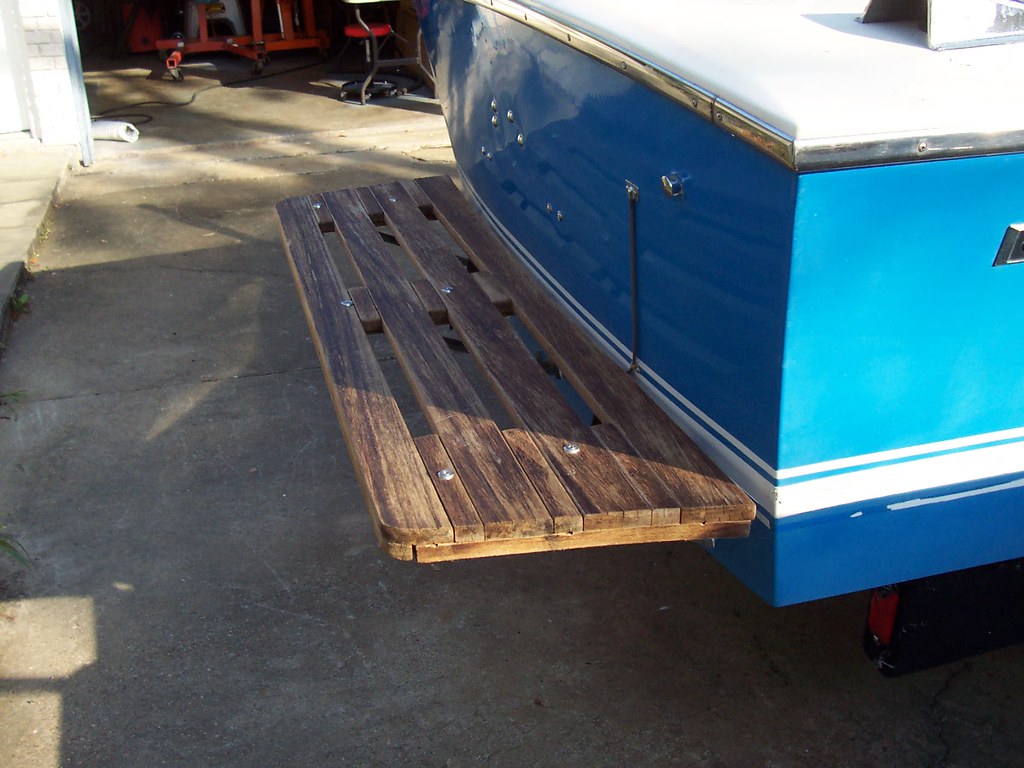
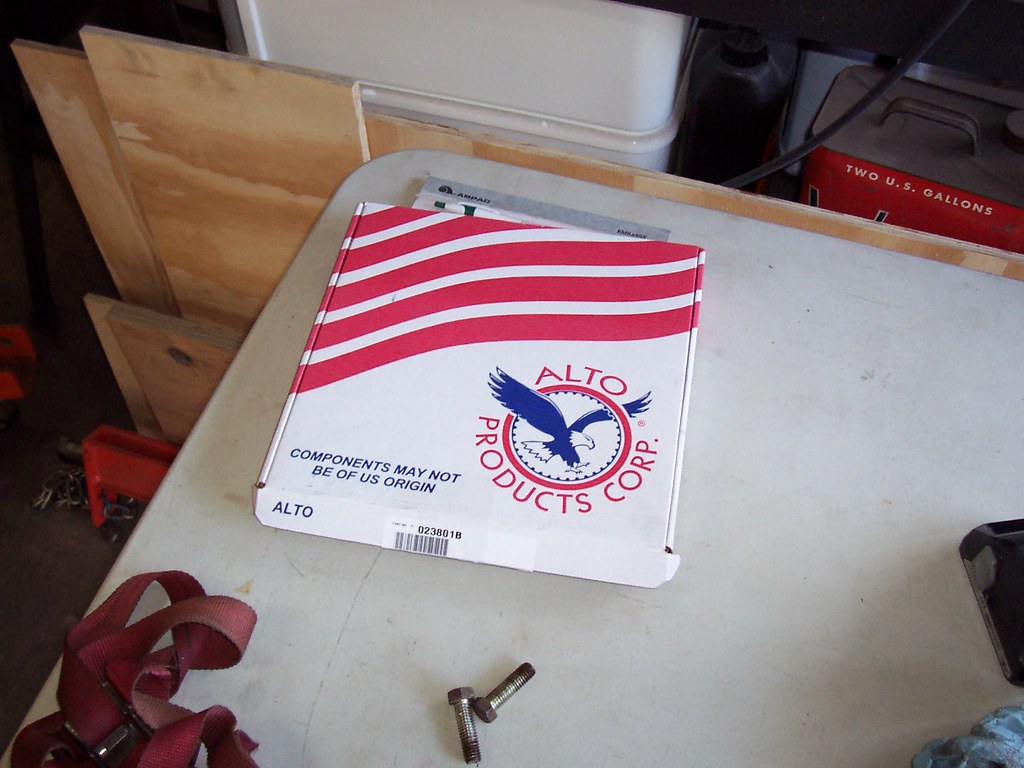
1973 Century Resorter 16 Restore 7 years 9 months ago #130895
|
Please Log in or Create an account to join the conversation.
CC-John
1973 Century Resorter 16, 225HP Chrysler LM318 1978 Chris Craft 251 Catalina Express, 330HP Pleasurecraft 350 (383 Stroker) |
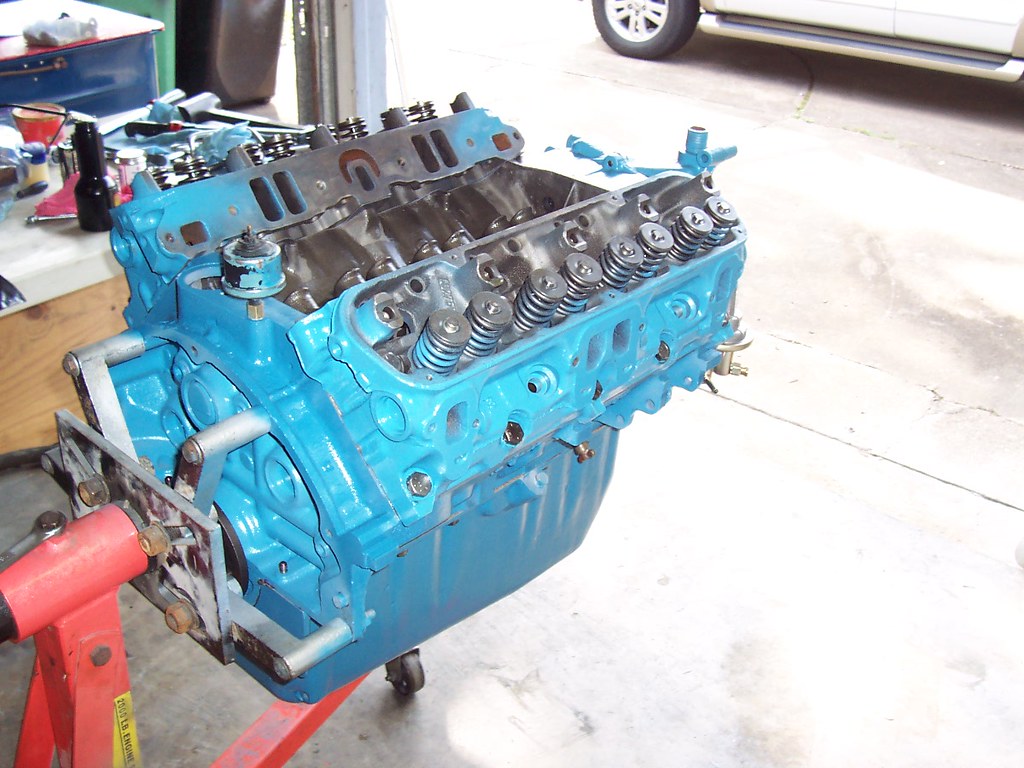
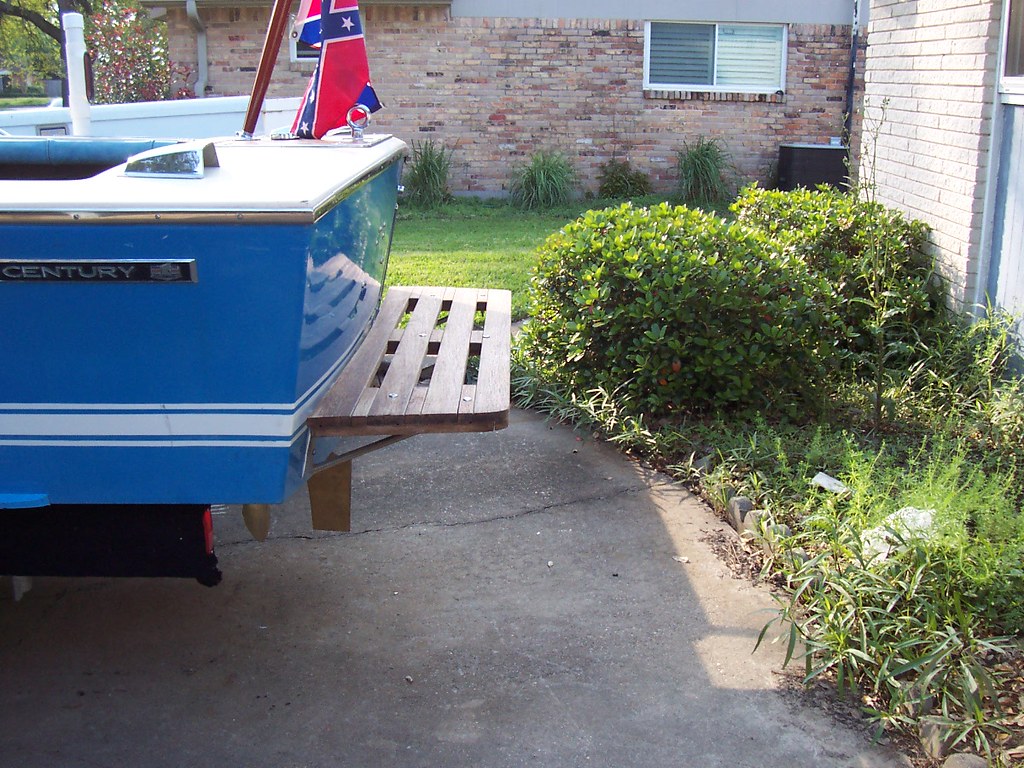
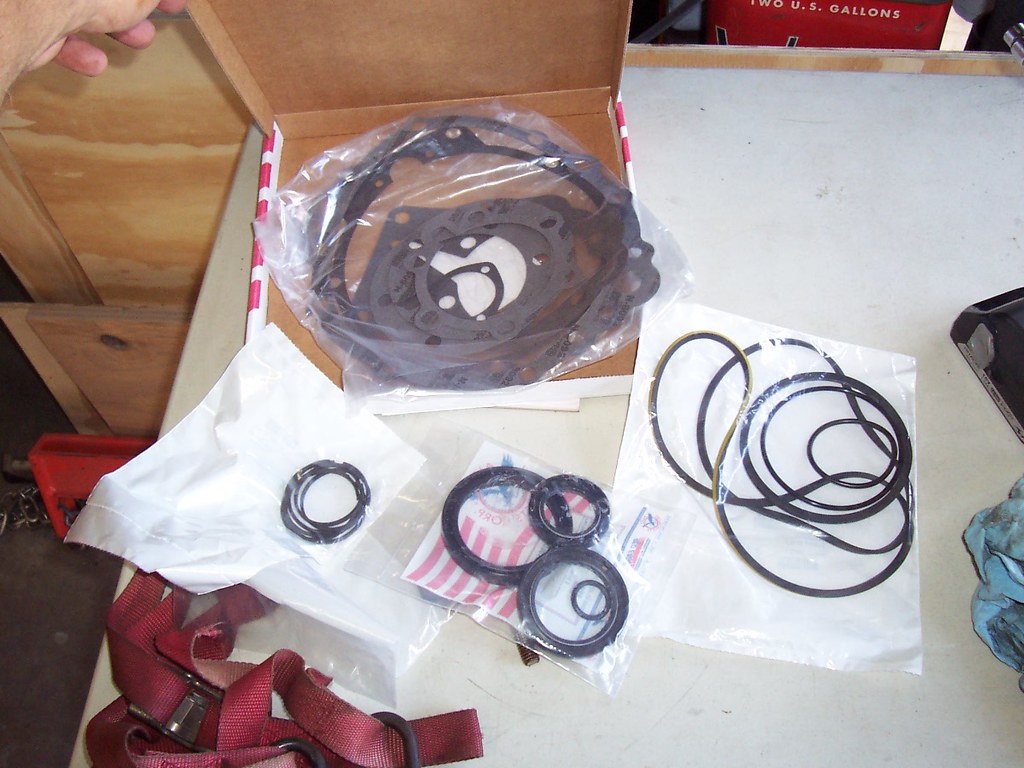
1973 Century Resorter 16 Restore 7 years 9 months ago #130896
|
Please Log in or Create an account to join the conversation.
CC-John
1973 Century Resorter 16, 225HP Chrysler LM318 1978 Chris Craft 251 Catalina Express, 330HP Pleasurecraft 350 (383 Stroker) |
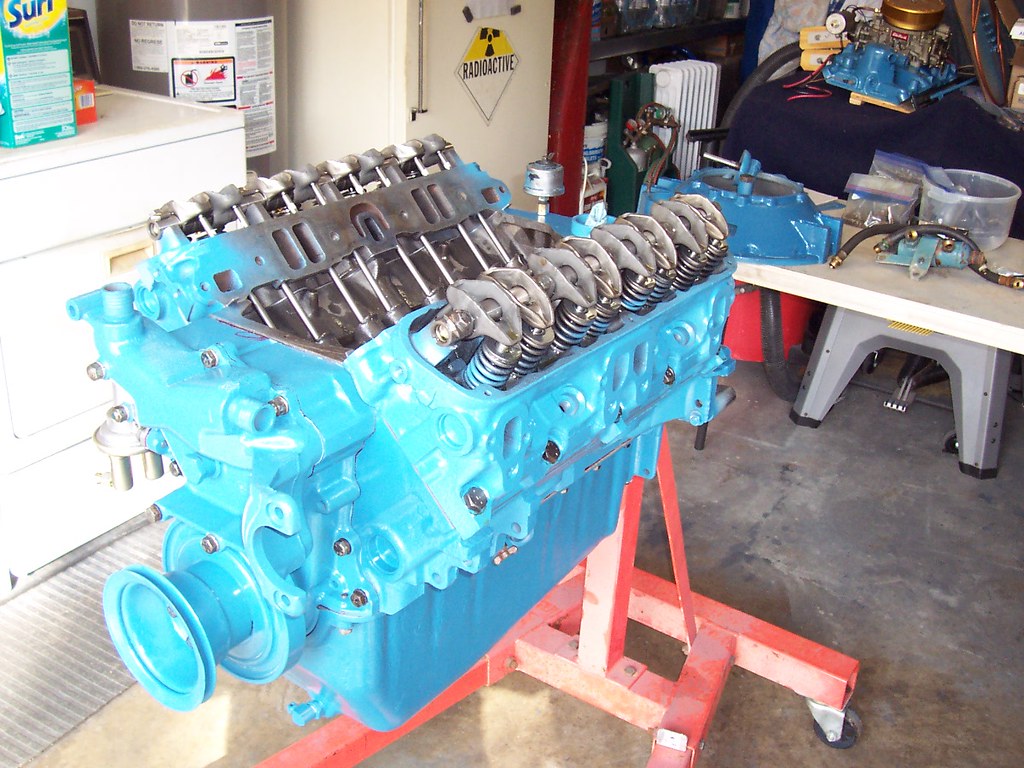
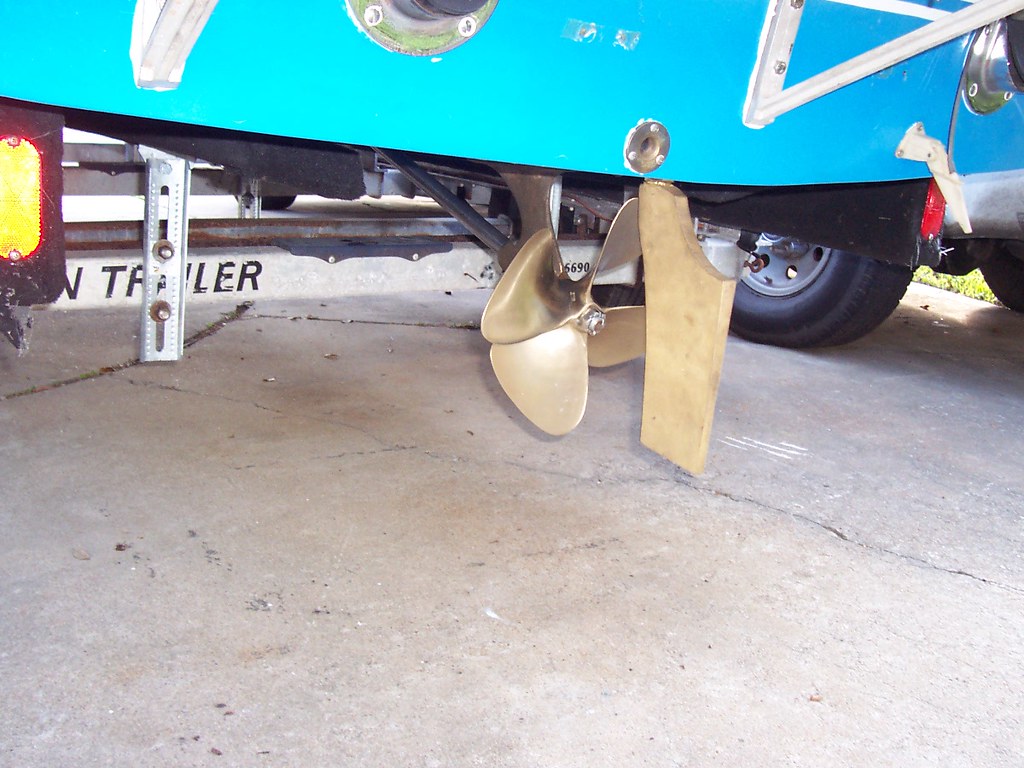
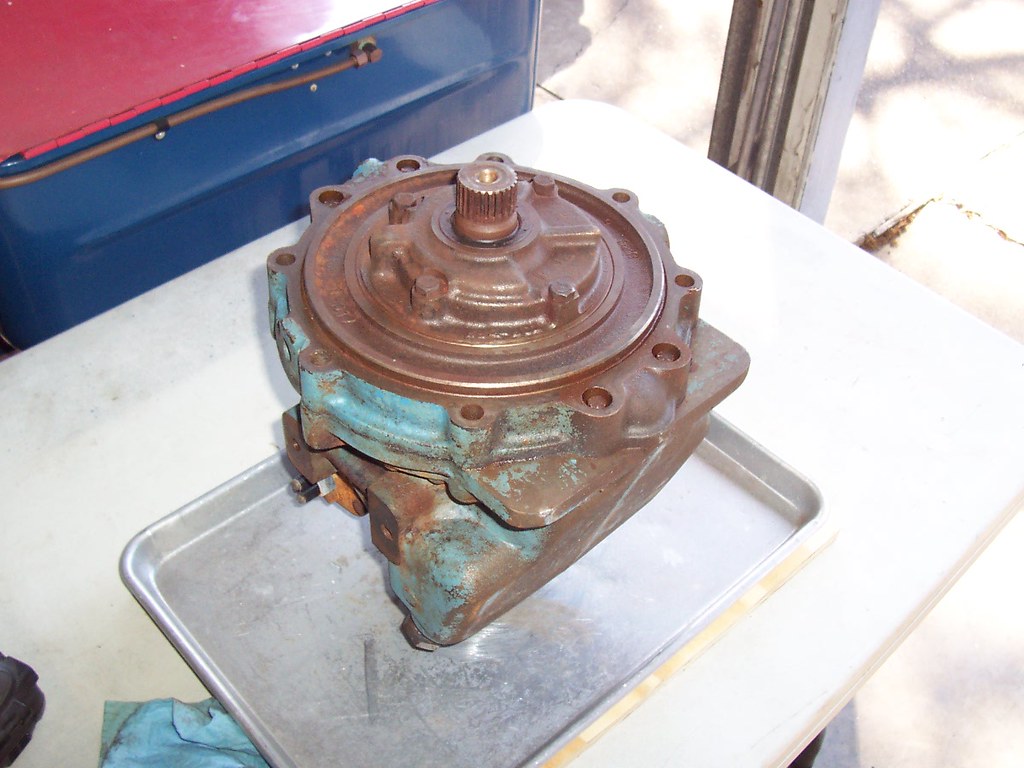
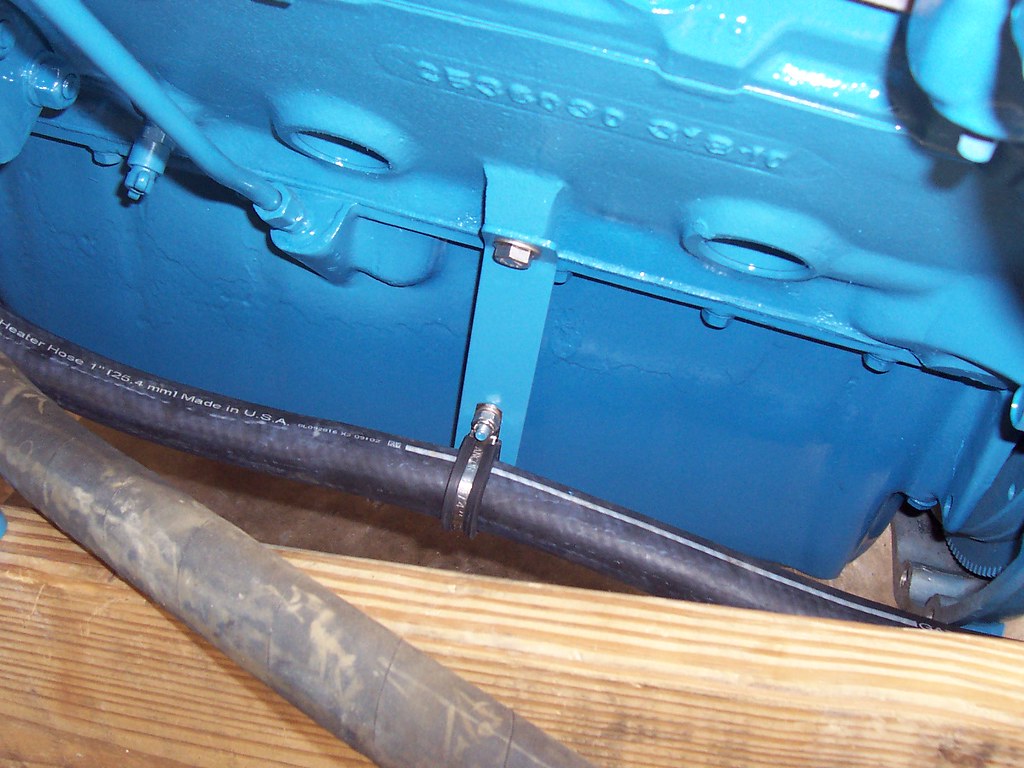
1973 Century Resorter 16 Restore 7 years 9 months ago #130897
|
Please Log in or Create an account to join the conversation.
CC-John
1973 Century Resorter 16, 225HP Chrysler LM318 1978 Chris Craft 251 Catalina Express, 330HP Pleasurecraft 350 (383 Stroker) |

1973 Century Resorter 16 Restore 7 years 9 months ago #130898
|
Please Log in or Create an account to join the conversation.
CC-John
1973 Century Resorter 16, 225HP Chrysler LM318 1978 Chris Craft 251 Catalina Express, 330HP Pleasurecraft 350 (383 Stroker) |
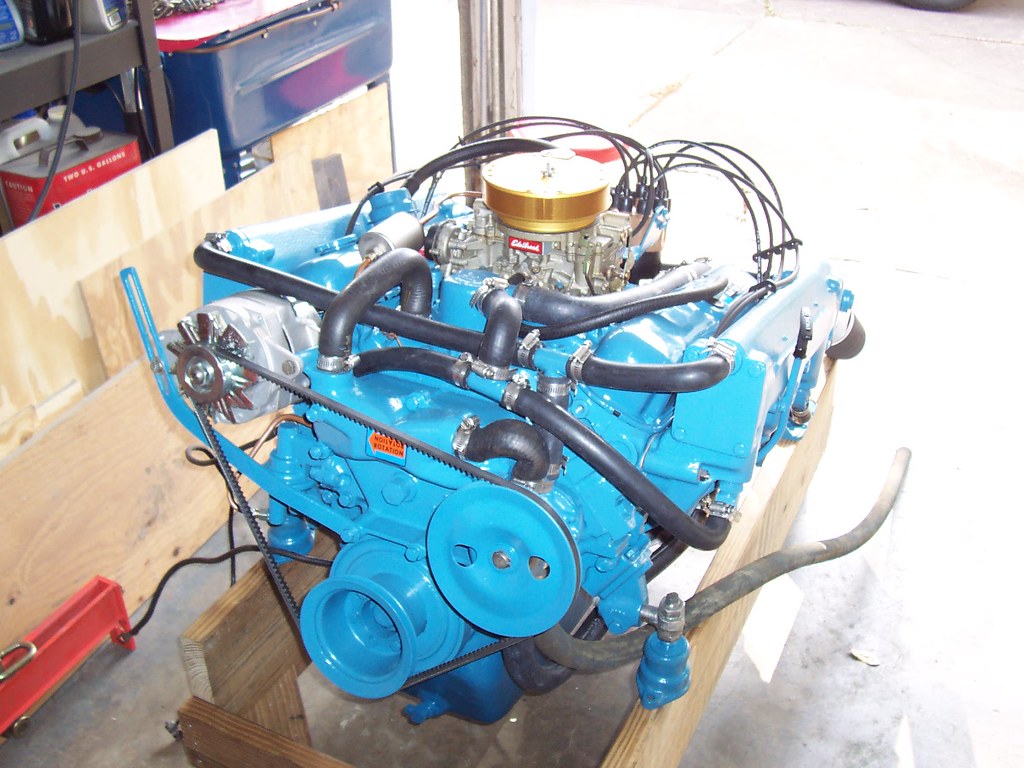
1973 Century Resorter 16 Restore 7 years 9 months ago #130901
|
Please Log in or Create an account to join the conversation. |
1973 Century Resorter 16 Restore 7 years 9 months ago #130902
|
Please Log in or Create an account to join the conversation.
CC-John
1973 Century Resorter 16, 225HP Chrysler LM318 1978 Chris Craft 251 Catalina Express, 330HP Pleasurecraft 350 (383 Stroker) |

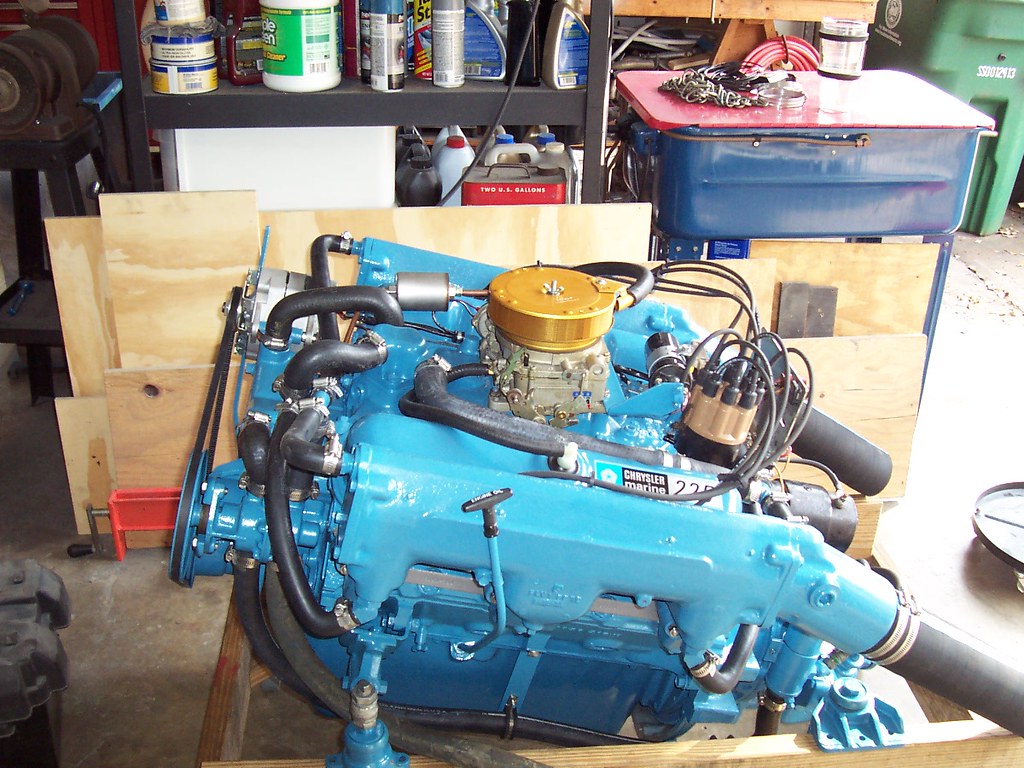
1973 Century Resorter 16 Restore 7 years 8 months ago #130978
|
Please Log in or Create an account to join the conversation.
CC-John
1973 Century Resorter 16, 225HP Chrysler LM318 1978 Chris Craft 251 Catalina Express, 330HP Pleasurecraft 350 (383 Stroker) |
1973 Century Resorter 16 Restore 7 years 8 months ago #130980
|
Please Log in or Create an account to join the conversation. |
1973 Century Resorter 16 Restore 7 years 8 months ago #130981
|
Please Log in or Create an account to join the conversation.
CC-John
1973 Century Resorter 16, 225HP Chrysler LM318 1978 Chris Craft 251 Catalina Express, 330HP Pleasurecraft 350 (383 Stroker) |
1973 Century Resorter 16 Restore 7 years 8 months ago #131011
|
|
Please Log in or Create an account to join the conversation. |
1973 Century Resorter 16 Restore 7 years 8 months ago #131015
|
Please Log in or Create an account to join the conversation.
CC-John
1973 Century Resorter 16, 225HP Chrysler LM318 1978 Chris Craft 251 Catalina Express, 330HP Pleasurecraft 350 (383 Stroker) |
1973 Century Resorter 16 Restore 7 years 8 months ago #131016
|
Please Log in or Create an account to join the conversation.
CC-John
1973 Century Resorter 16, 225HP Chrysler LM318 1978 Chris Craft 251 Catalina Express, 330HP Pleasurecraft 350 (383 Stroker) |


1973 Century Resorter 16 Restore 7 years 8 months ago #131018
|
|
Please Log in or Create an account to join the conversation. |
1973 Century Resorter 16 Restore 7 years 8 months ago #131029
|
Please Log in or Create an account to join the conversation.
CC-John
1973 Century Resorter 16, 225HP Chrysler LM318 1978 Chris Craft 251 Catalina Express, 330HP Pleasurecraft 350 (383 Stroker) |
1973 Century Resorter 16 Restore 7 years 8 months ago #131033
|
Please Log in or Create an account to join the conversation.
CC-John
1973 Century Resorter 16, 225HP Chrysler LM318 1978 Chris Craft 251 Catalina Express, 330HP Pleasurecraft 350 (383 Stroker) |


1973 Century Resorter 16 Restore 7 years 8 months ago #131034
|
Please Log in or Create an account to join the conversation.
CC-John
1973 Century Resorter 16, 225HP Chrysler LM318 1978 Chris Craft 251 Catalina Express, 330HP Pleasurecraft 350 (383 Stroker) |


1973 Century Resorter 16 Restore 7 years 8 months ago #131036
|
Please Log in or Create an account to join the conversation.
CC-John
1973 Century Resorter 16, 225HP Chrysler LM318 1978 Chris Craft 251 Catalina Express, 330HP Pleasurecraft 350 (383 Stroker) |


1973 Century Resorter 16 Restore 7 years 8 months ago #131037
|
Please Log in or Create an account to join the conversation.
CC-John
1973 Century Resorter 16, 225HP Chrysler LM318 1978 Chris Craft 251 Catalina Express, 330HP Pleasurecraft 350 (383 Stroker) |


1973 Century Resorter 16 Restore 7 years 8 months ago #131038
|
Please Log in or Create an account to join the conversation.
CC-John
1973 Century Resorter 16, 225HP Chrysler LM318 1978 Chris Craft 251 Catalina Express, 330HP Pleasurecraft 350 (383 Stroker) |


1973 Century Resorter 16 Restore 7 years 8 months ago #131039
|
Please Log in or Create an account to join the conversation.
CC-John
1973 Century Resorter 16, 225HP Chrysler LM318 1978 Chris Craft 251 Catalina Express, 330HP Pleasurecraft 350 (383 Stroker) |


1973 Century Resorter 16 Restore 7 years 8 months ago #131040
|
Please Log in or Create an account to join the conversation.
CC-John
1973 Century Resorter 16, 225HP Chrysler LM318 1978 Chris Craft 251 Catalina Express, 330HP Pleasurecraft 350 (383 Stroker) |


1973 Century Resorter 16 Restore 7 years 8 months ago #131049
|
|
Please Log in or Create an account to join the conversation. |
1973 Century Resorter 16 Restore 7 years 8 months ago #131050
|
Please Log in or Create an account to join the conversation.
CC-John
1973 Century Resorter 16, 225HP Chrysler LM318 1978 Chris Craft 251 Catalina Express, 330HP Pleasurecraft 350 (383 Stroker) |
1973 Century Resorter 16 Restore 7 years 8 months ago #131059
|
Please Log in or Create an account to join the conversation.
CC-John
1973 Century Resorter 16, 225HP Chrysler LM318 1978 Chris Craft 251 Catalina Express, 330HP Pleasurecraft 350 (383 Stroker) |
1973 Century Resorter 16 Restore 7 years 8 months ago #131061
|
|
Please Log in or Create an account to join the conversation. |

1973 Century Resorter 16 Restore 7 years 8 months ago #131062
|
Please Log in or Create an account to join the conversation.
CC-John
1973 Century Resorter 16, 225HP Chrysler LM318 1978 Chris Craft 251 Catalina Express, 330HP Pleasurecraft 350 (383 Stroker) |
1973 Century Resorter 16 Restore 7 years 8 months ago #131063
|
|
Please Log in or Create an account to join the conversation. |
1973 Century Resorter 16 Restore 7 years 8 months ago #131087
|
Please Log in or Create an account to join the conversation. |
1973 Century Resorter 16 Restore 7 years 8 months ago #131115
|
Please Log in or Create an account to join the conversation.
CC-John
1973 Century Resorter 16, 225HP Chrysler LM318 1978 Chris Craft 251 Catalina Express, 330HP Pleasurecraft 350 (383 Stroker) |
1973 Century Resorter 16 Restore 7 years 8 months ago #131118
|
Please Log in or Create an account to join the conversation.
CC-John
1973 Century Resorter 16, 225HP Chrysler LM318 1978 Chris Craft 251 Catalina Express, 330HP Pleasurecraft 350 (383 Stroker) |
1973 Century Resorter 16 Restore 7 years 8 months ago #131127
|
Please Log in or Create an account to join the conversation. |
1973 Century Resorter 16 Restore 7 years 8 months ago #131128
|
Please Log in or Create an account to join the conversation.
CC-John
1973 Century Resorter 16, 225HP Chrysler LM318 1978 Chris Craft 251 Catalina Express, 330HP Pleasurecraft 350 (383 Stroker) |


1973 Century Resorter 16 Restore 7 years 8 months ago #131144
|
Please Log in or Create an account to join the conversation. |
1973 Century Resorter 16 Restore 7 years 8 months ago #131145
|
Please Log in or Create an account to join the conversation.
CC-John
1973 Century Resorter 16, 225HP Chrysler LM318 1978 Chris Craft 251 Catalina Express, 330HP Pleasurecraft 350 (383 Stroker) |
1973 Century Resorter 16 Restore 7 years 8 months ago #131146
|
Please Log in or Create an account to join the conversation. |
Donate
Please consider supporting our efforts.
Glassified Ads
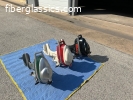
Mercury outboard |

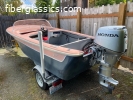
Classic Mercury Outboard Motors( / Engines)

1958 Skagit Sportster( / Boats)


FG Login

FiberGoogle
Who's Online
We have 8638 guests and 2 members online