|
Welcome,
Guest
|
TOPIC: '64 Custom Craft Sunray - cont from Coosa transoms
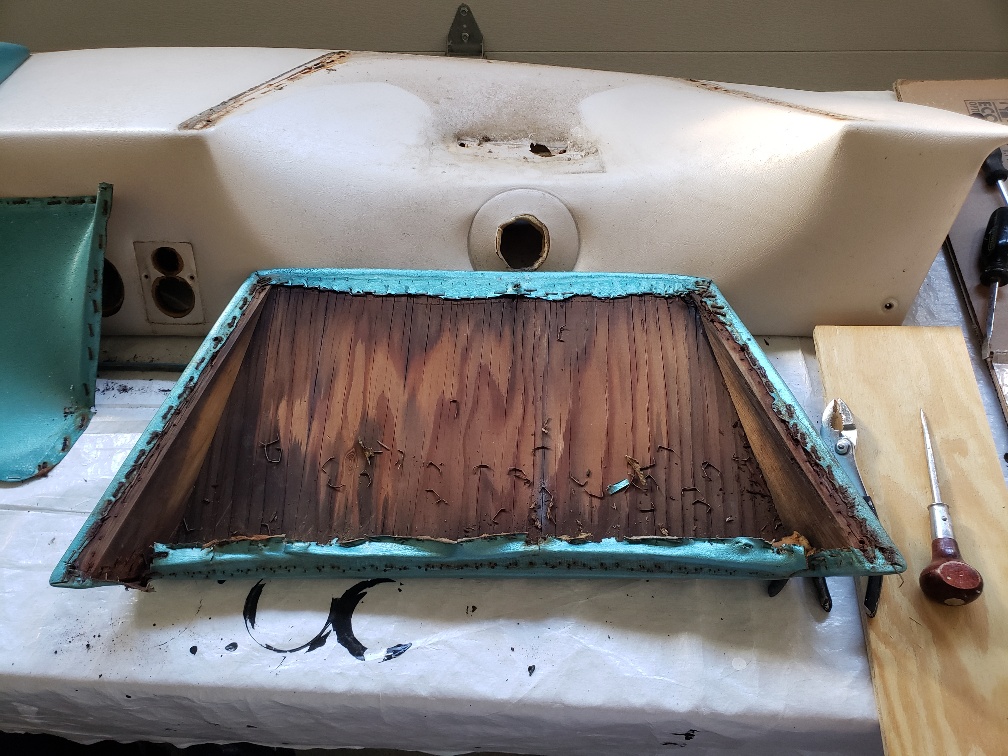
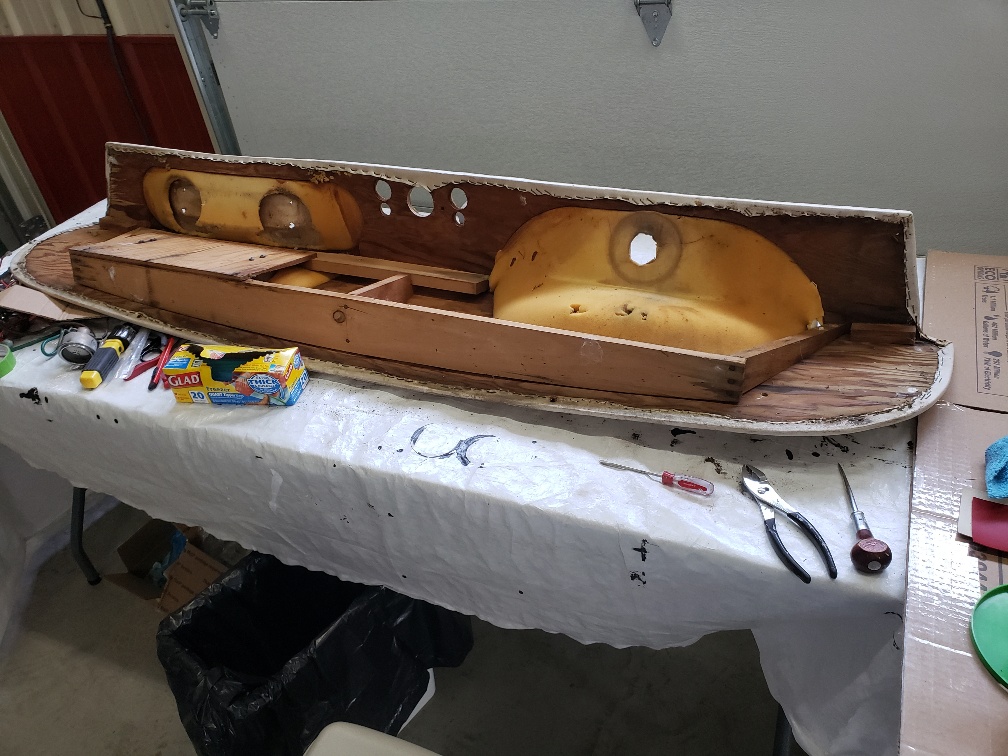
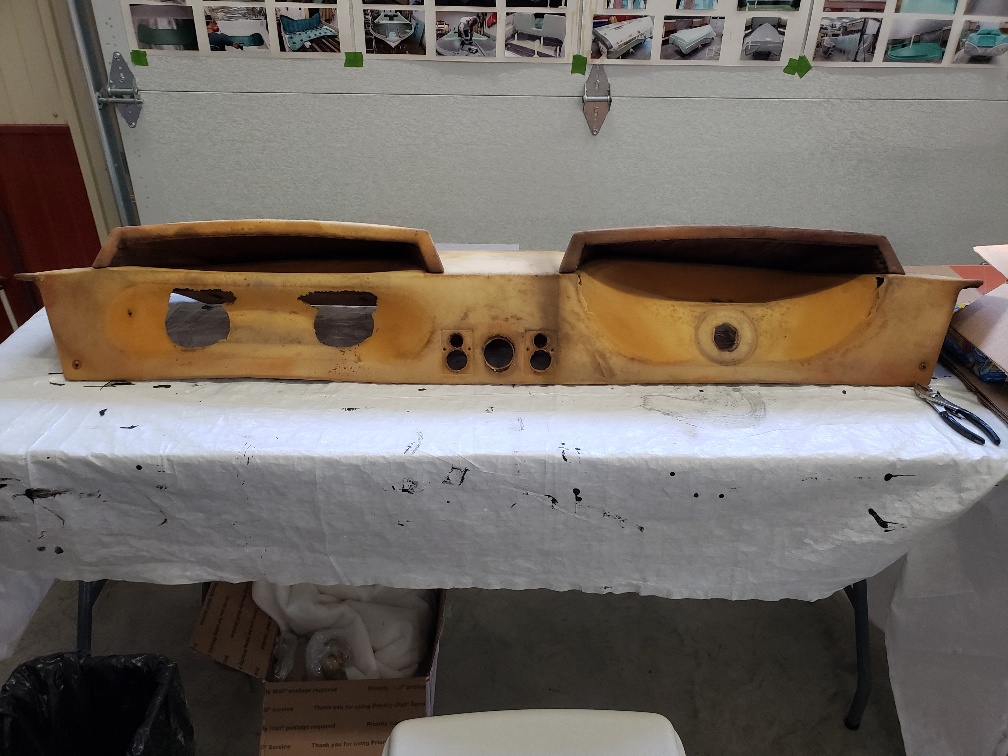
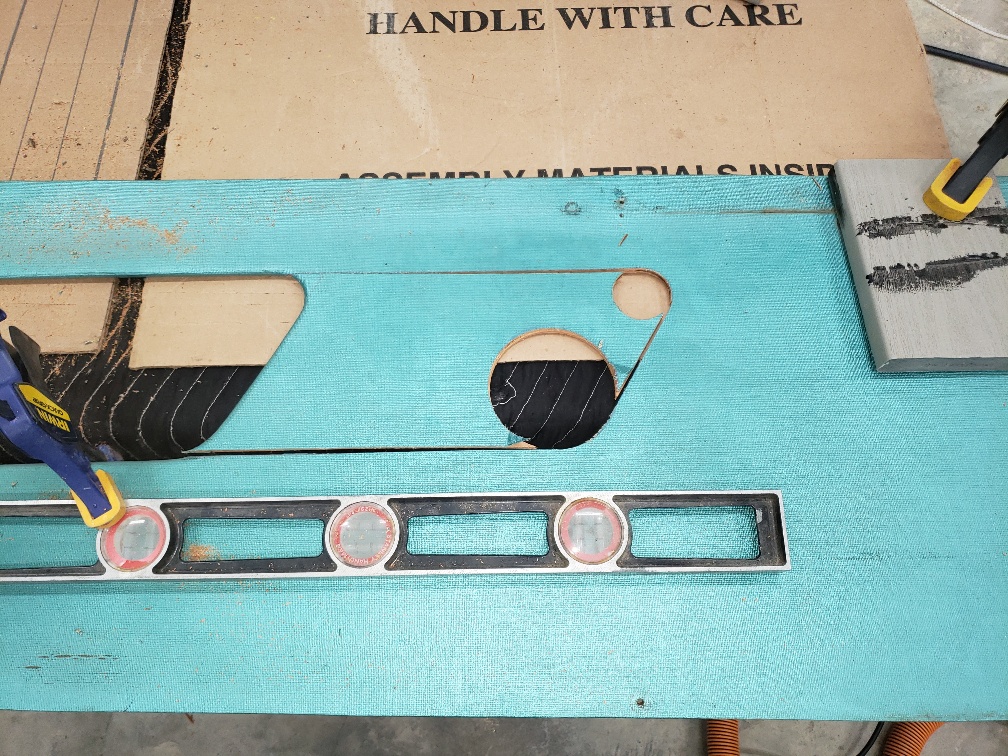
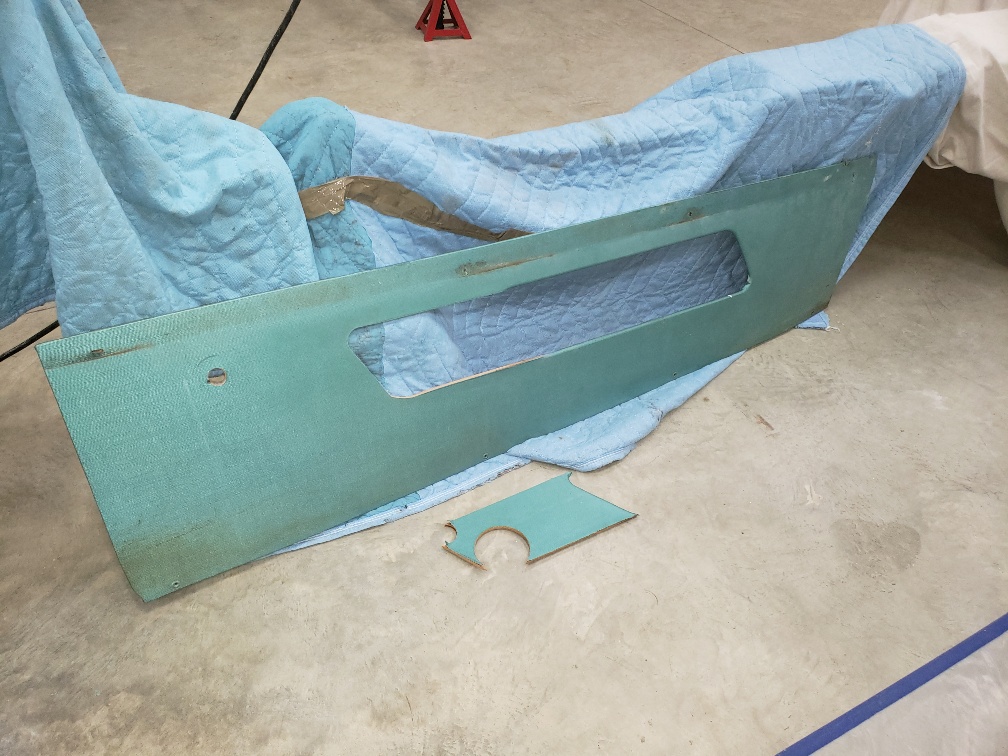
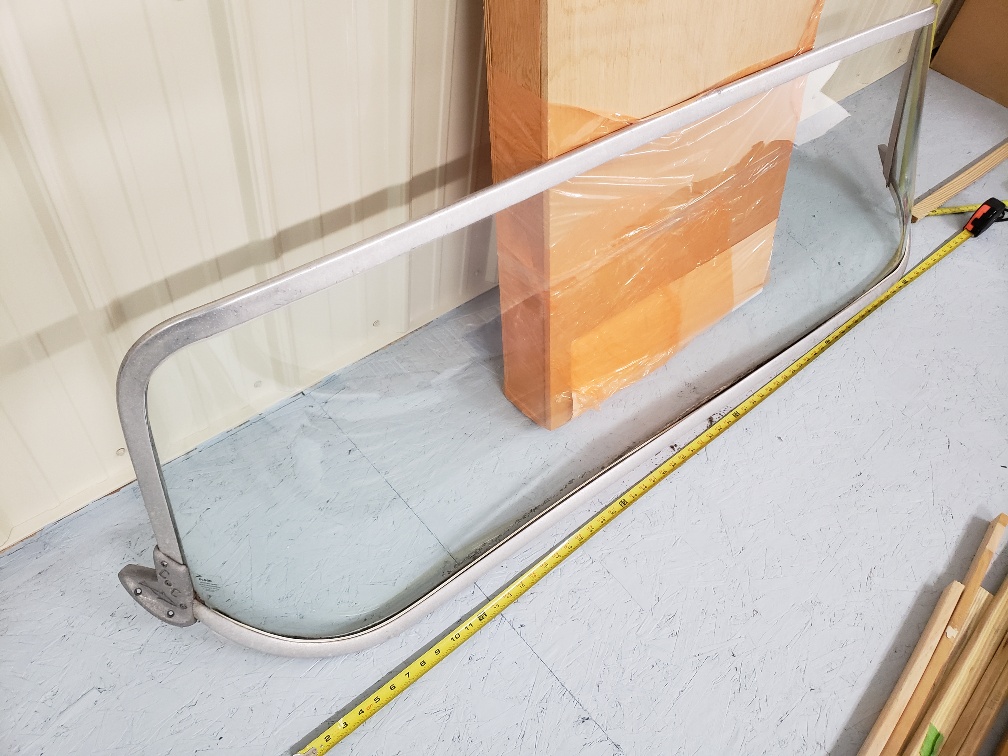
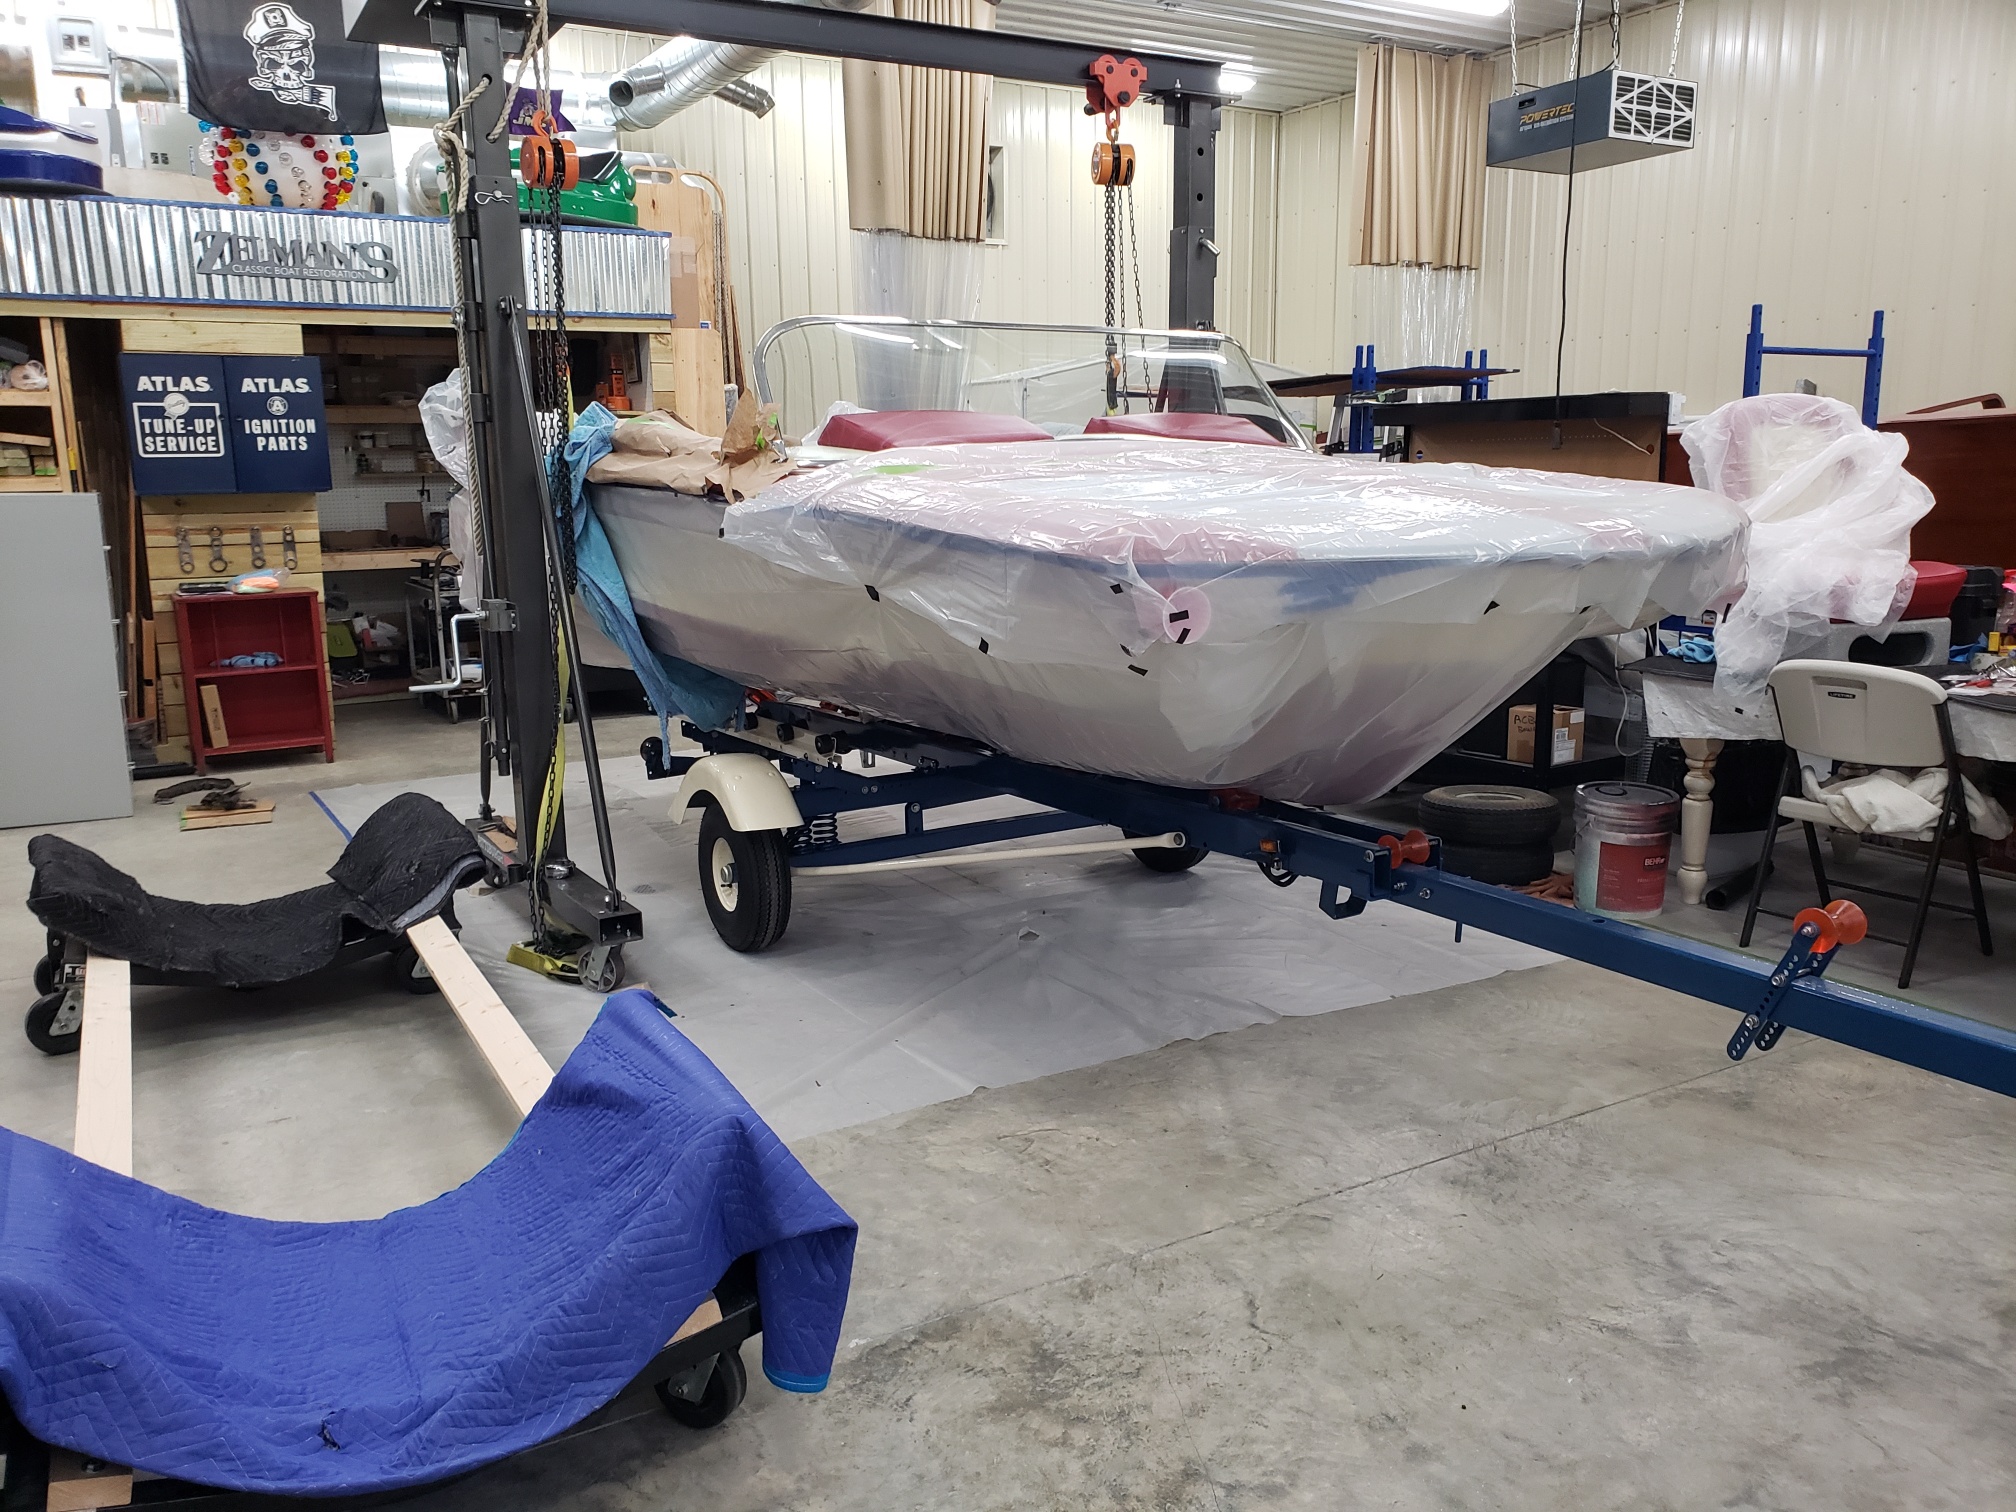
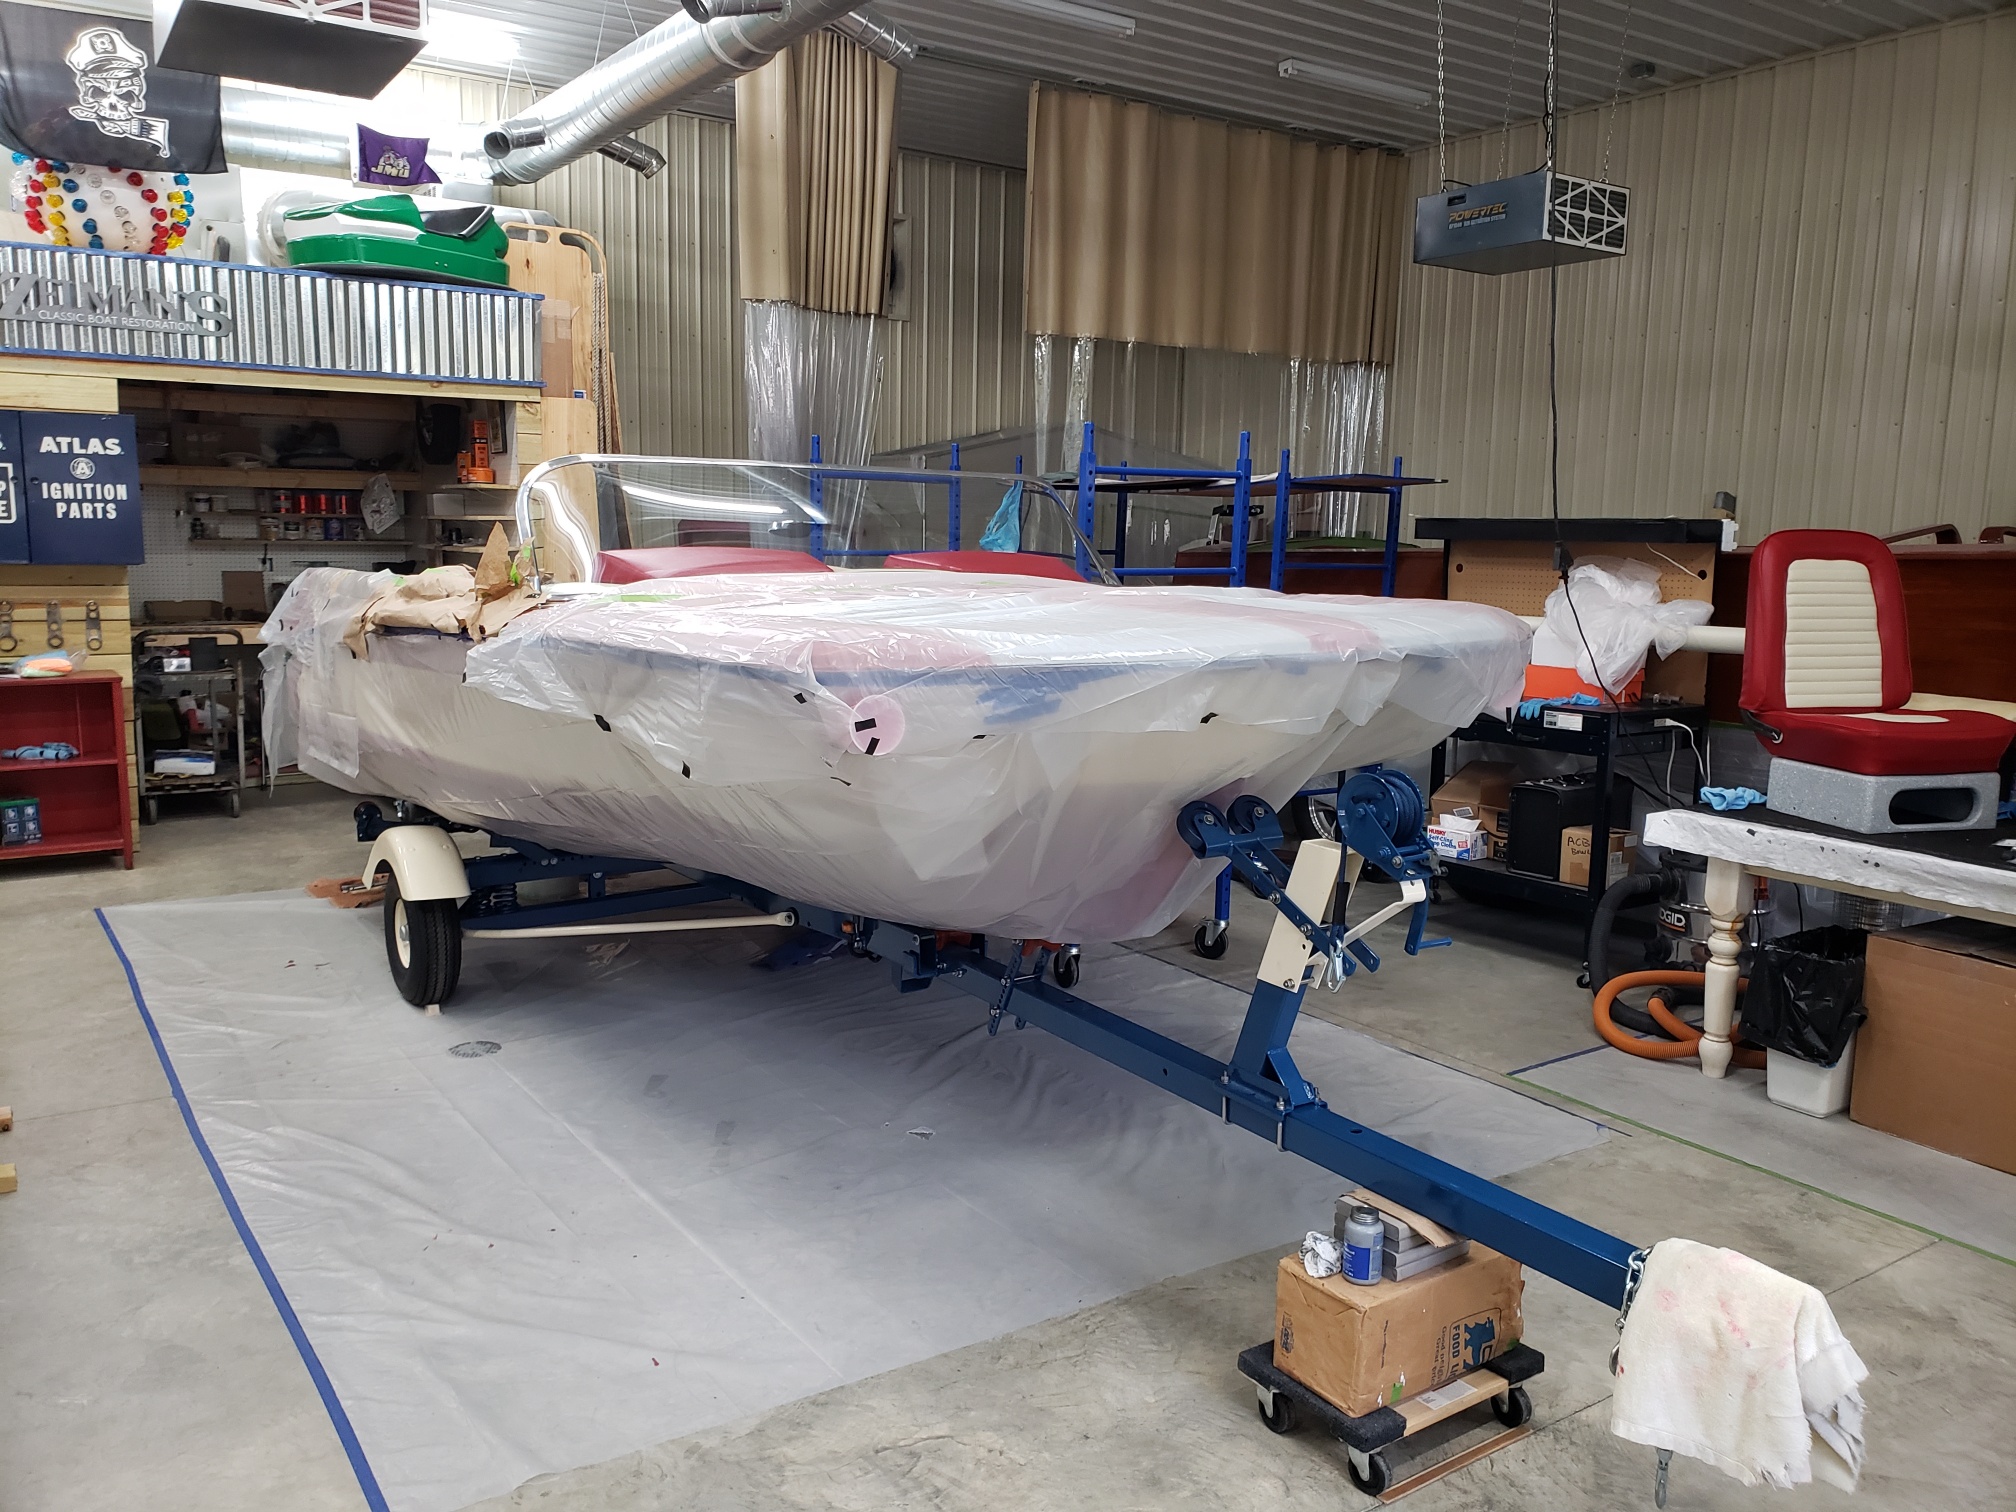
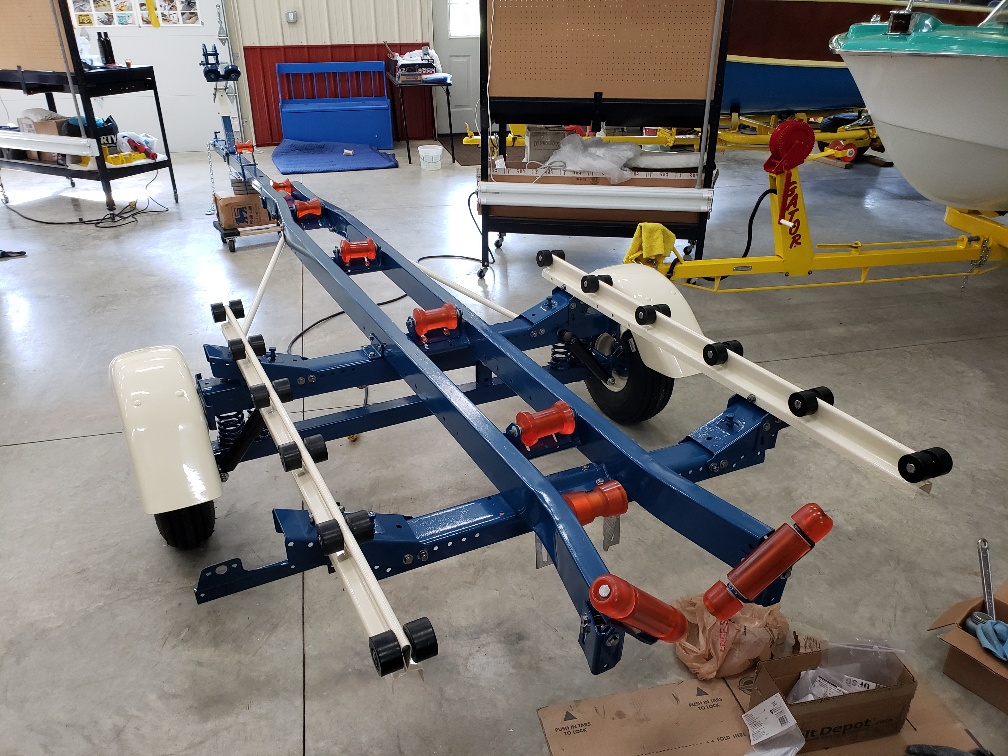
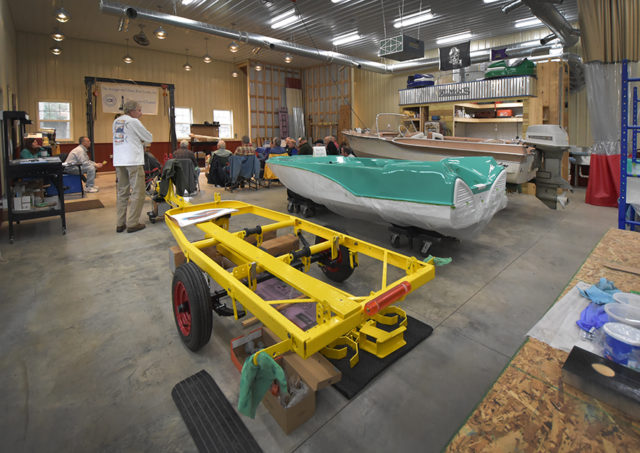
'64 Custom Craft Sunray - cont from Coosa transoms 4 years 2 weeks ago #143693
|
Please Log in or Create an account to join the conversation. |


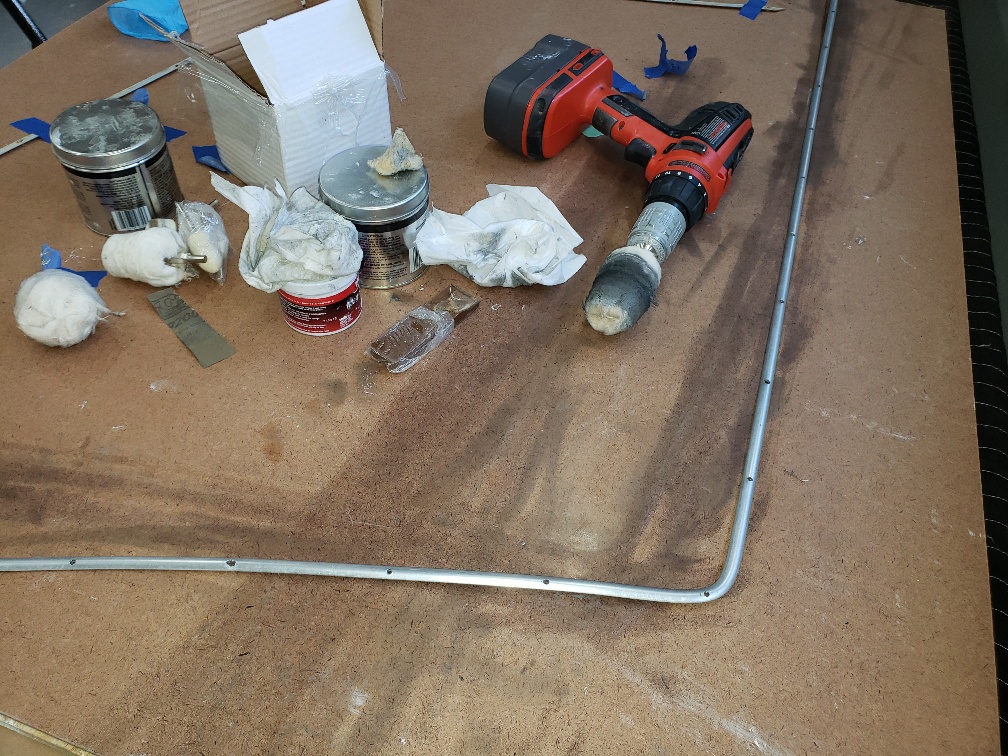

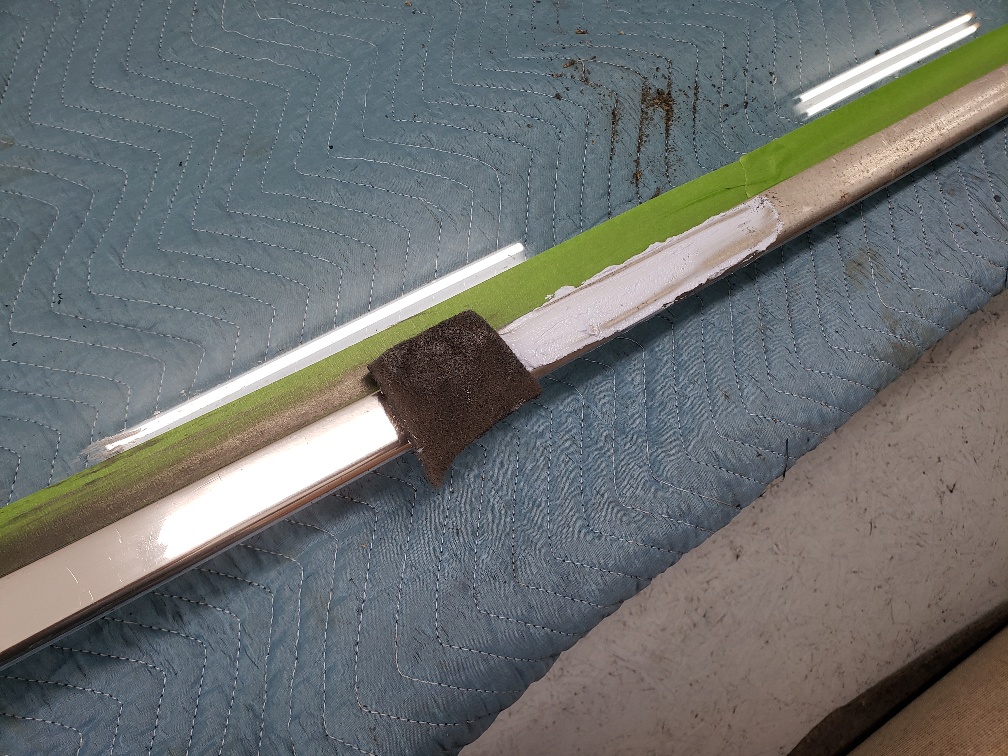
'64 Custom Craft Sunray - cont from Coosa transoms 4 years 2 weeks ago #143697
|
|
Please Log in or Create an account to join the conversation. |

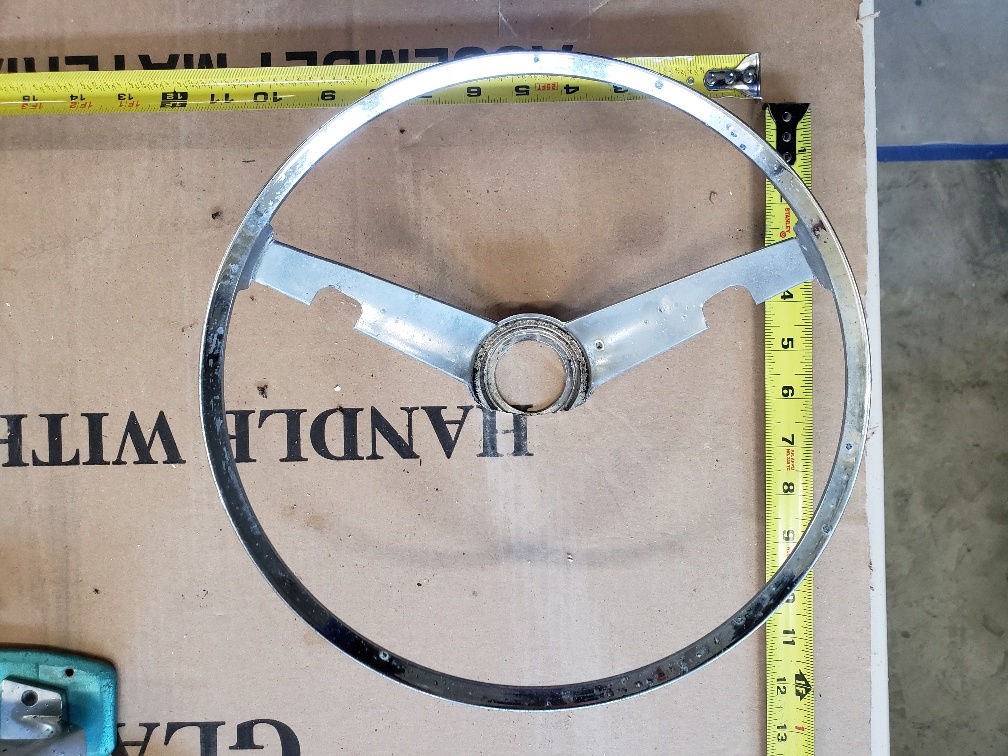
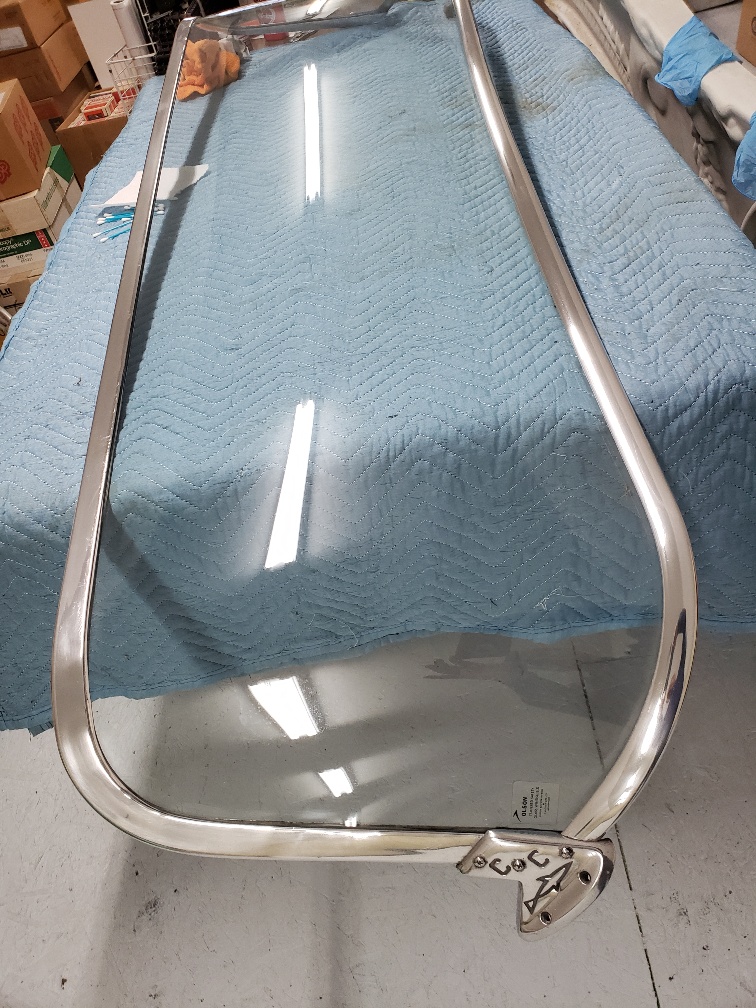
'64 Custom Craft Sunray - cont from Coosa transoms 4 years 2 weeks ago #143713
|
Please Log in or Create an account to join the conversation. |

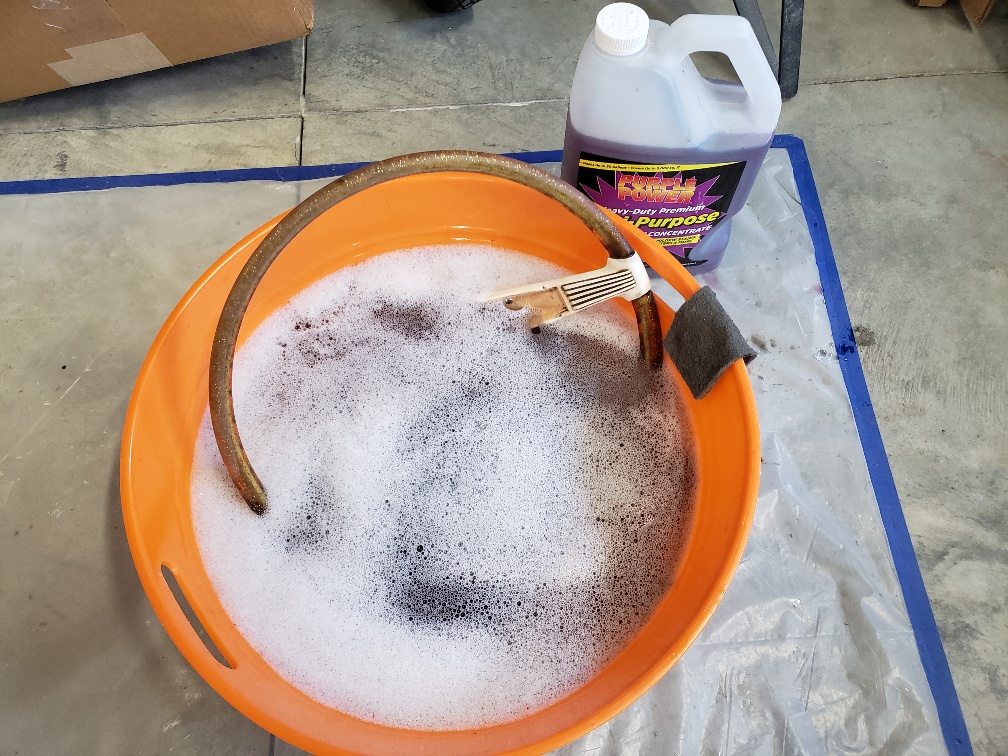
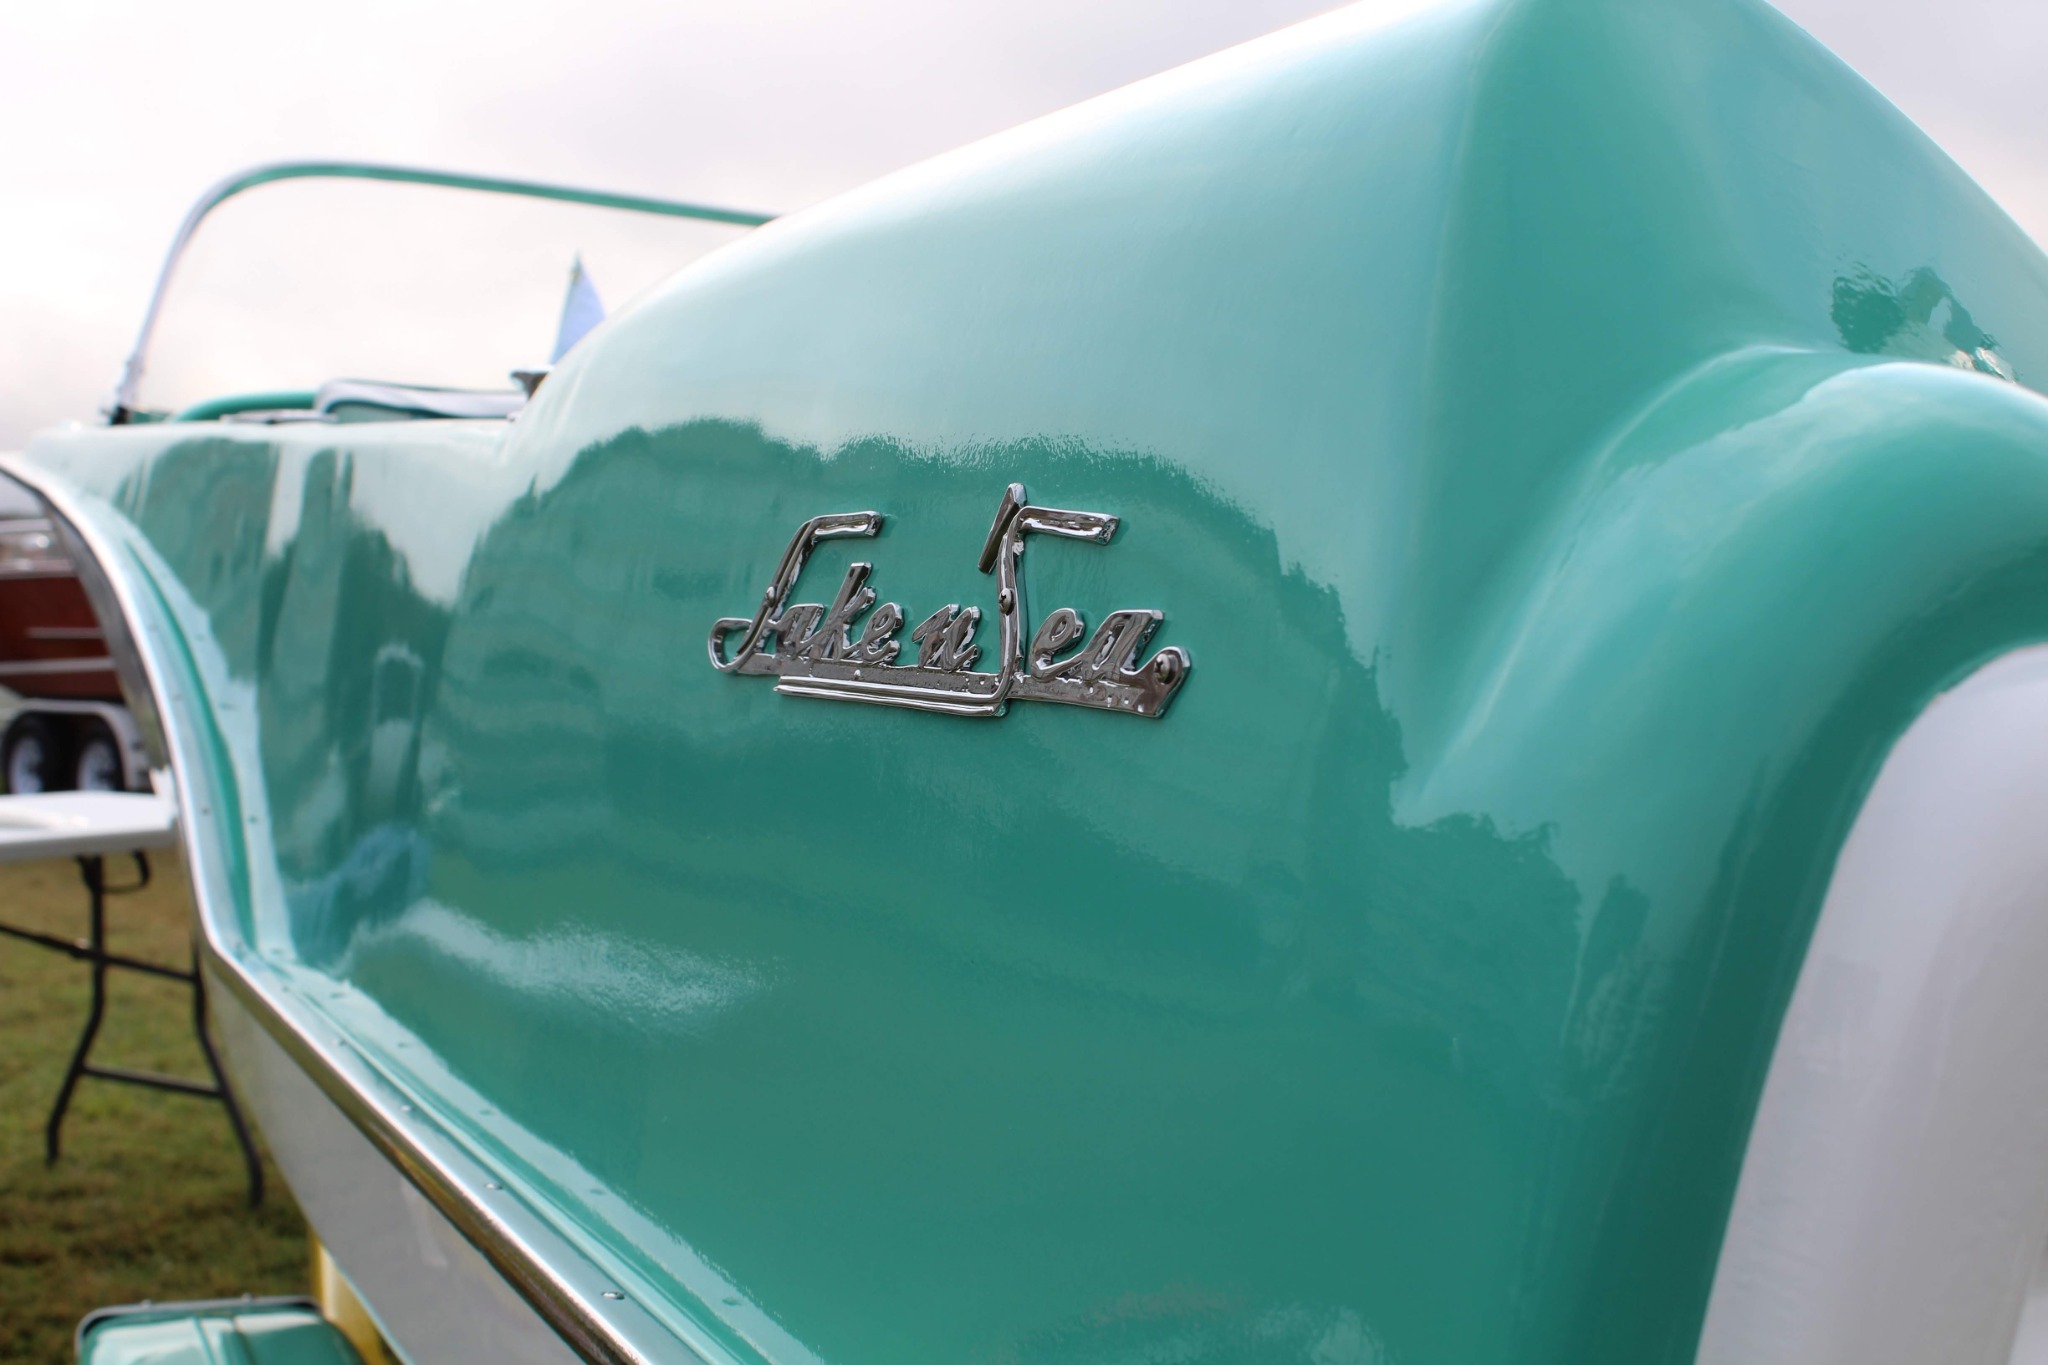
'64 Custom Craft Sunray - cont from Coosa transoms 3 years 11 months ago #143784
|
Please Log in or Create an account to join the conversation. |


'64 Custom Craft Sunray - cont from Coosa transoms 3 years 11 months ago #143786
|
|
Please Log in or Create an account to join the conversation. |
'64 Custom Craft Sunray - cont from Coosa transoms 3 years 11 months ago #143859
|
Please Log in or Create an account to join the conversation. |


'64 Custom Craft Sunray - cont from Coosa transoms 3 years 11 months ago #143861
|
|
Please Log in or Create an account to join the conversation. |
'64 Custom Craft Sunray - cont from Coosa transoms 3 years 11 months ago #143864
|
Please Log in or Create an account to join the conversation.
Dr.Go!
|

'64 Custom Craft Sunray - cont from Coosa transoms 3 years 11 months ago #143866
|
Please Log in or Create an account to join the conversation. |
'64 Custom Craft Sunray - cont from Coosa transoms 3 years 11 months ago #143873
|
Please Log in or Create an account to join the conversation.
Dr.Go!
|
'64 Custom Craft Sunray - cont from Coosa transoms 3 years 11 months ago #143888
|
Please Log in or Create an account to join the conversation. |

'64 Custom Craft Sunray - cont from Coosa transoms 3 years 11 months ago #143889
|
Please Log in or Create an account to join the conversation. |

'64 Custom Craft Sunray - cont from Coosa transoms 3 years 11 months ago #143891
|
Please Log in or Create an account to join the conversation. |
'64 Custom Craft Sunray - cont from Coosa transoms 3 years 11 months ago #143892
|
Please Log in or Create an account to join the conversation. |
'64 Custom Craft Sunray - cont from Coosa transoms 3 years 11 months ago #143893
|
Please Log in or Create an account to join the conversation. |
'64 Custom Craft Sunray - cont from Coosa transoms 3 years 11 months ago #143894
|
Please Log in or Create an account to join the conversation. |
'64 Custom Craft Sunray - cont from Coosa transoms 3 years 11 months ago #143907
|
Please Log in or Create an account to join the conversation. |
'64 Custom Craft Sunray - cont from Coosa transoms 3 years 11 months ago #143912
|
Please Log in or Create an account to join the conversation.
Dr.Go!
|
'64 Custom Craft Sunray - cont from Coosa transoms 3 years 11 months ago #143914
|
Please Log in or Create an account to join the conversation. |
'64 Custom Craft Sunray - cont from Coosa transoms 3 years 11 months ago #143915
|
Please Log in or Create an account to join the conversation. |


'64 Custom Craft Sunray - cont from Coosa transoms 3 years 11 months ago #143923
|
Please Log in or Create an account to join the conversation.
Dr.Go!
|
'64 Custom Craft Sunray - cont from Coosa transoms 3 years 11 months ago #143926
|
Please Log in or Create an account to join the conversation.
Dr.Go!
|
'64 Custom Craft Sunray - cont from Coosa transoms 3 years 11 months ago #143929
|
Please Log in or Create an account to join the conversation. |
'64 Custom Craft Sunray - cont from Coosa transoms 3 years 11 months ago #143930
|
Please Log in or Create an account to join the conversation.
Dr.Go!
|
'64 Custom Craft Sunray - cont from Coosa transoms 3 years 10 months ago #143934
|
Please Log in or Create an account to join the conversation. |
'64 Custom Craft Sunray - cont from Coosa transoms 3 years 10 months ago #143938
|
Please Log in or Create an account to join the conversation.
Dr.Go!
|
'64 Custom Craft Sunray - cont from Coosa transoms 3 years 10 months ago #143953
|
Please Log in or Create an account to join the conversation. |


'64 Custom Craft Sunray - cont from Coosa transoms 3 years 10 months ago #143976
|
Please Log in or Create an account to join the conversation. |
'64 Custom Craft Sunray - cont from Coosa transoms 3 years 10 months ago #144040
|
Please Log in or Create an account to join the conversation. |

'64 Custom Craft Sunray - cont from Coosa transoms 3 years 9 months ago #144054
|
Please Log in or Create an account to join the conversation.
Dr.Go!
|
'64 Custom Craft Sunray - cont from Coosa transoms 3 years 9 months ago #144070
|
Please Log in or Create an account to join the conversation. |
'64 Custom Craft Sunray - cont from Coosa transoms 3 years 9 months ago #144083
|
Please Log in or Create an account to join the conversation.
Dr.Go!
|
'64 Custom Craft Sunray - cont from Coosa transoms 3 years 9 months ago #144127
|
Please Log in or Create an account to join the conversation. |
'64 Custom Craft Sunray - cont from Coosa transoms 3 years 9 months ago #144129
|
Please Log in or Create an account to join the conversation. |

'64 Custom Craft Sunray - cont from Coosa transoms 3 years 9 months ago #144132
|
|
Please Log in or Create an account to join the conversation. |
'64 Custom Craft Sunray - cont from Coosa transoms 3 years 9 months ago #144135
|
Please Log in or Create an account to join the conversation. |
'64 Custom Craft Sunray - cont from Coosa transoms 3 years 9 months ago #144139
|
Please Log in or Create an account to join the conversation. |
'64 Custom Craft Sunray - cont from Coosa transoms 3 years 9 months ago #144140
|
Please Log in or Create an account to join the conversation. |
'64 Custom Craft Sunray - cont from Coosa transoms 3 years 9 months ago #144146
|
Please Log in or Create an account to join the conversation. |
'64 Custom Craft Sunray - cont from Coosa transoms 3 years 9 months ago #144147
|
Please Log in or Create an account to join the conversation.
Dr.Go!
|
Donate
Please consider supporting our efforts.
Glassified Ads
1956 Lonestar Meteor |

Mercury outboard( / Engines)


Classic Mercury Outboard Motors( / Engines)


FG Login

FiberGoogle
Who's Online
We have 6088 guests and no members online