Find the leak
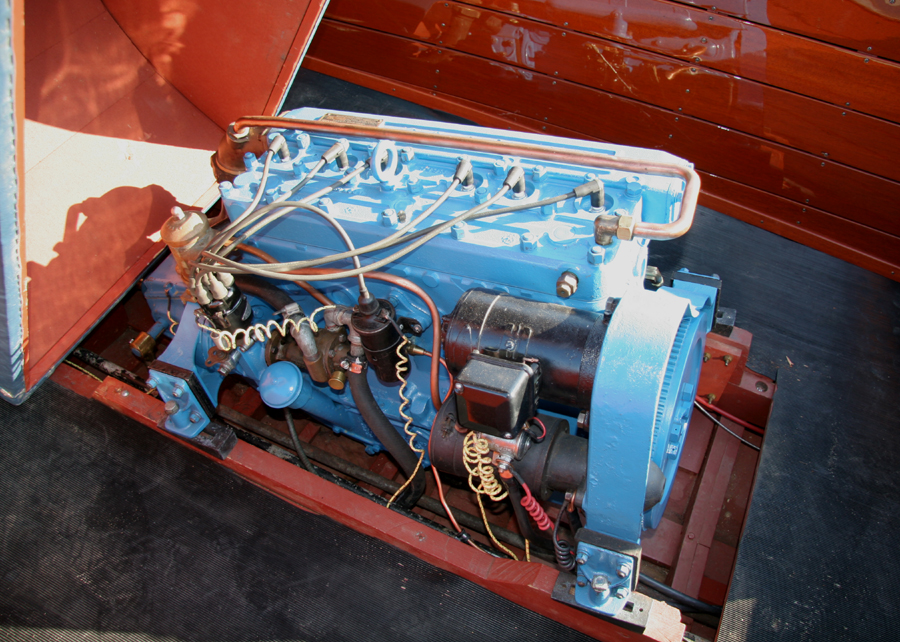
Recently one of our members thought he might have a leaky oil cooler. The question became; how do you test a cooler for a leak? Before we begin, let’s examine an oil cooler to see how it works. Think of a bottle within a bottle. In the inner bottle is hot oil, and in the outer bottle, cool lake water. The two bottles are separated by a wall between the two, letting the hot oil flow through the inner while the cool water flows through the outer bottle. Meanwhile the bottle walls keep the two fluids separated. If the cooler has a water leak, the water can leak from the outer wall of the bottle and into the bilge of your boat, however if the leak is in the inner wall separating the oil from the water, the water can leak from the outer part into the inner section which carries the oil. Obviously if the leak is in the outer wall, you can probably find or at least see the water dripping. If the leak is in the inner portion, it becomes more difficult to determine if there is a leak. Sometimes your first clue there is a leak is when, after months of undetected leaking, you decide to change the oil and find that your oil is milky, indicating oil in the water. By this time, the damage may have already been done. Typically the oil going through the cooler is at higher pressure than the water, so when the engine is running, the oil will leak into the water cavity and eventually run out into the lake. Unless it is a big leak, you may not notice this for awhile.

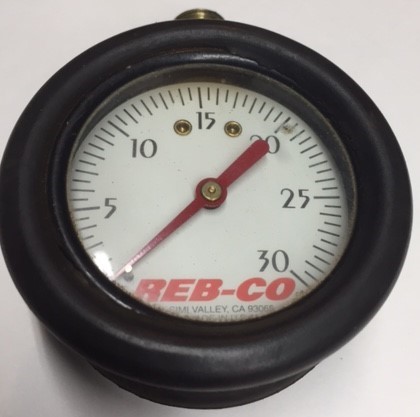
So let’s say you suspect a leak, how do you find it? We use air pressure. Begin by removing the oil cooler from the boat. Clean everything off and using some brass fittings adapt a 30 psi pressure gauge to one end of the oil circuit and a tire valve (like the one you use on a bicycle) to the other end. You can find these at the local hardware store. Ask for an inflator valve for a well water surge tank. It typically is a tire valve mounted in a 3/8 NPT brass fitting. Screw this all together and VERY CAREFULLY add just a little bit of compressed air. DO NOT OVER PRESSURE THE COOLER or you will cause a leak or the cooler may explode from the pressure. Fill a bucket with water and submerge the assembled cooler and gauge in the water. If it has a leak, bubbles will start appearing. If you don’t see any bubbles, leave it pressurized and check it out the next morning. If the cooler will hold pressure overnight, chances are there is no leak. If it will hold air, it will hold oil. The only other thing you might want to do is heat the cooler up by filling your bucket with hot water to run your test, just in case the leak only occurs when the cooler is hot. Simple, clean, and visual. At this point somebody will say. “I don’t have an air compressor, I will just hook up my garden hose and run the test with water. DON’T DO IT!! Tap Water has pressures as high as 80 lbs. You will ruin the cooler. If it didn’t have a leak, it will by the time you have finished your test.
If your cooler has an internal leak, throw it away and buy a new cooler. If it has an external leak, you might be able to solder it, but you will probably spend more time trying to get it clean enough for the solder to stick than it is worth.
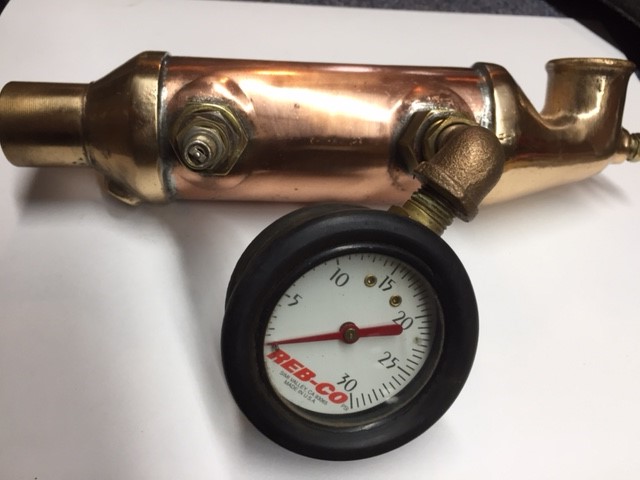
Below is the cooler with the valve and pressure gauge all installed and waiting for some compressed air.
Discuss this article
Log in to commentDonate
Please consider supporting our efforts.


FG Login

Who's Online
We have 8662 guests and 2 members online