|
Welcome,
Guest
|
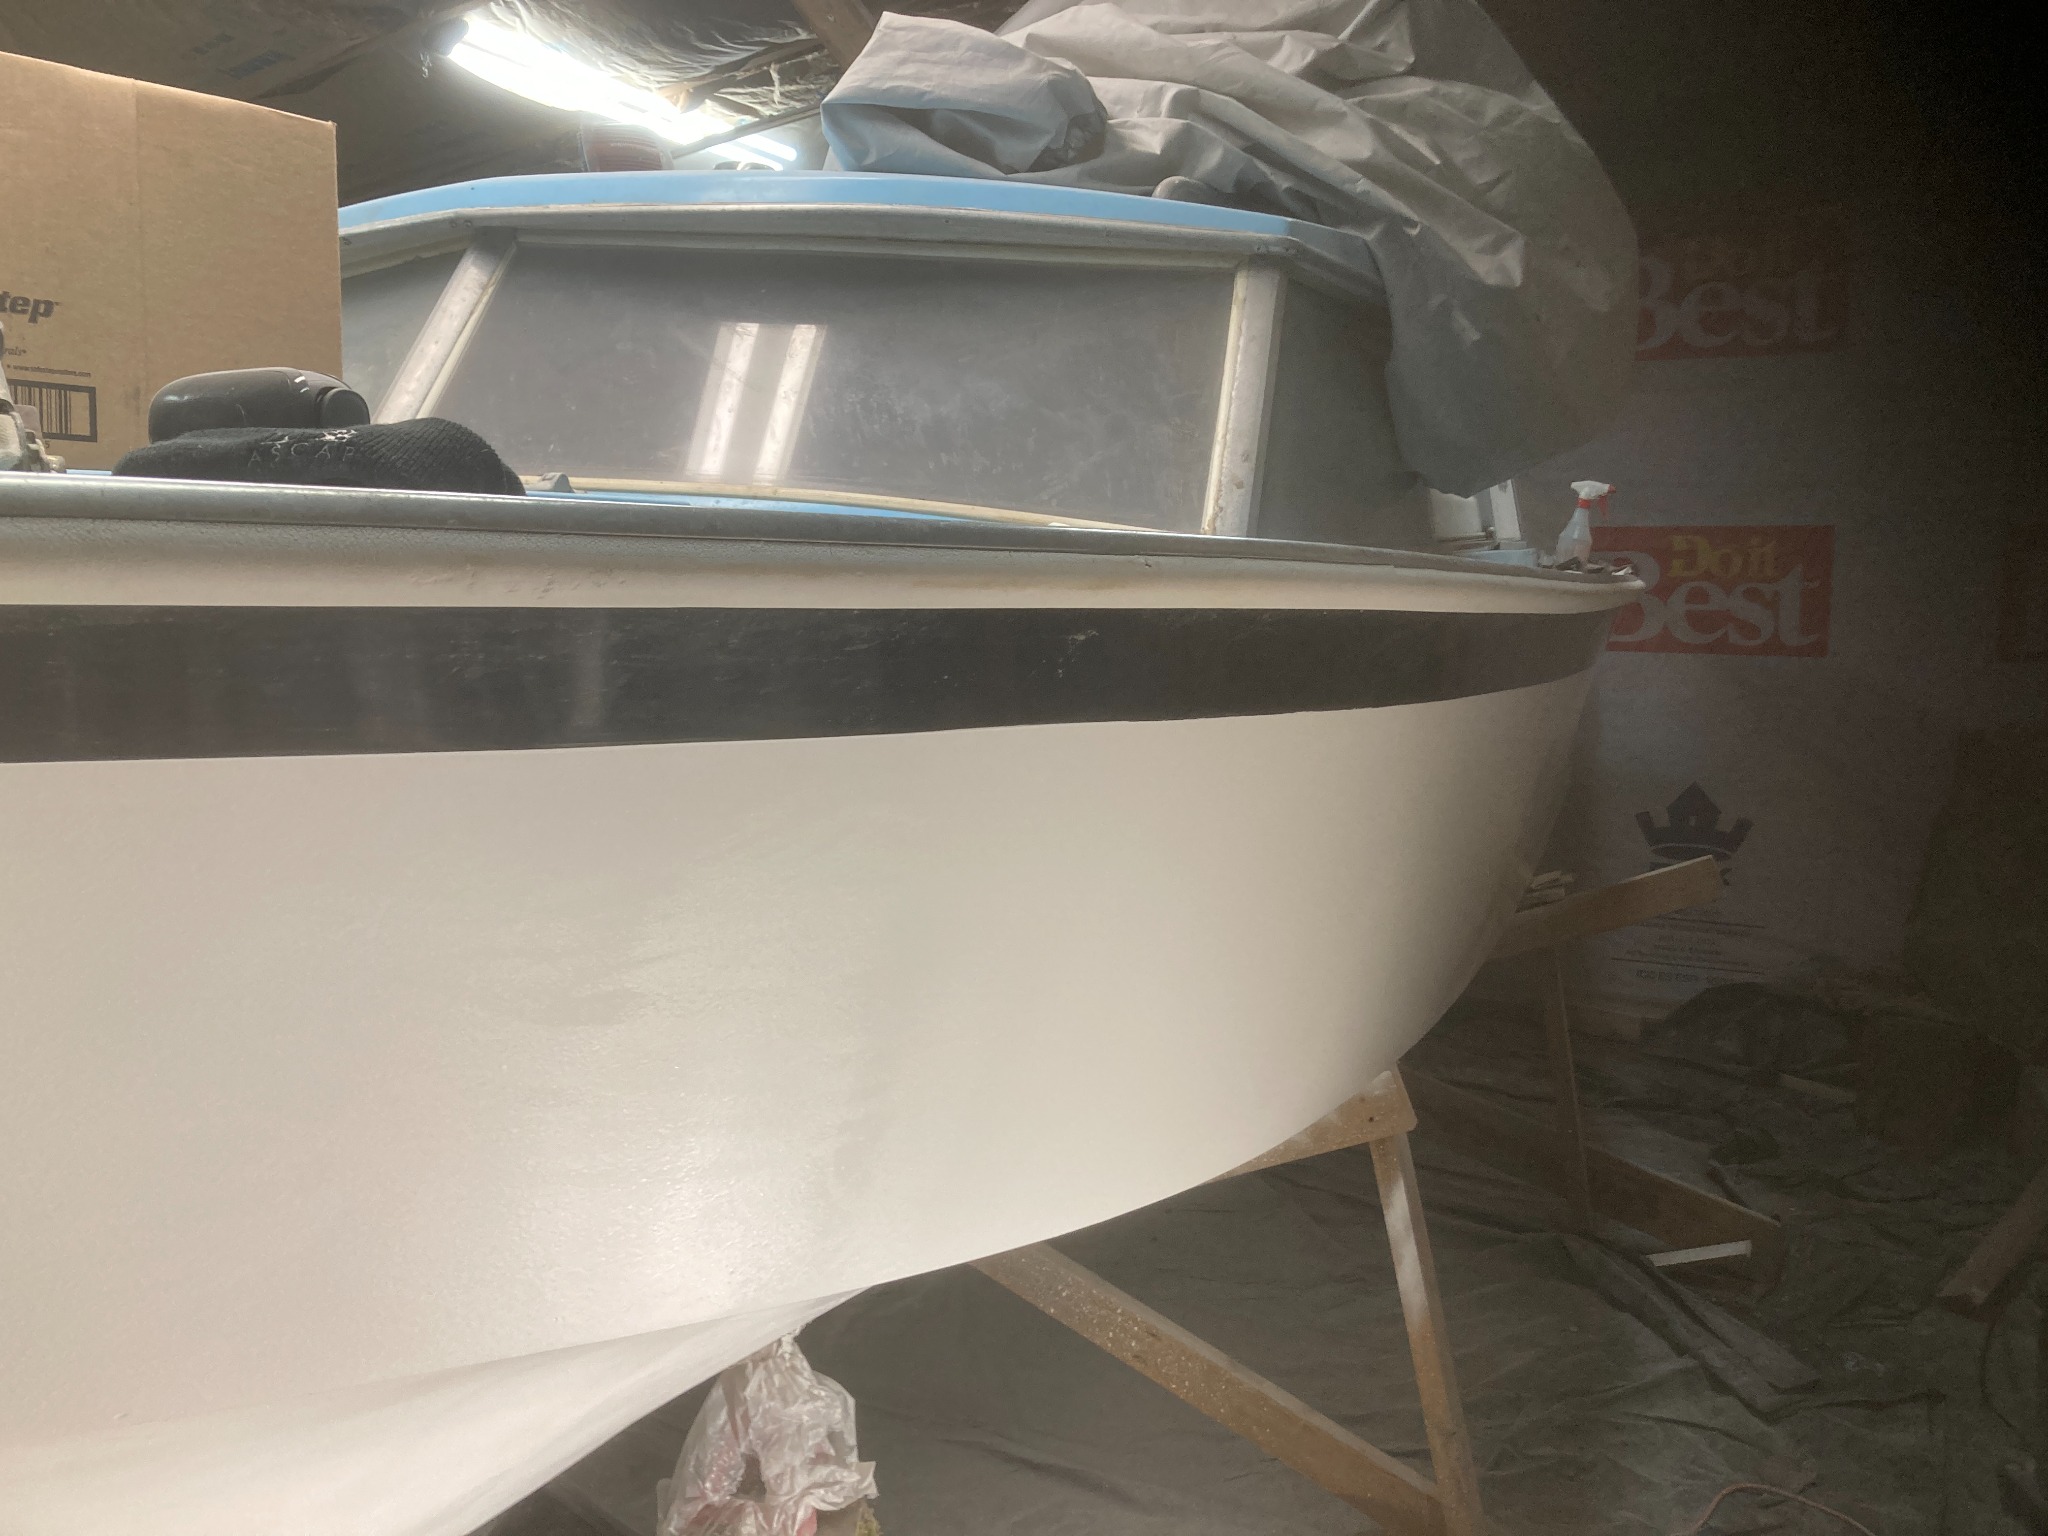
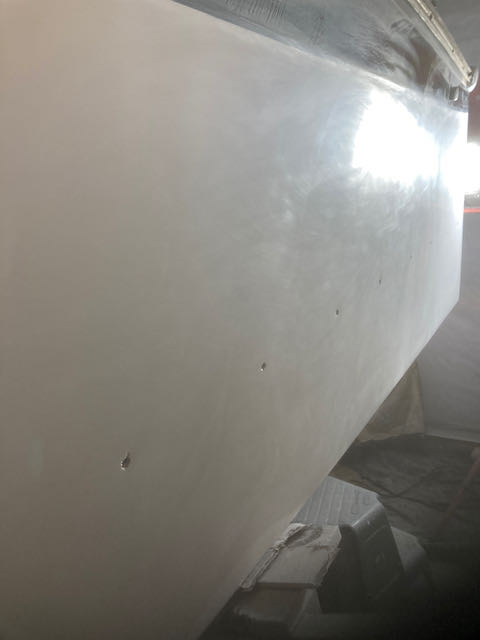
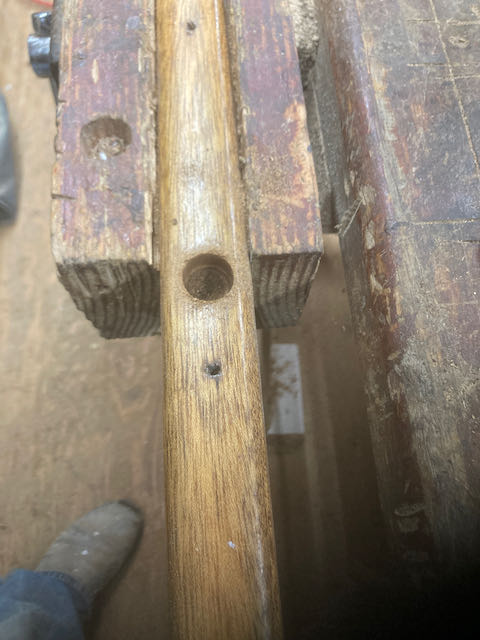
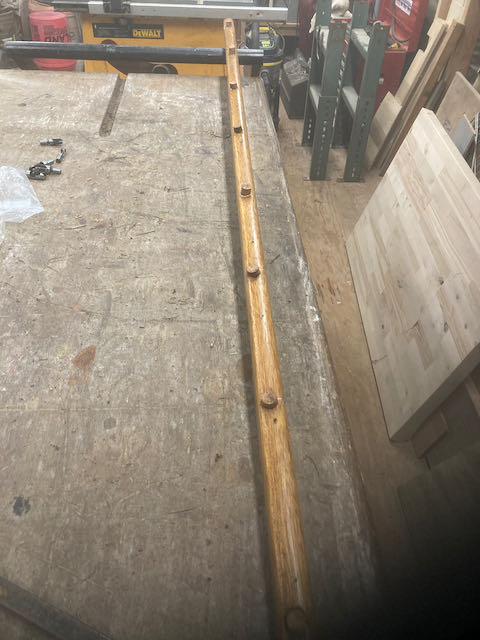
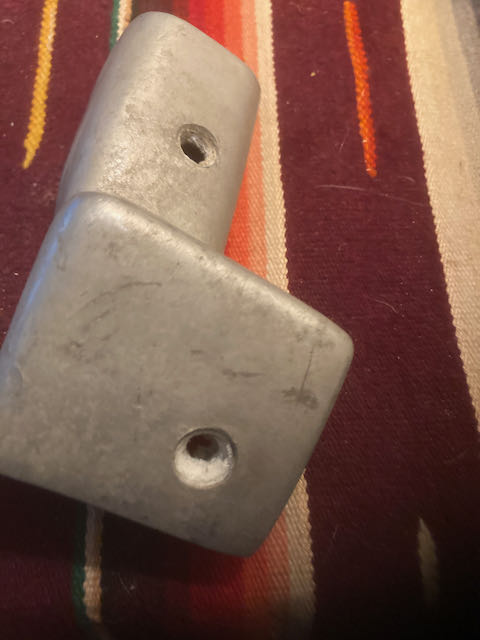
TOPIC: The art of sanding new gelcoat?!
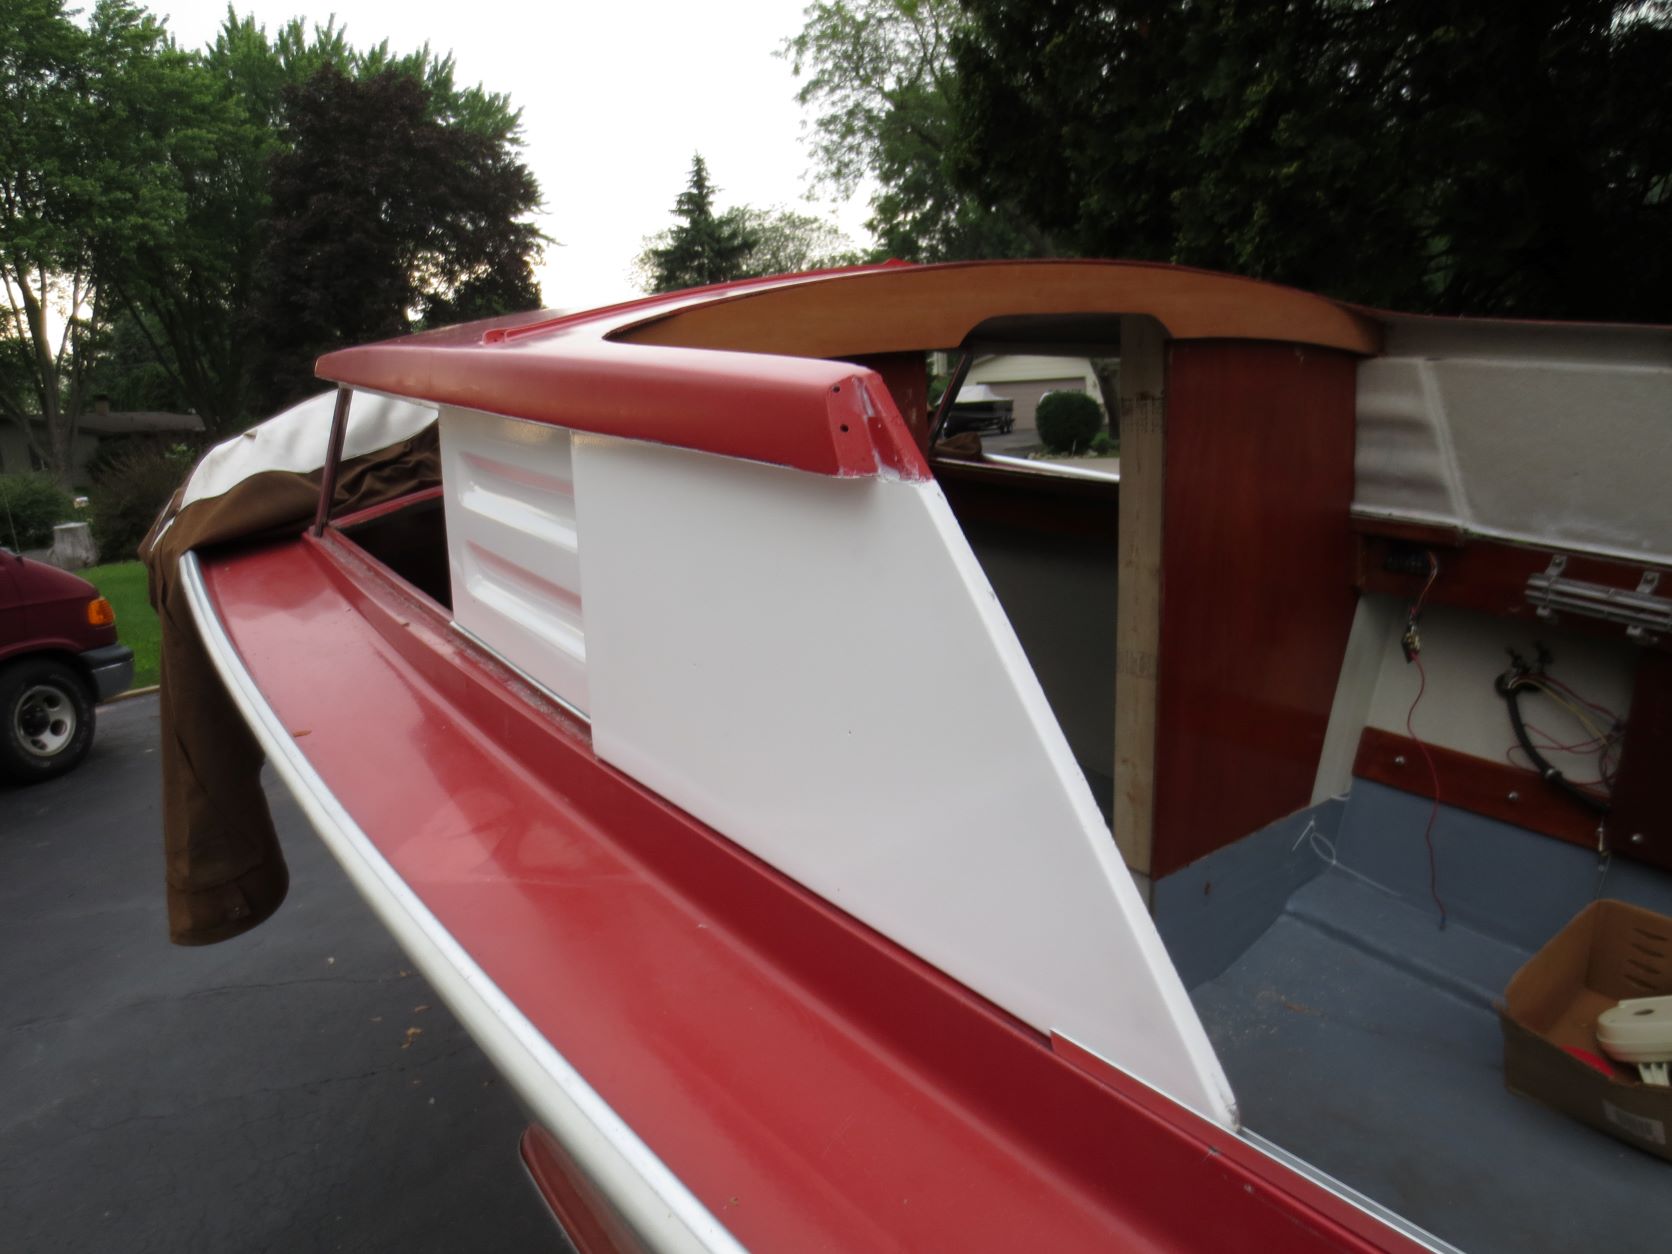
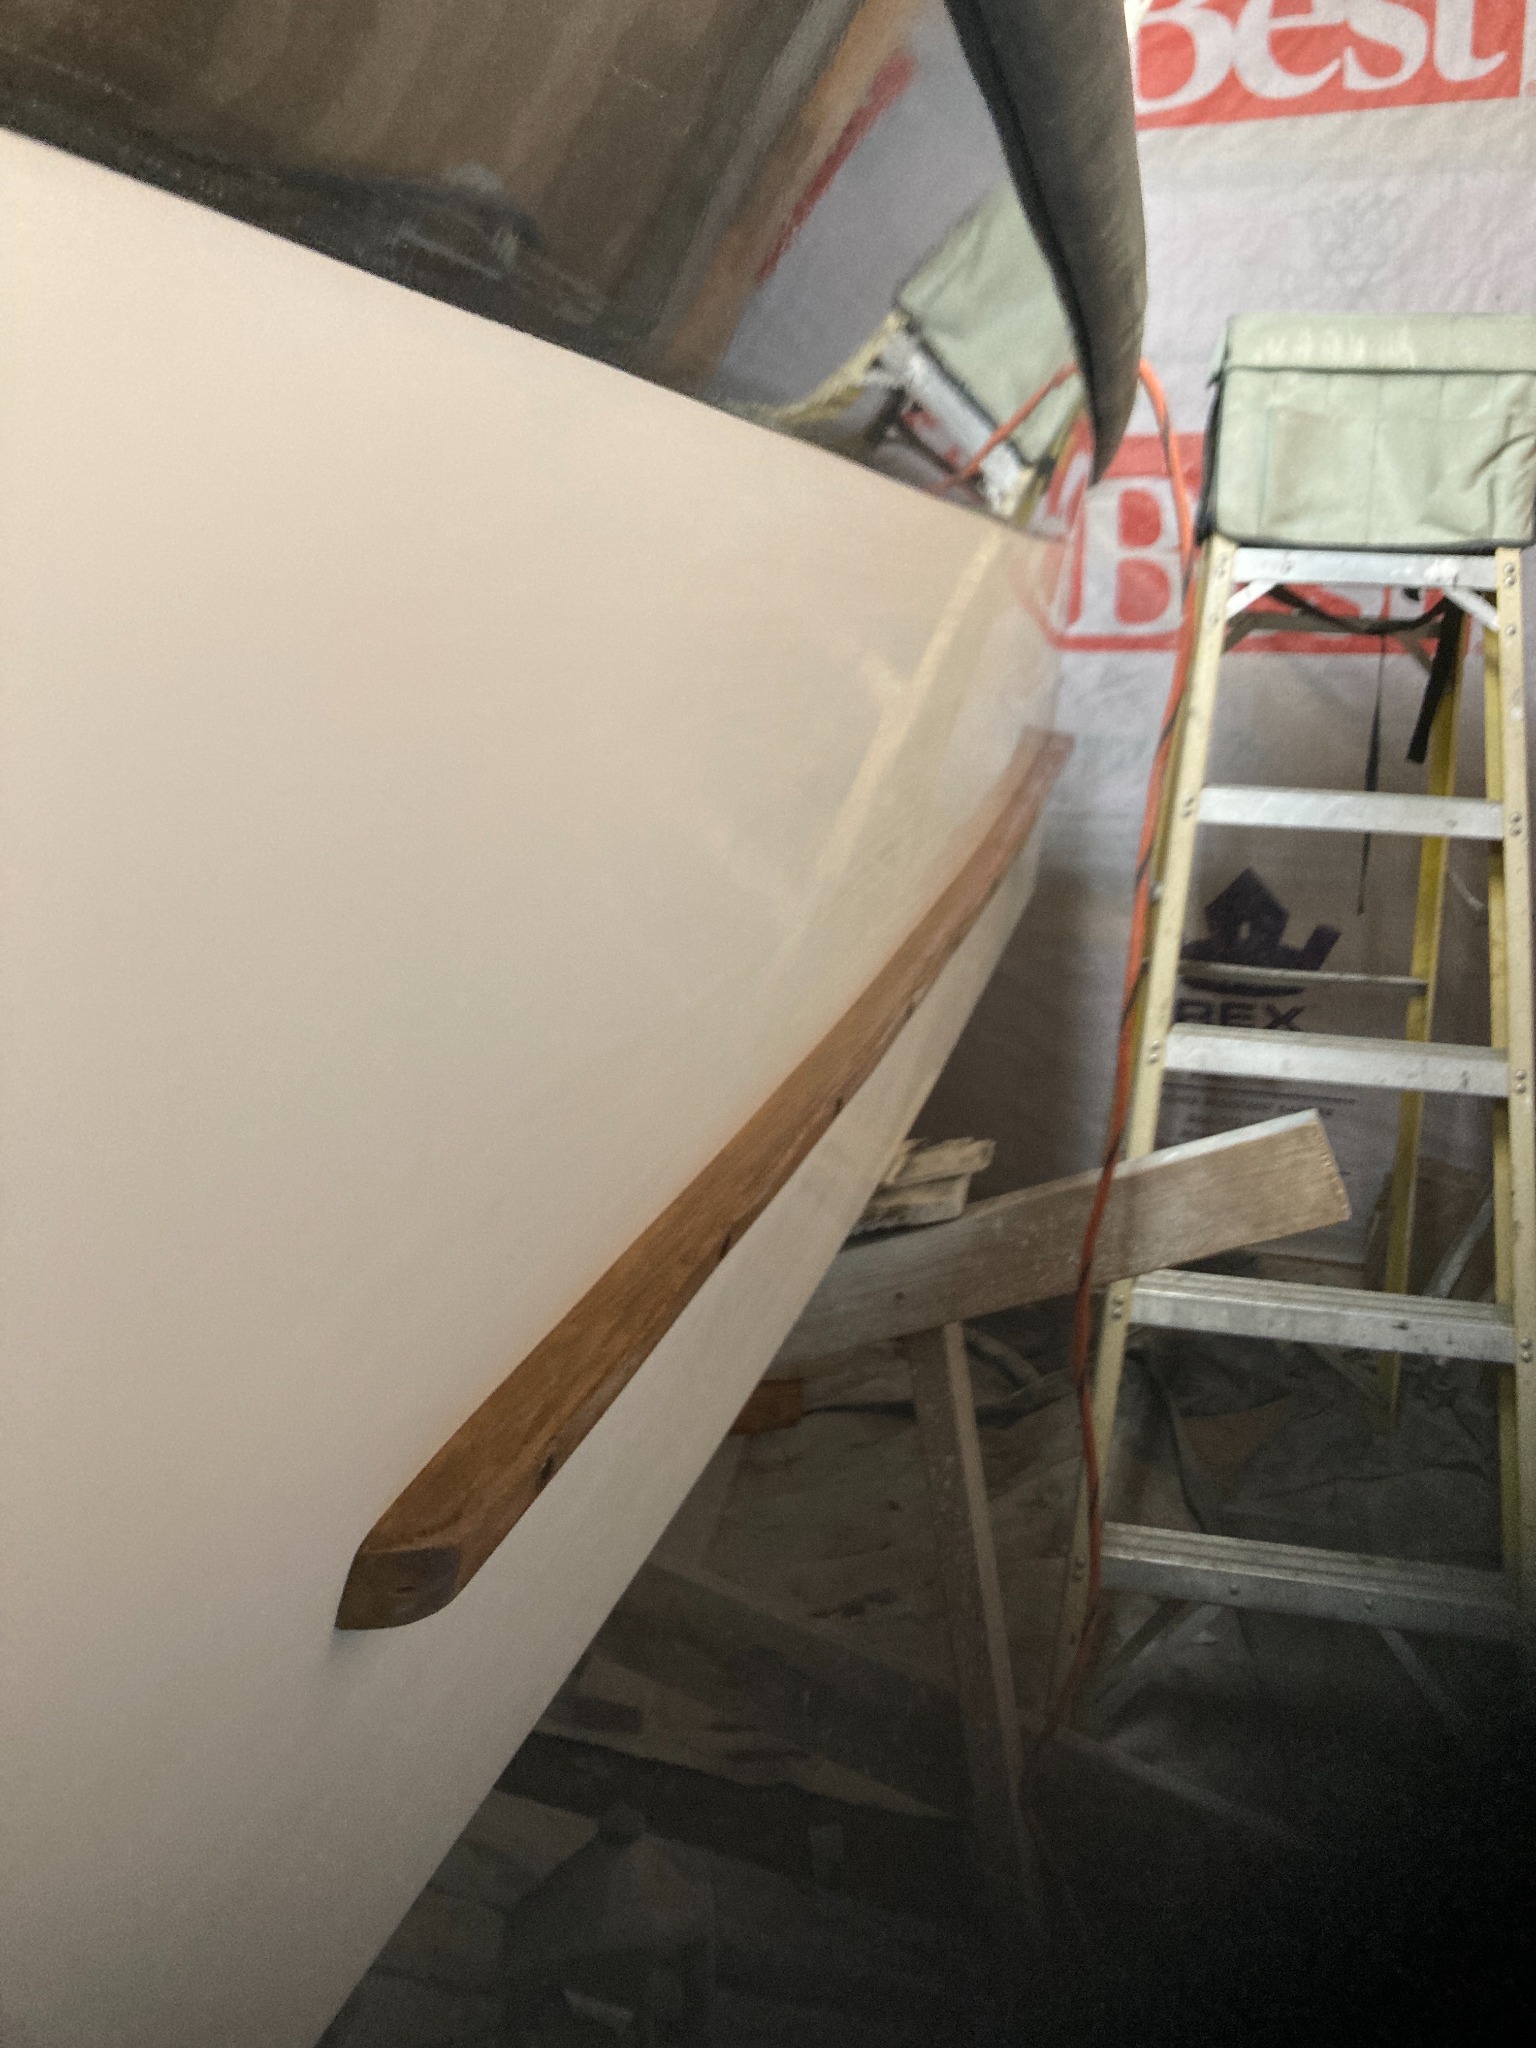
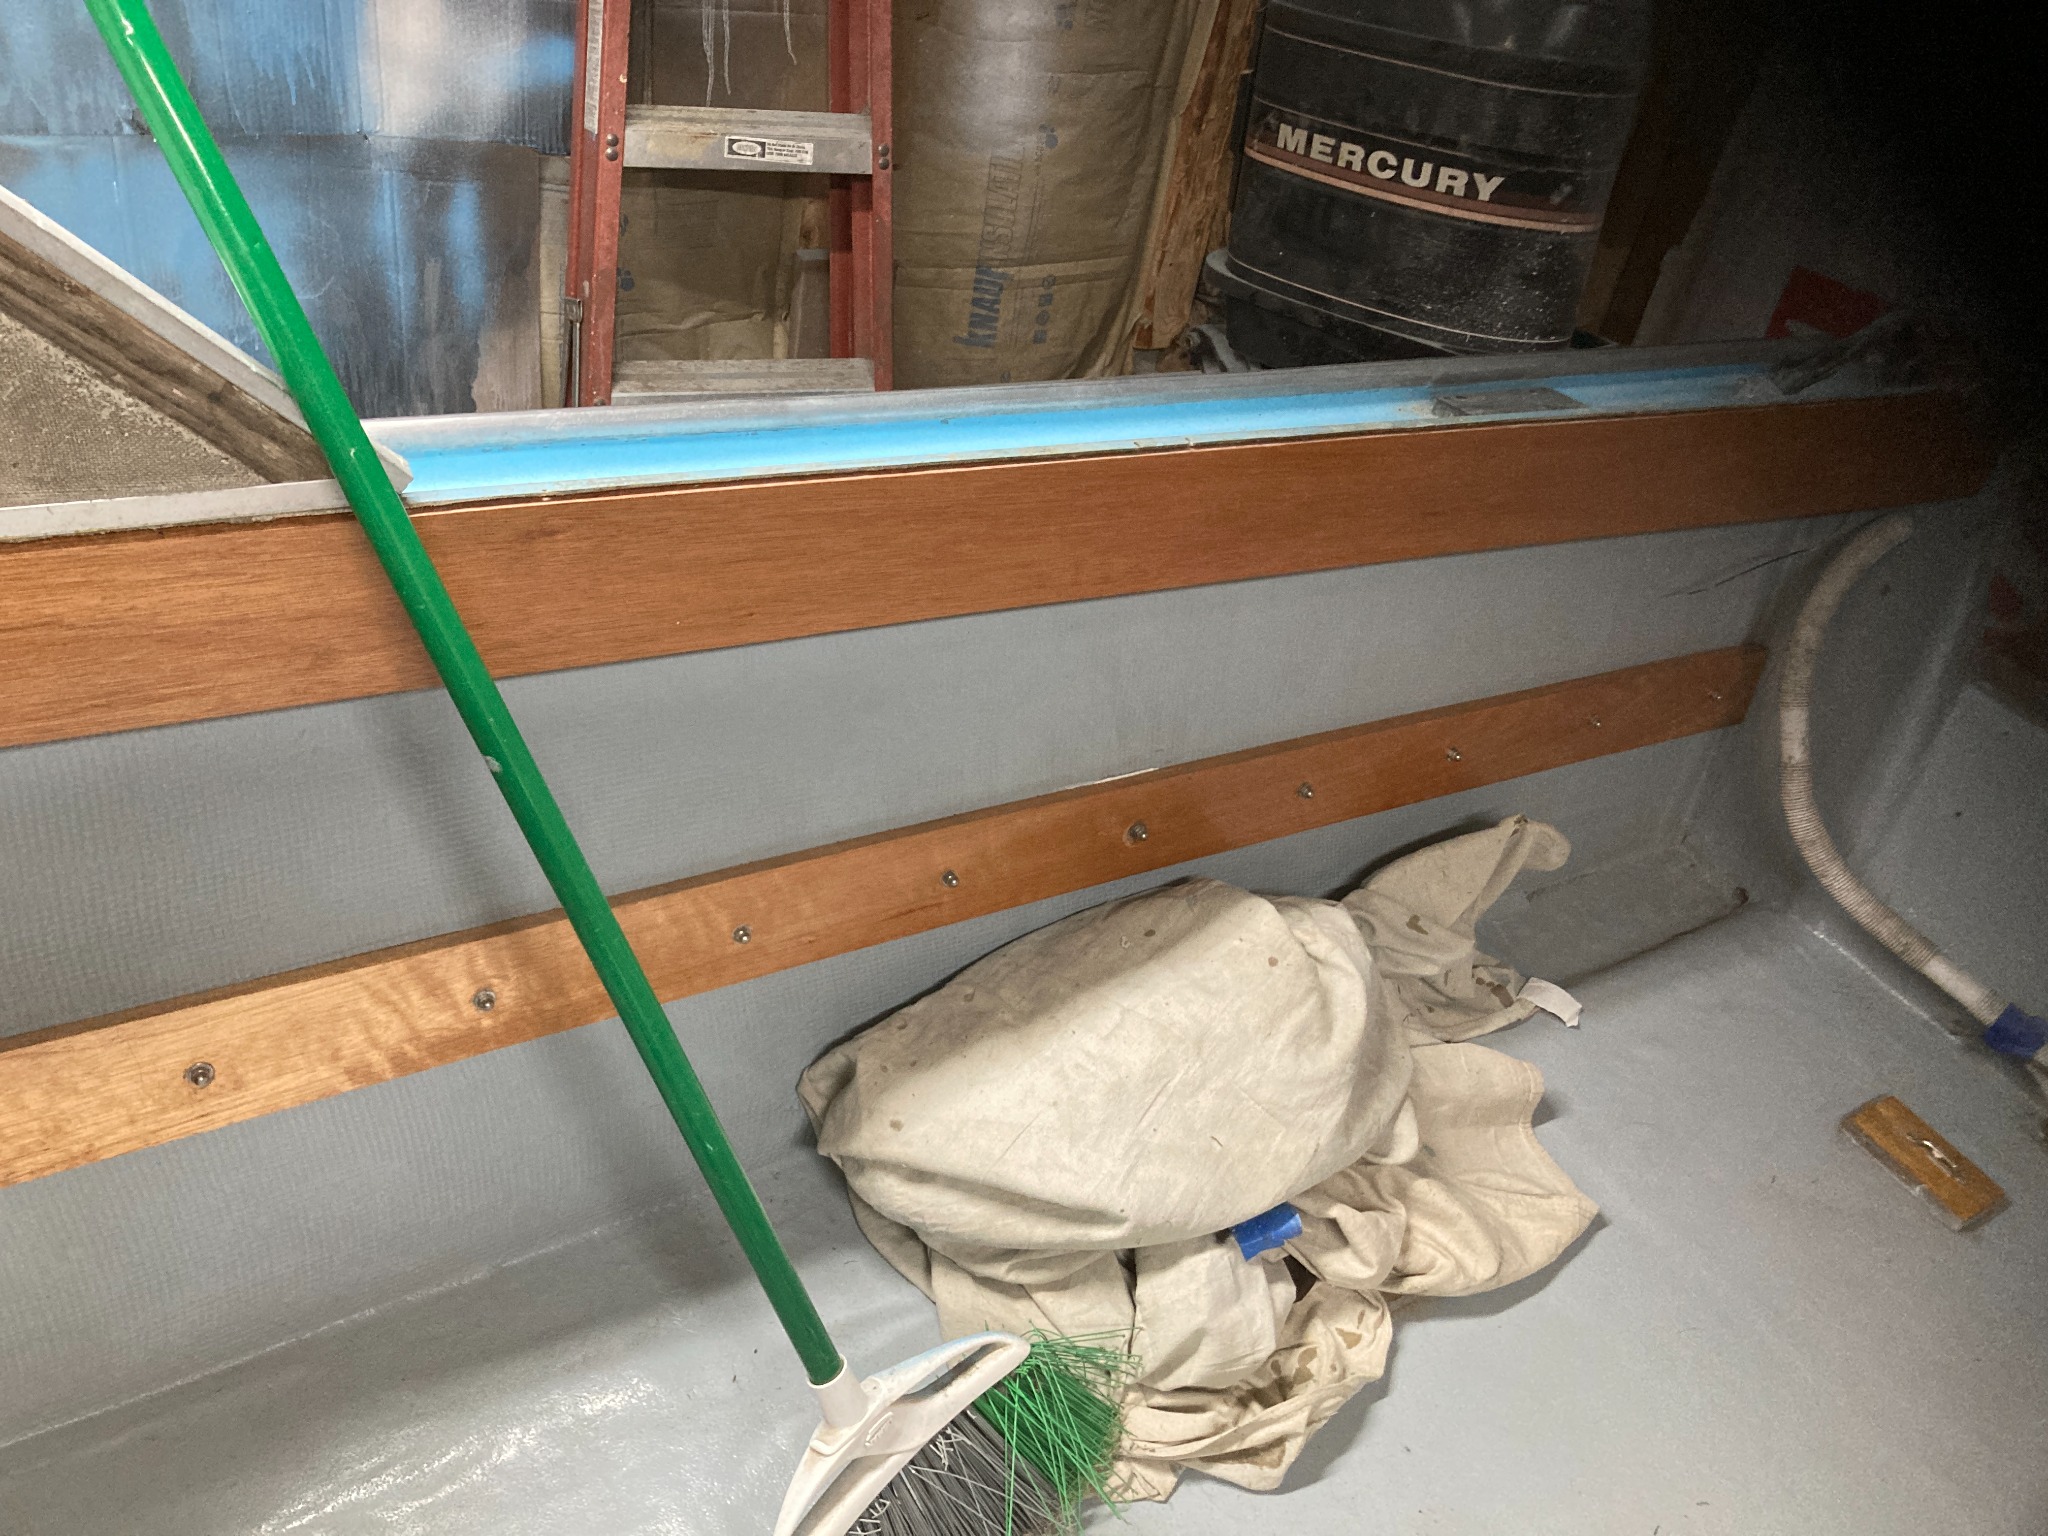
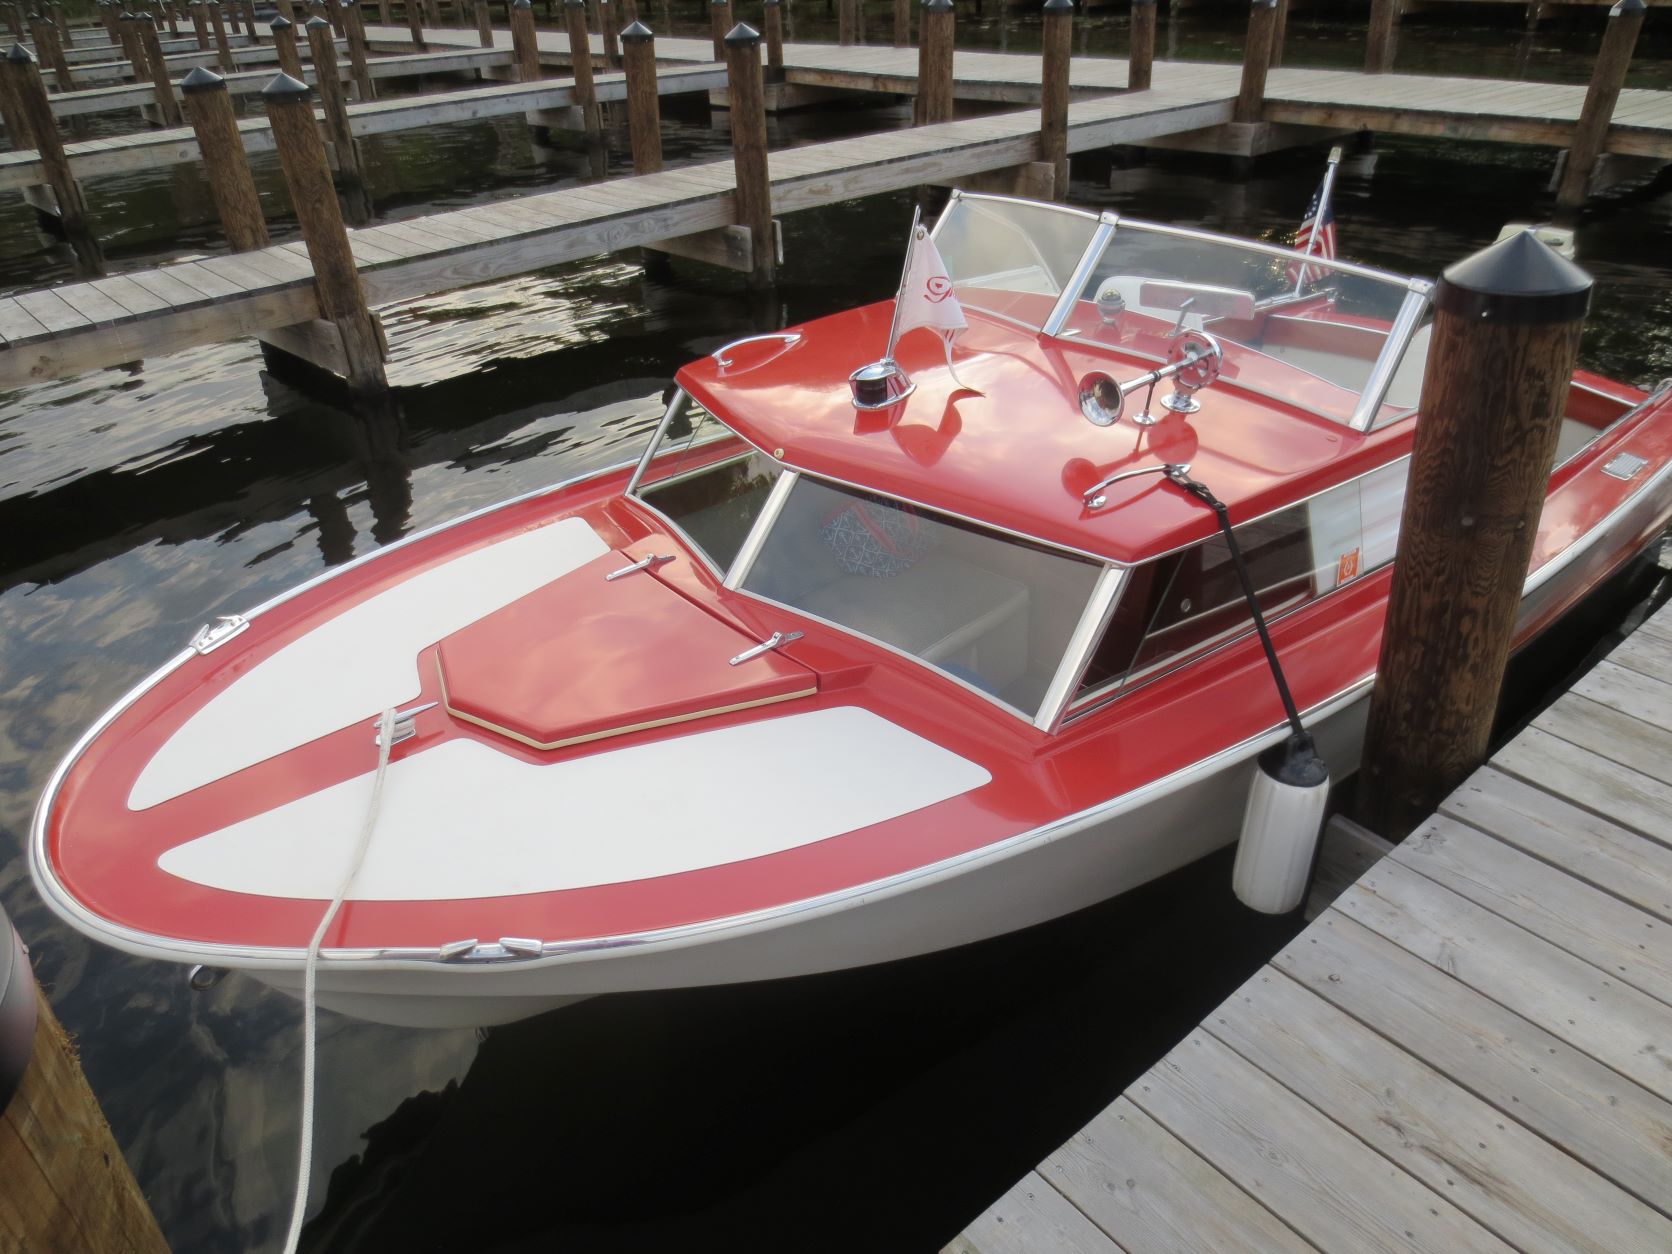
The art of sanding new gelcoat?! 2 years 11 months ago #145986
|
Please Log in or Create an account to join the conversation. |

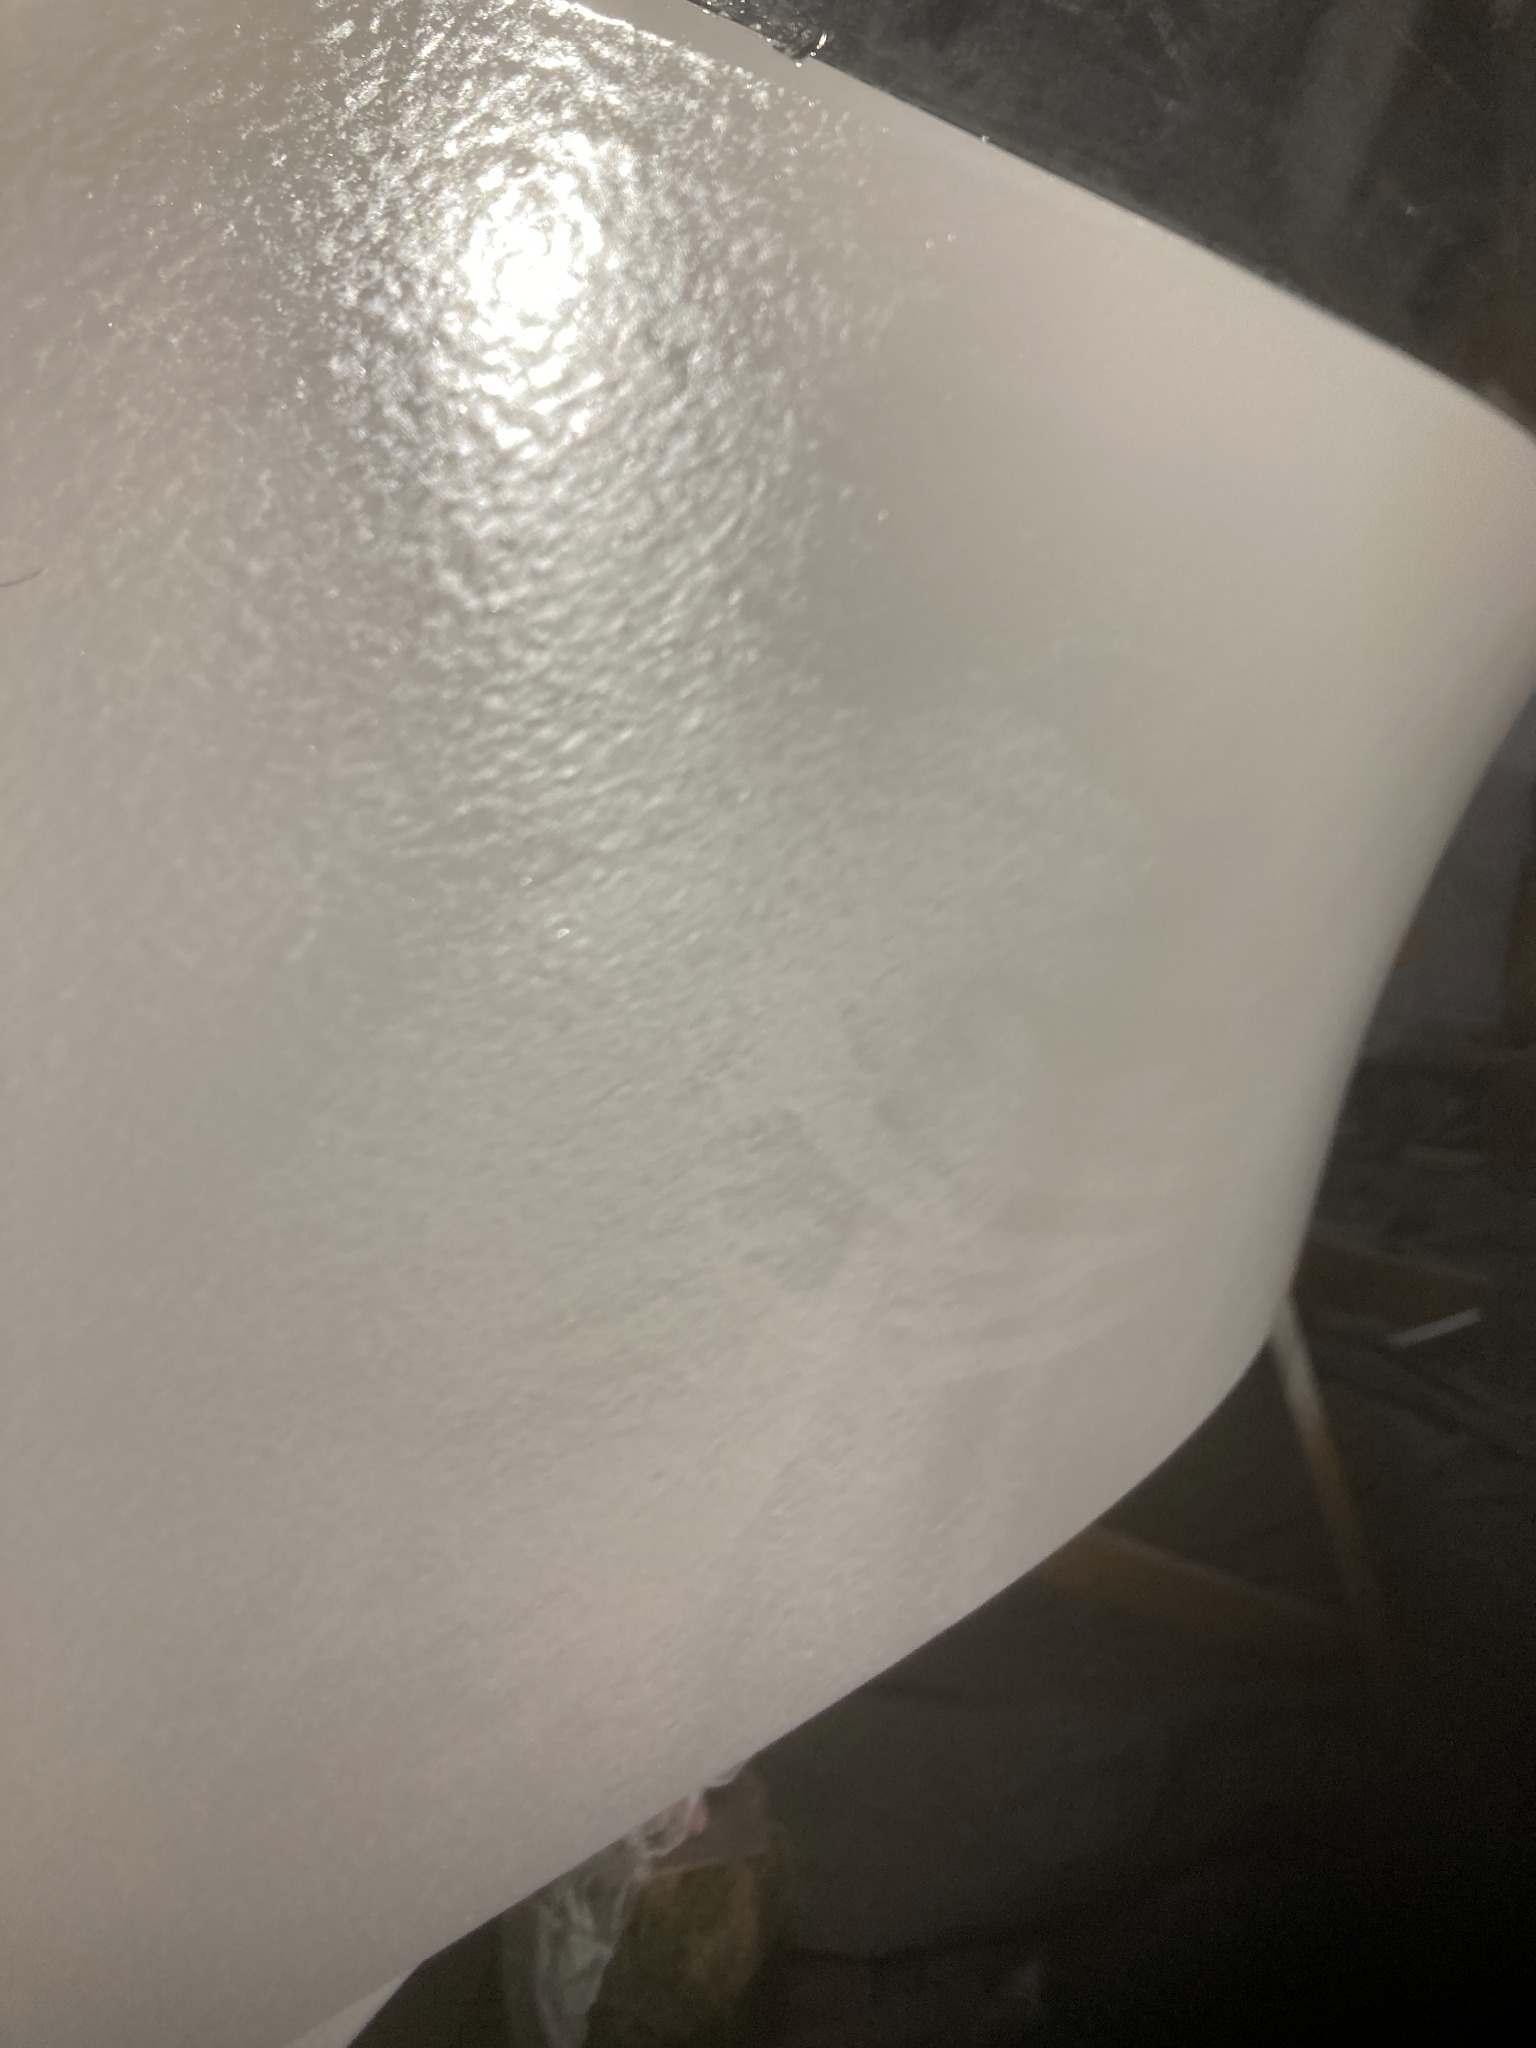

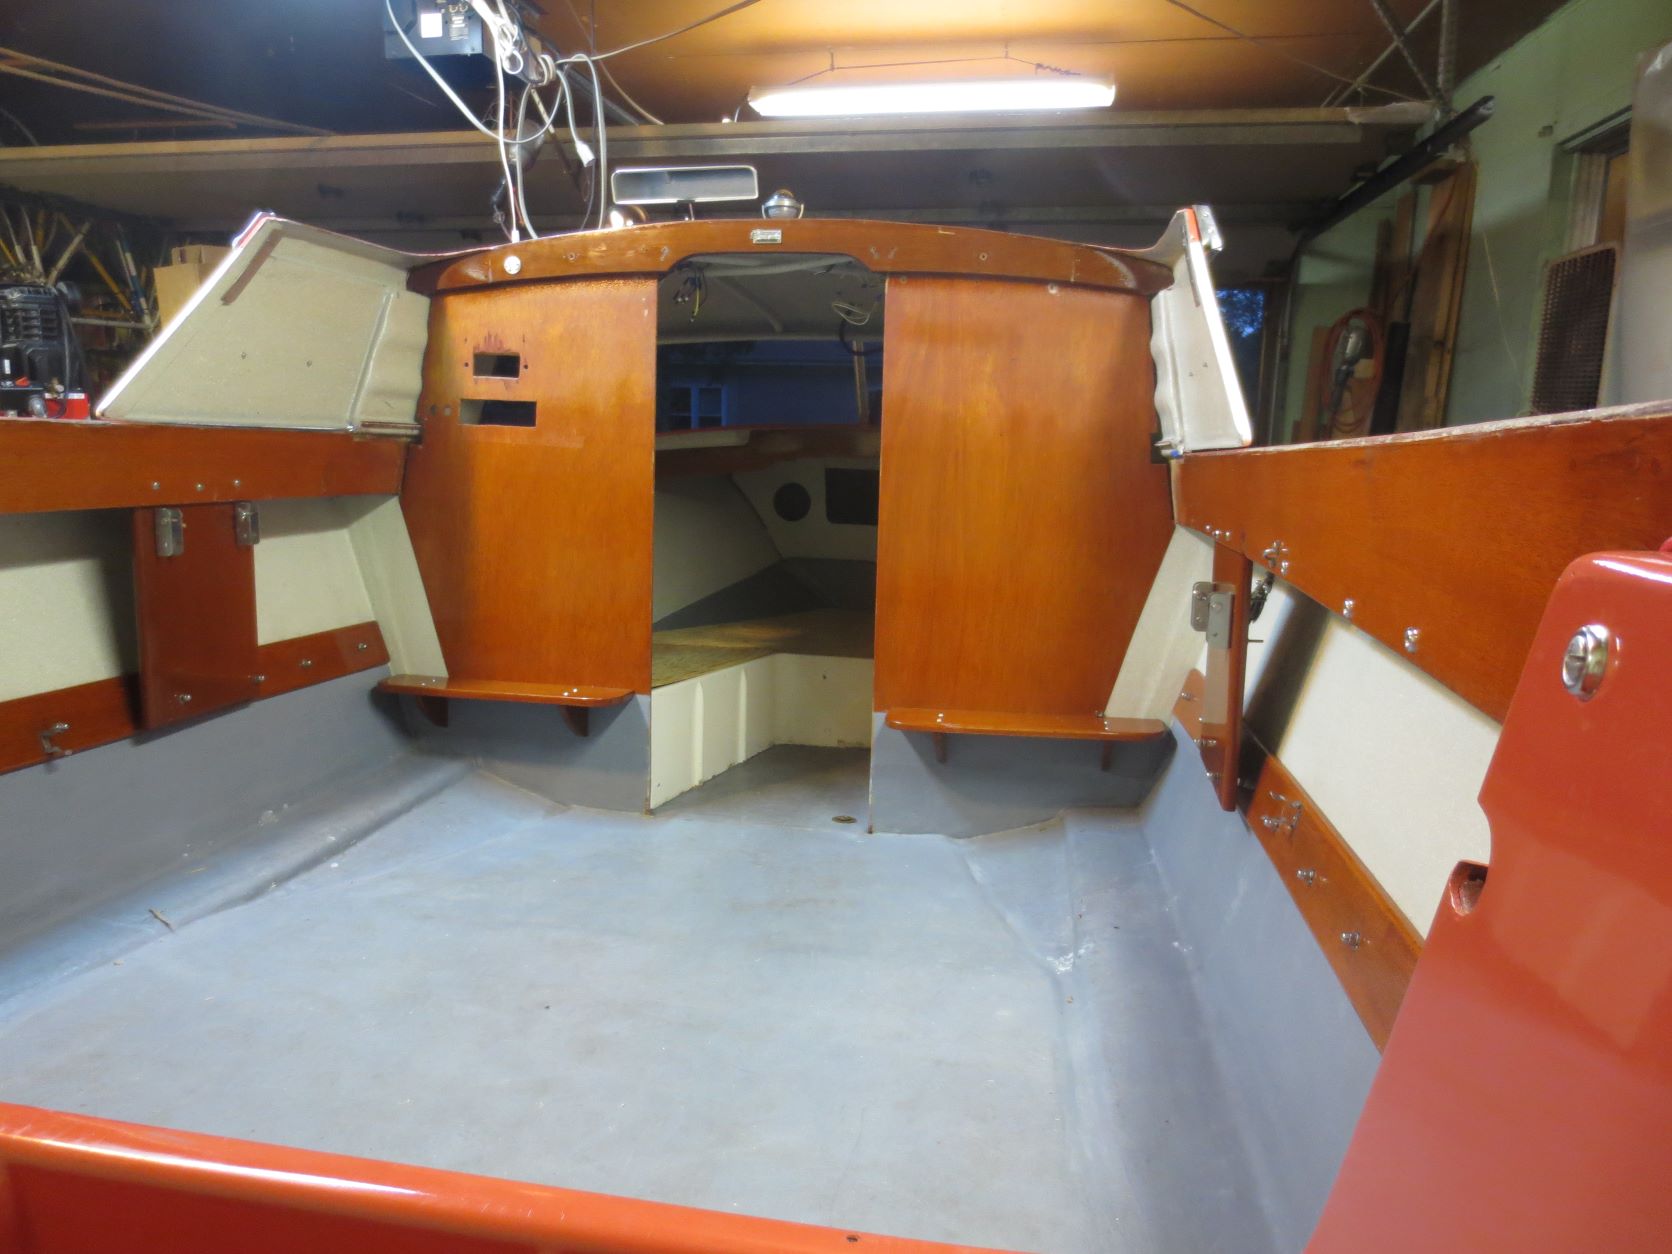
The art of sanding new gelcoat?! 2 years 11 months ago #145989
|
Please Log in or Create an account to join the conversation. |


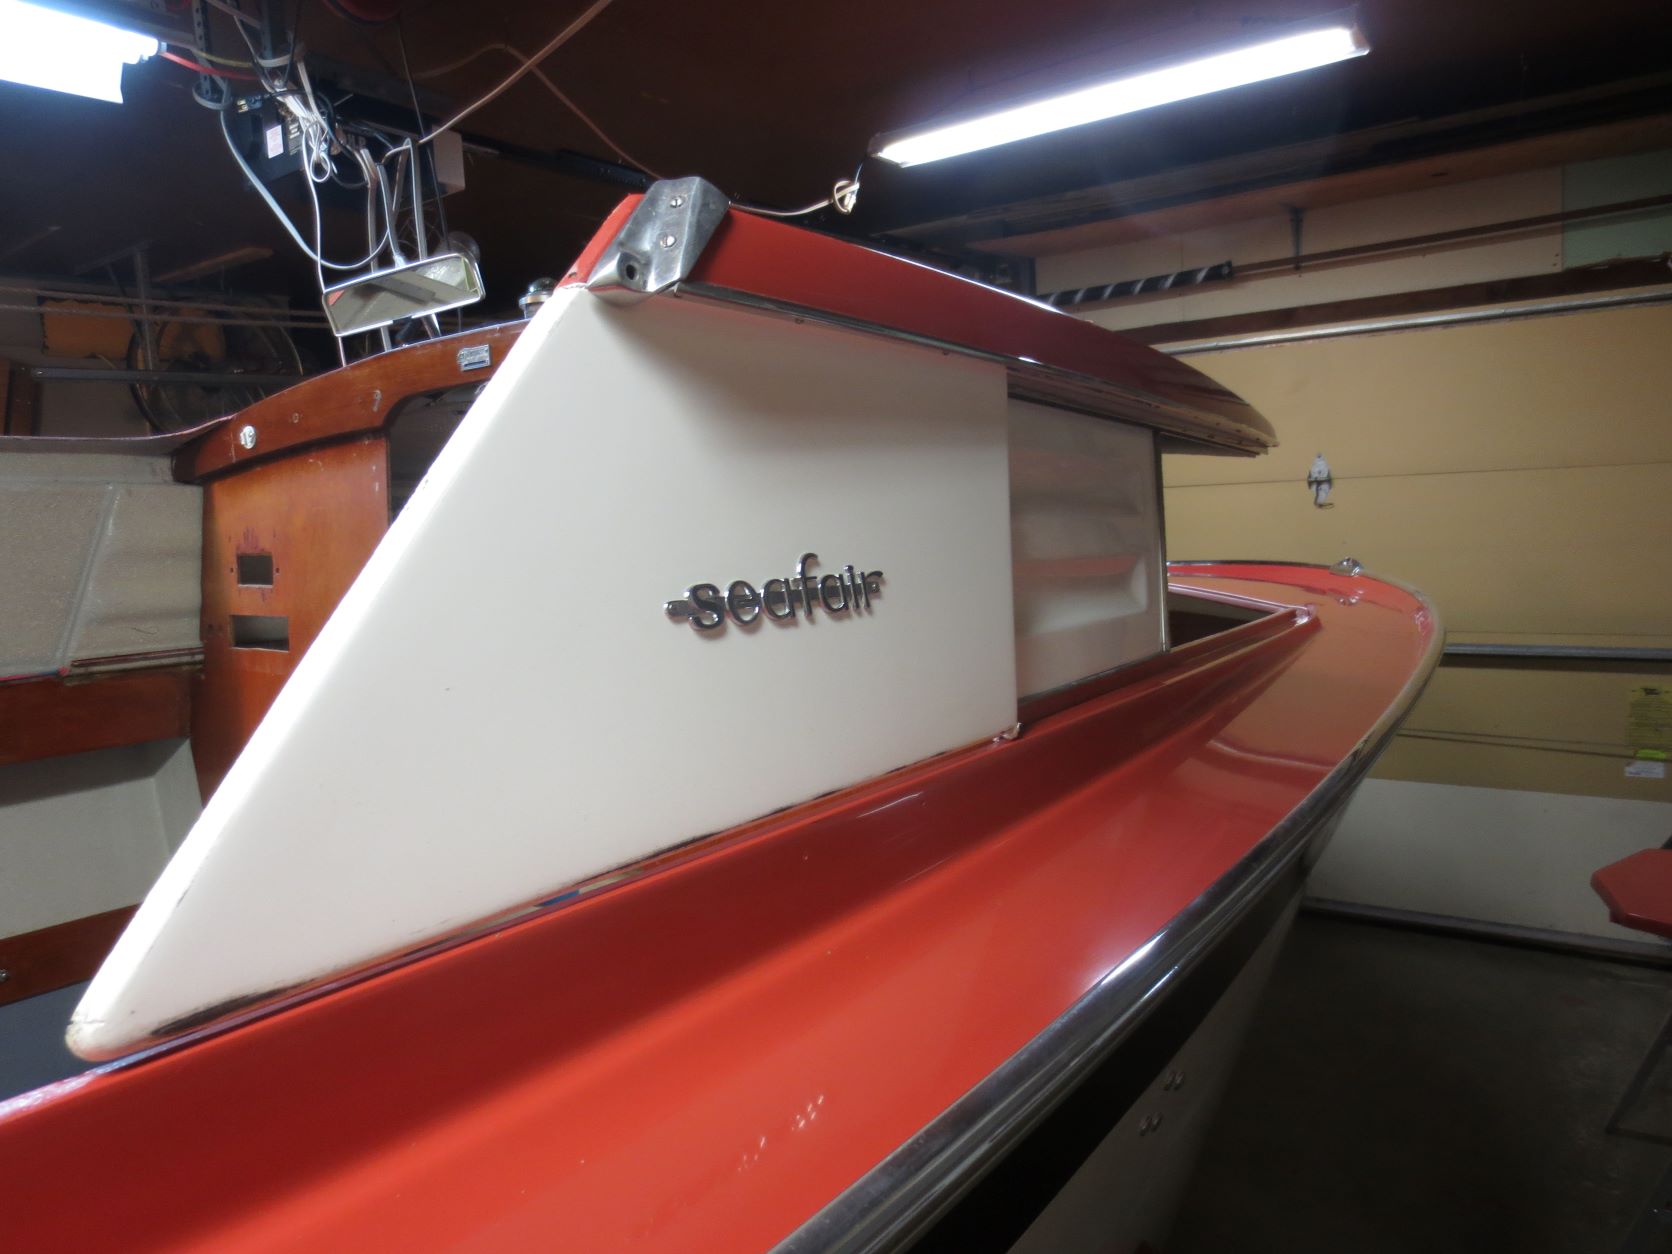
The art of sanding new gelcoat?! 2 years 11 months ago #145990
|
Please Log in or Create an account to join the conversation. |
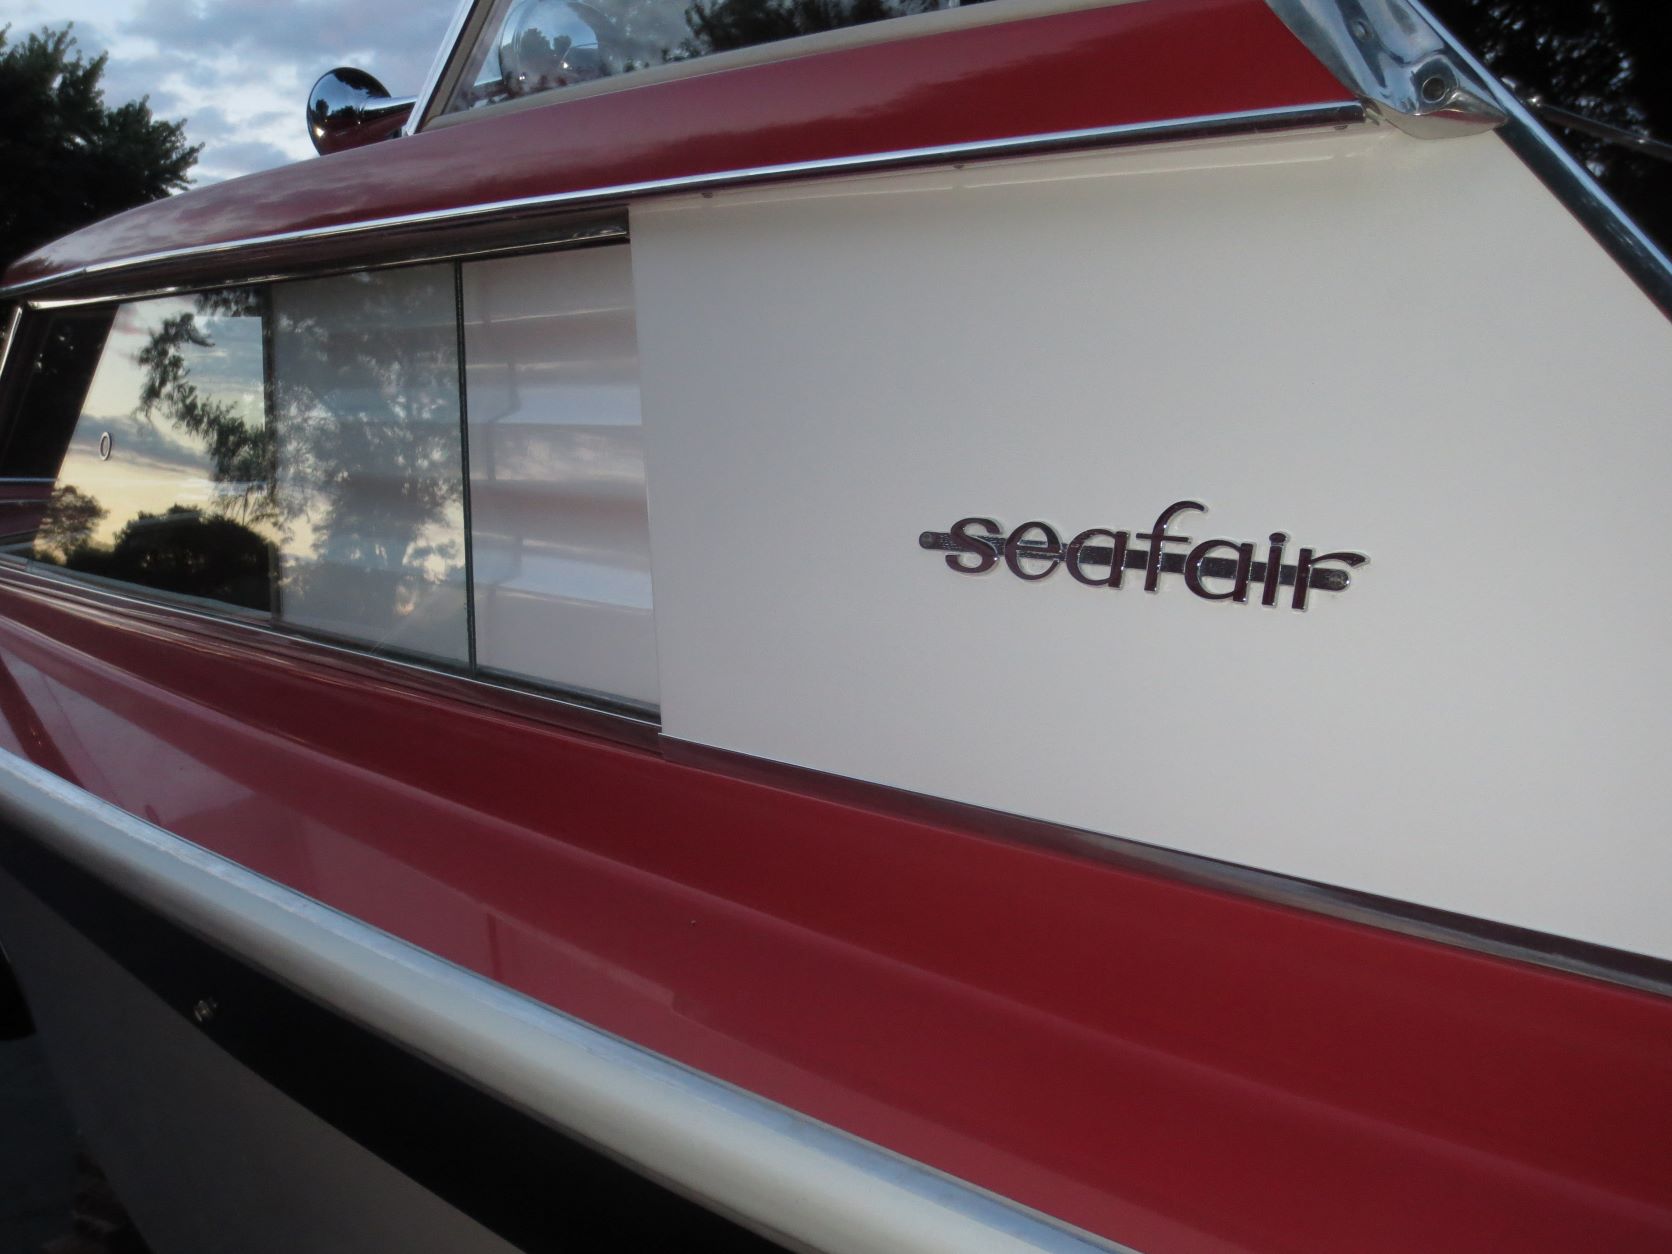
The art of sanding new gelcoat?! 2 years 11 months ago #145991
|
Please Log in or Create an account to join the conversation. |
The art of sanding new gelcoat?! 2 years 11 months ago #145992
|
Please Log in or Create an account to join the conversation. |

The art of sanding new gelcoat?! 2 years 11 months ago #145996
|
Please Log in or Create an account to join the conversation. |
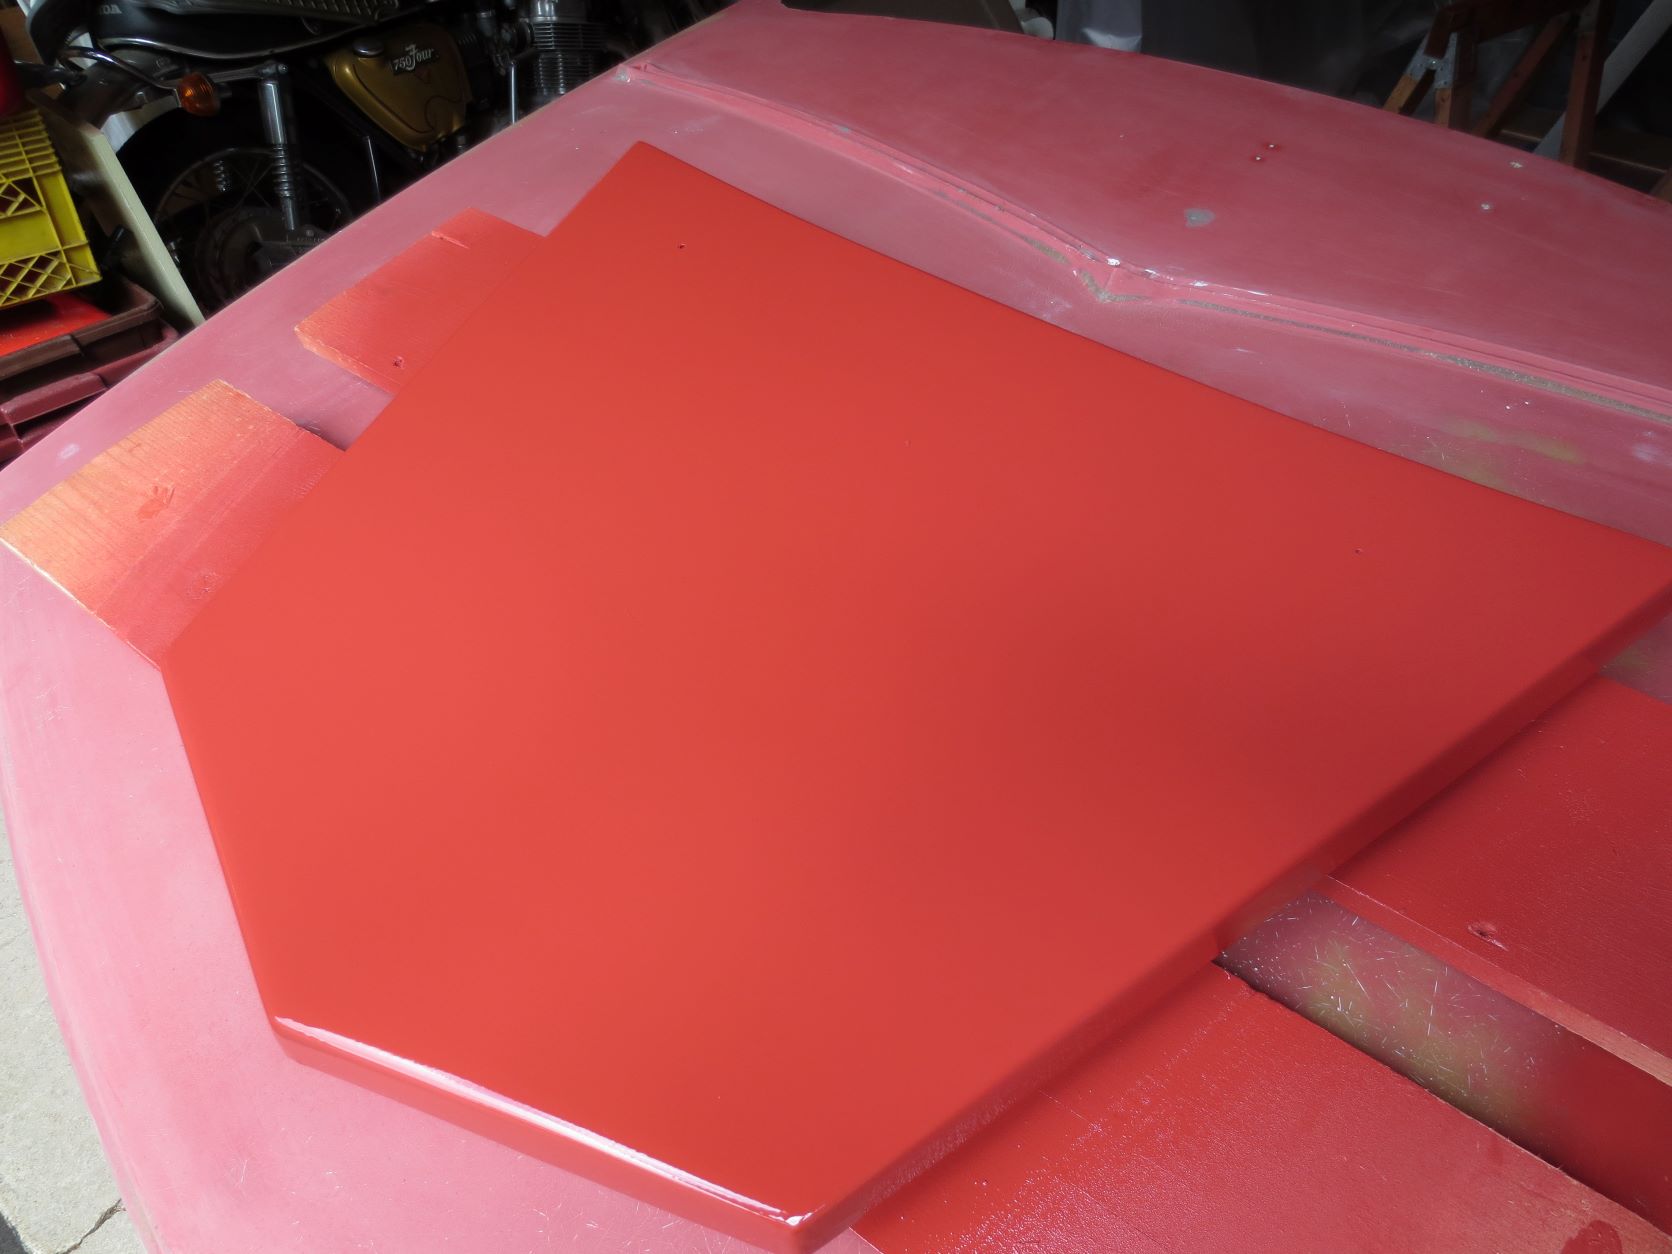
The art of sanding new gelcoat?! 2 years 10 months ago #146184
|
Please Log in or Create an account to join the conversation. |
The art of sanding new gelcoat?! 2 years 10 months ago #146192
|
Please Log in or Create an account to join the conversation. |
The art of sanding new gelcoat?! 2 years 10 months ago #146196
|
Please Log in or Create an account to join the conversation. |
The art of sanding new gelcoat?! 2 years 10 months ago #146208
|
Please Log in or Create an account to join the conversation. |
The art of sanding new gelcoat?! 2 years 10 months ago #146209
|
Please Log in or Create an account to join the conversation. |

The art of sanding new gelcoat?! 2 years 10 months ago #146211
|
Please Log in or Create an account to join the conversation. |
The art of sanding new gelcoat?! 2 years 10 months ago #146214
|
Please Log in or Create an account to join the conversation. |
The art of sanding new gelcoat?! 2 years 10 months ago #146219
|
Please Log in or Create an account to join the conversation. |
The art of sanding new gelcoat?! 2 years 10 months ago #146247
|
Please Log in or Create an account to join the conversation. |
The art of sanding new gelcoat?! 2 years 9 months ago #146316
|
Please Log in or Create an account to join the conversation. |
The art of sanding new gelcoat?! 2 years 9 months ago #146317
|
Please Log in or Create an account to join the conversation. |
The art of sanding new gelcoat?! 2 years 9 months ago #146318
|
Please Log in or Create an account to join the conversation. |
The art of sanding new gelcoat?! 2 years 8 months ago #146443
|
Please Log in or Create an account to join the conversation. |
The art of sanding new gelcoat?! 2 years 8 months ago #146448
|
Please Log in or Create an account to join the conversation. |
The art of sanding new gelcoat?! 2 years 8 months ago #146463
|
Please Log in or Create an account to join the conversation. |
The art of sanding new gelcoat?! 2 years 8 months ago #146464
|
Please Log in or Create an account to join the conversation. |
Donate
Please consider supporting our efforts.
Glassified Ads
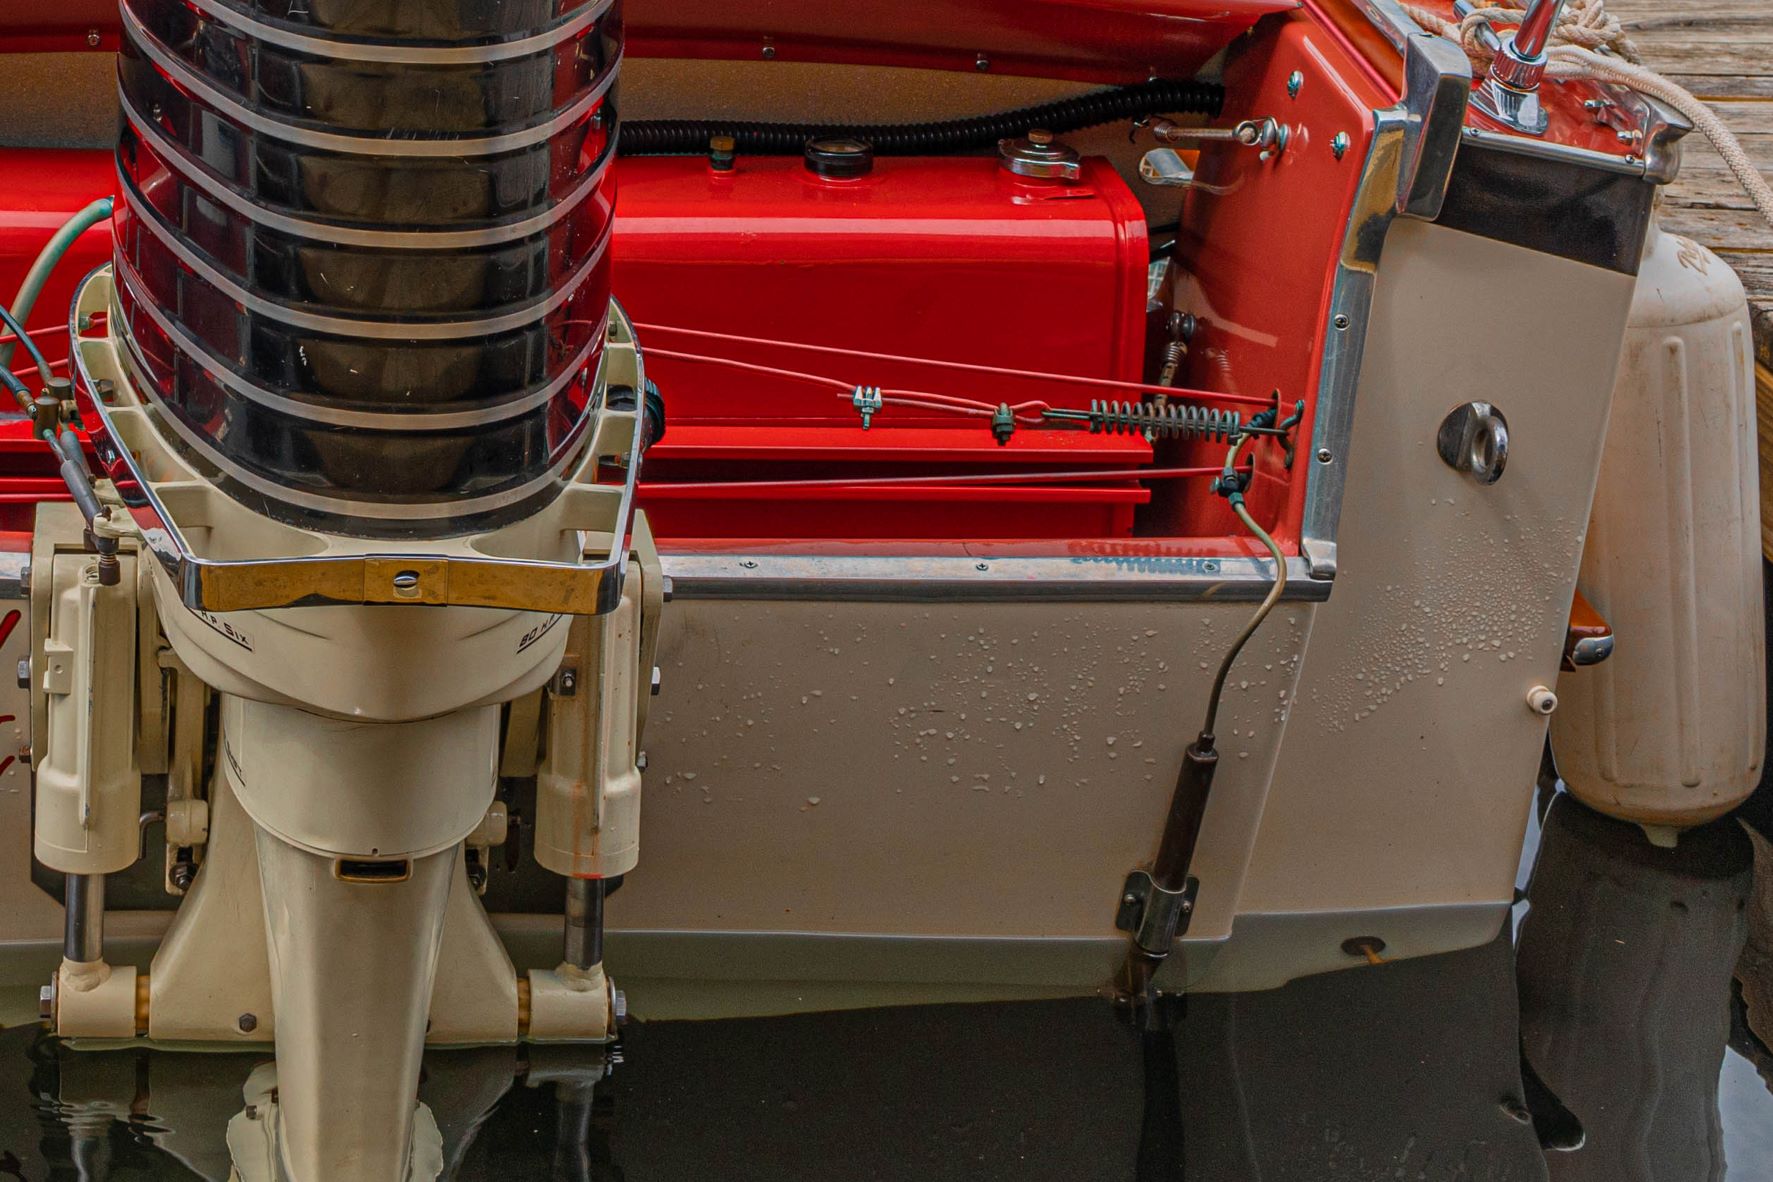
Mercury outboard |

Classic Mercury Outboard Motors( / Engines)

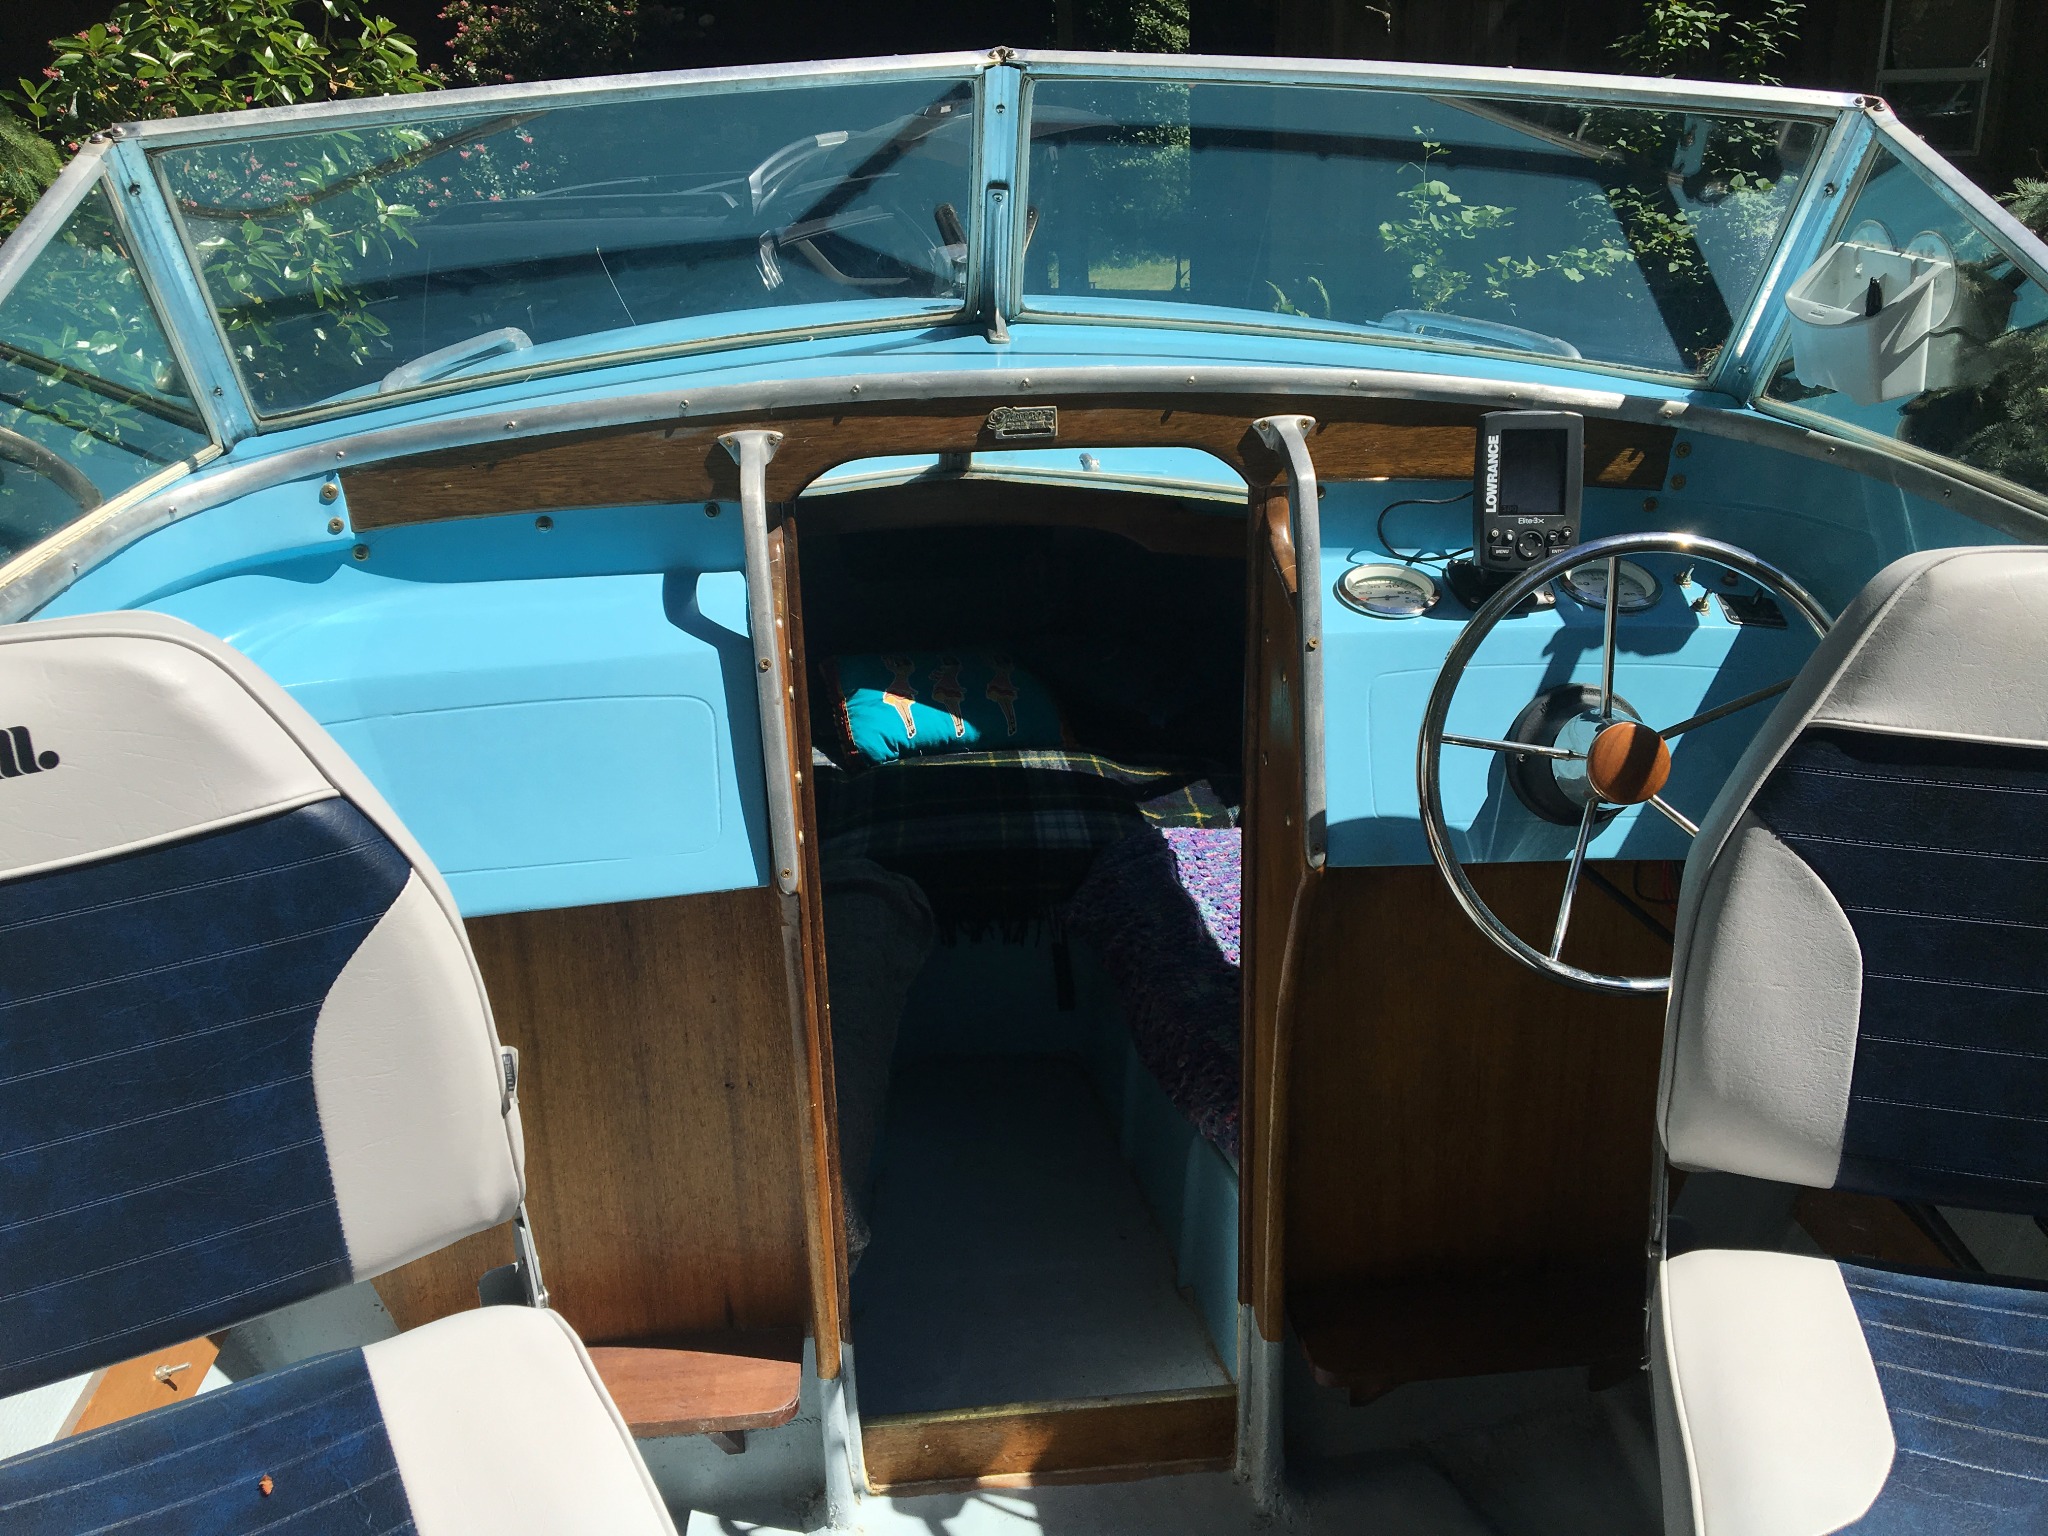
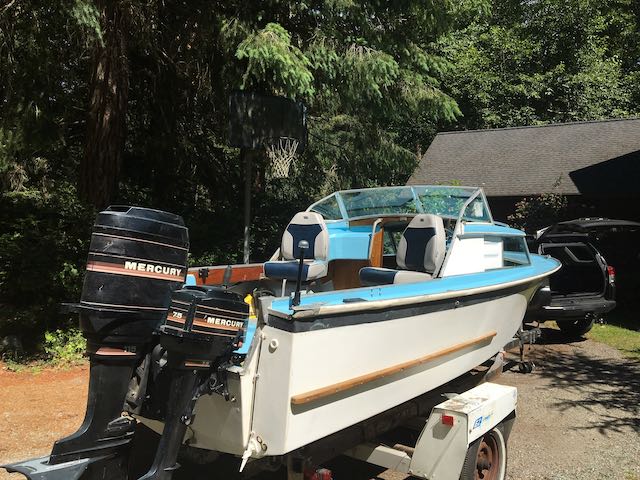
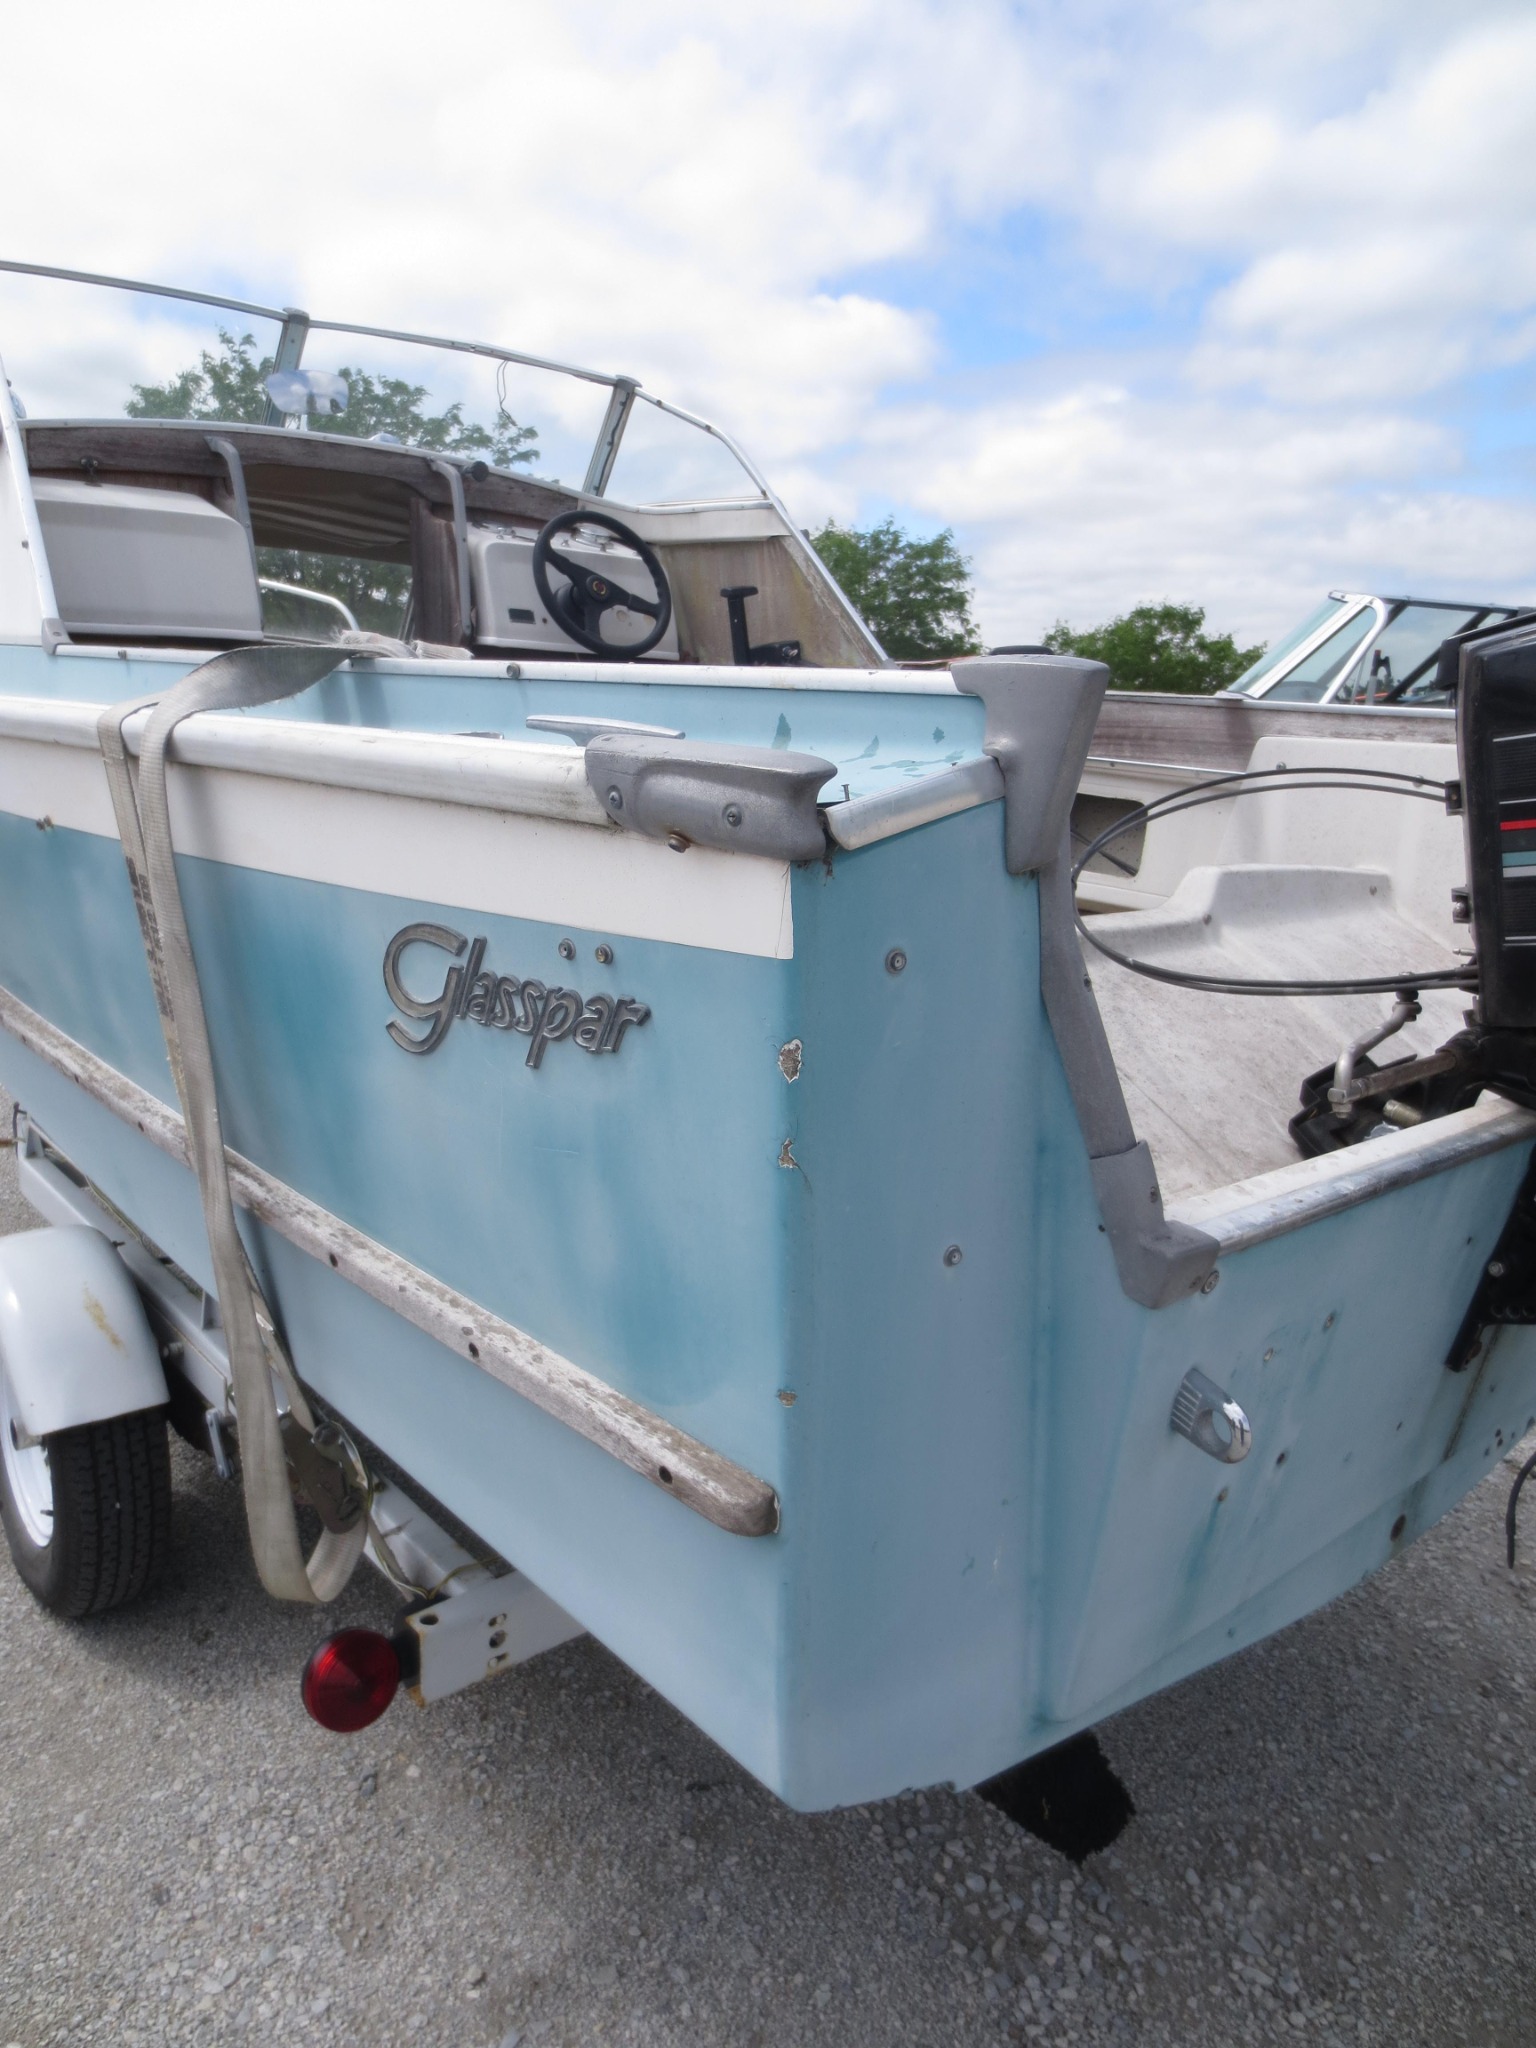
1958 Skagit Sportster( / Boats)


FG Login

FiberGoogle
Who's Online
We have 7999 guests and no members online