Welcome, Guest
Username: Password: Remember me
  • Page:
  • 1

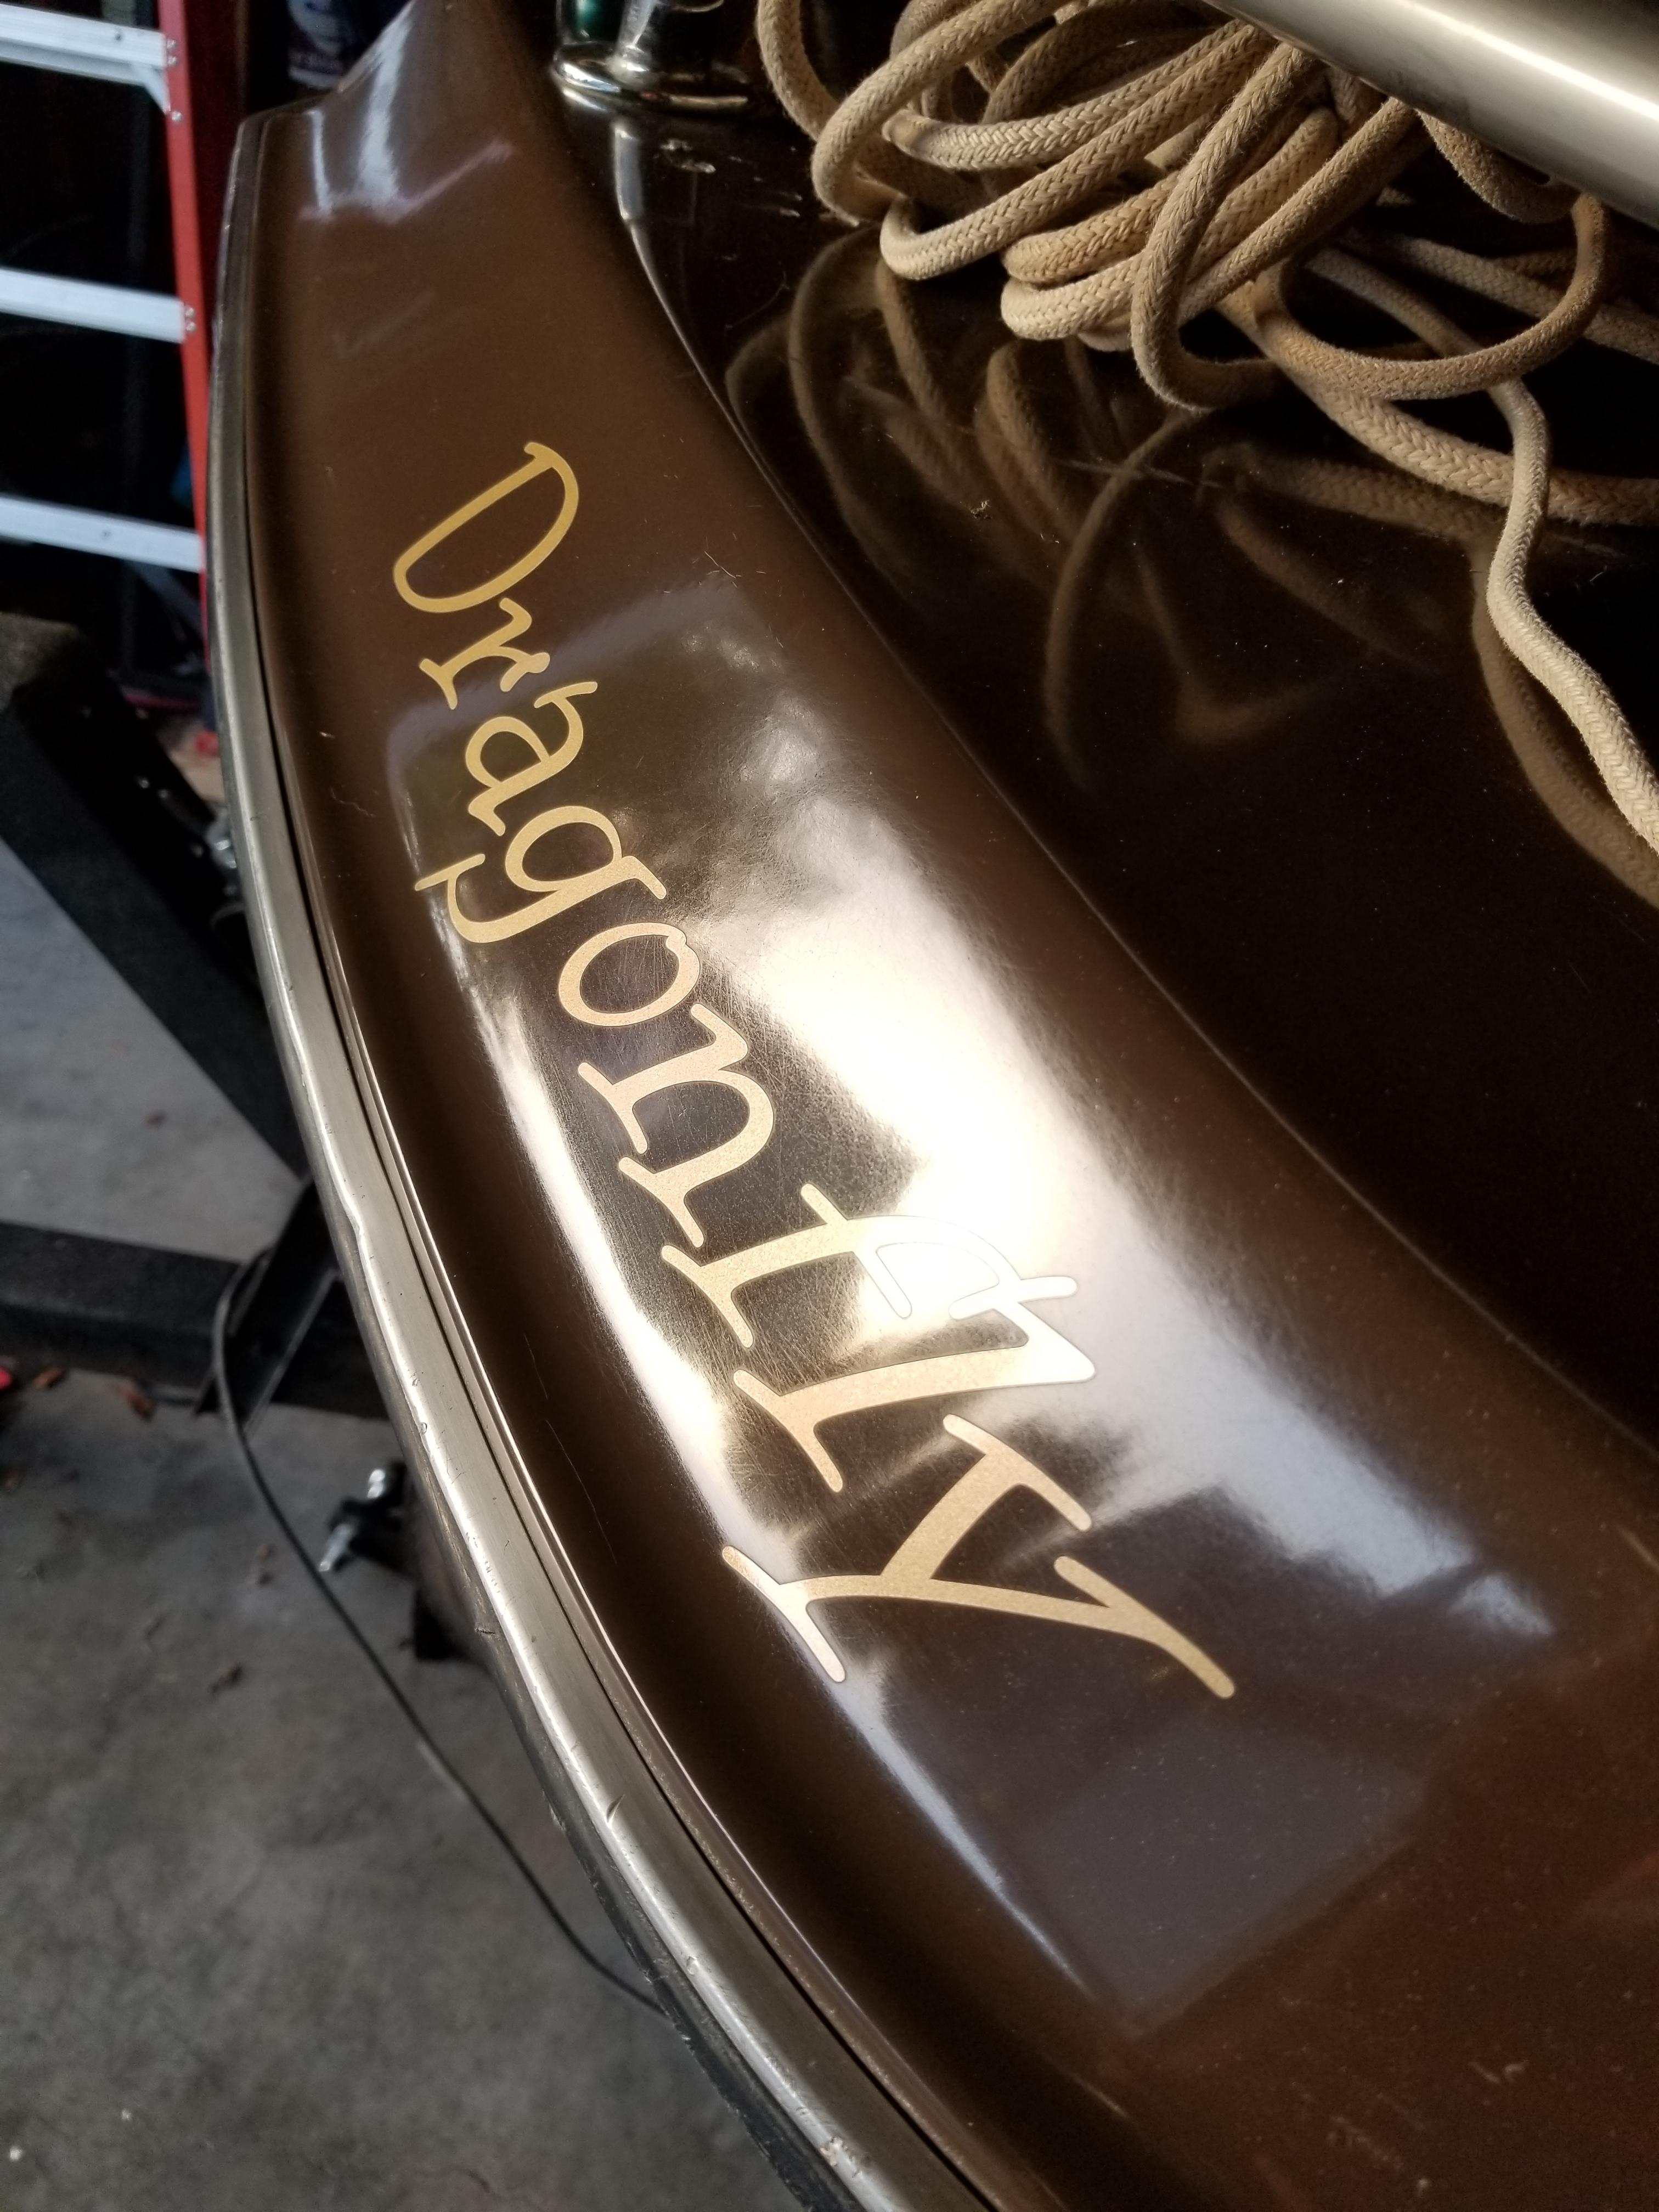
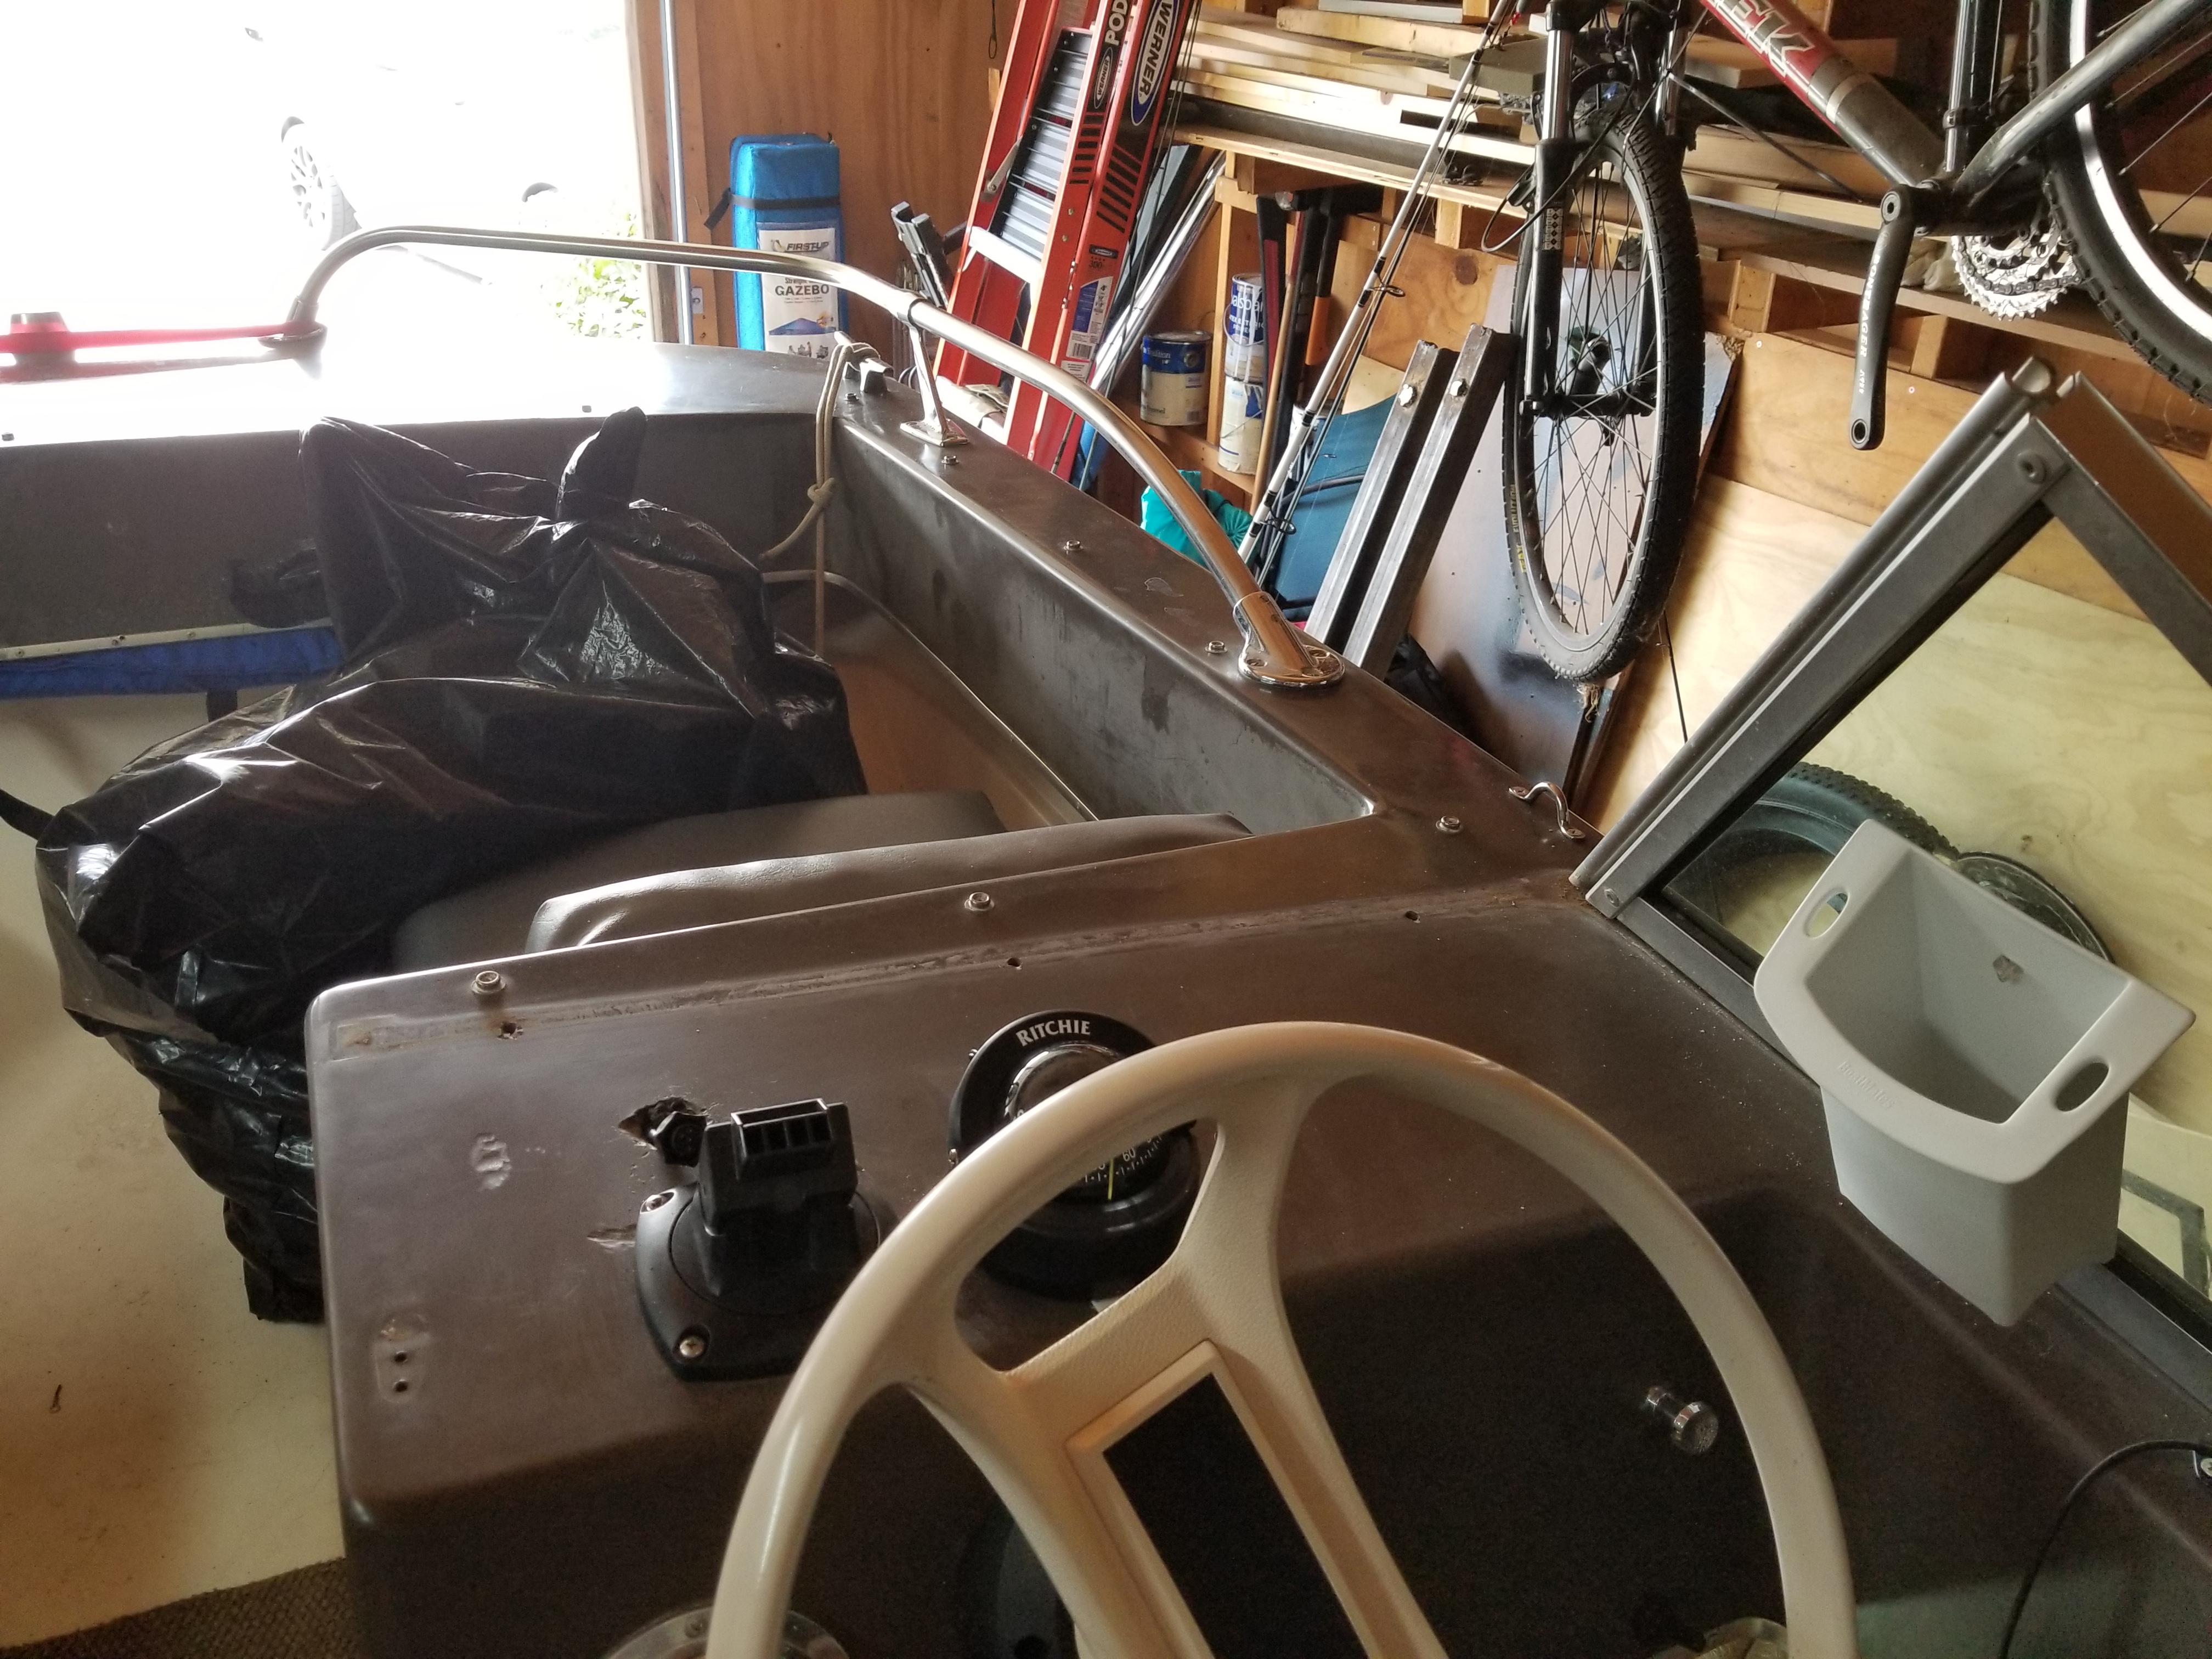
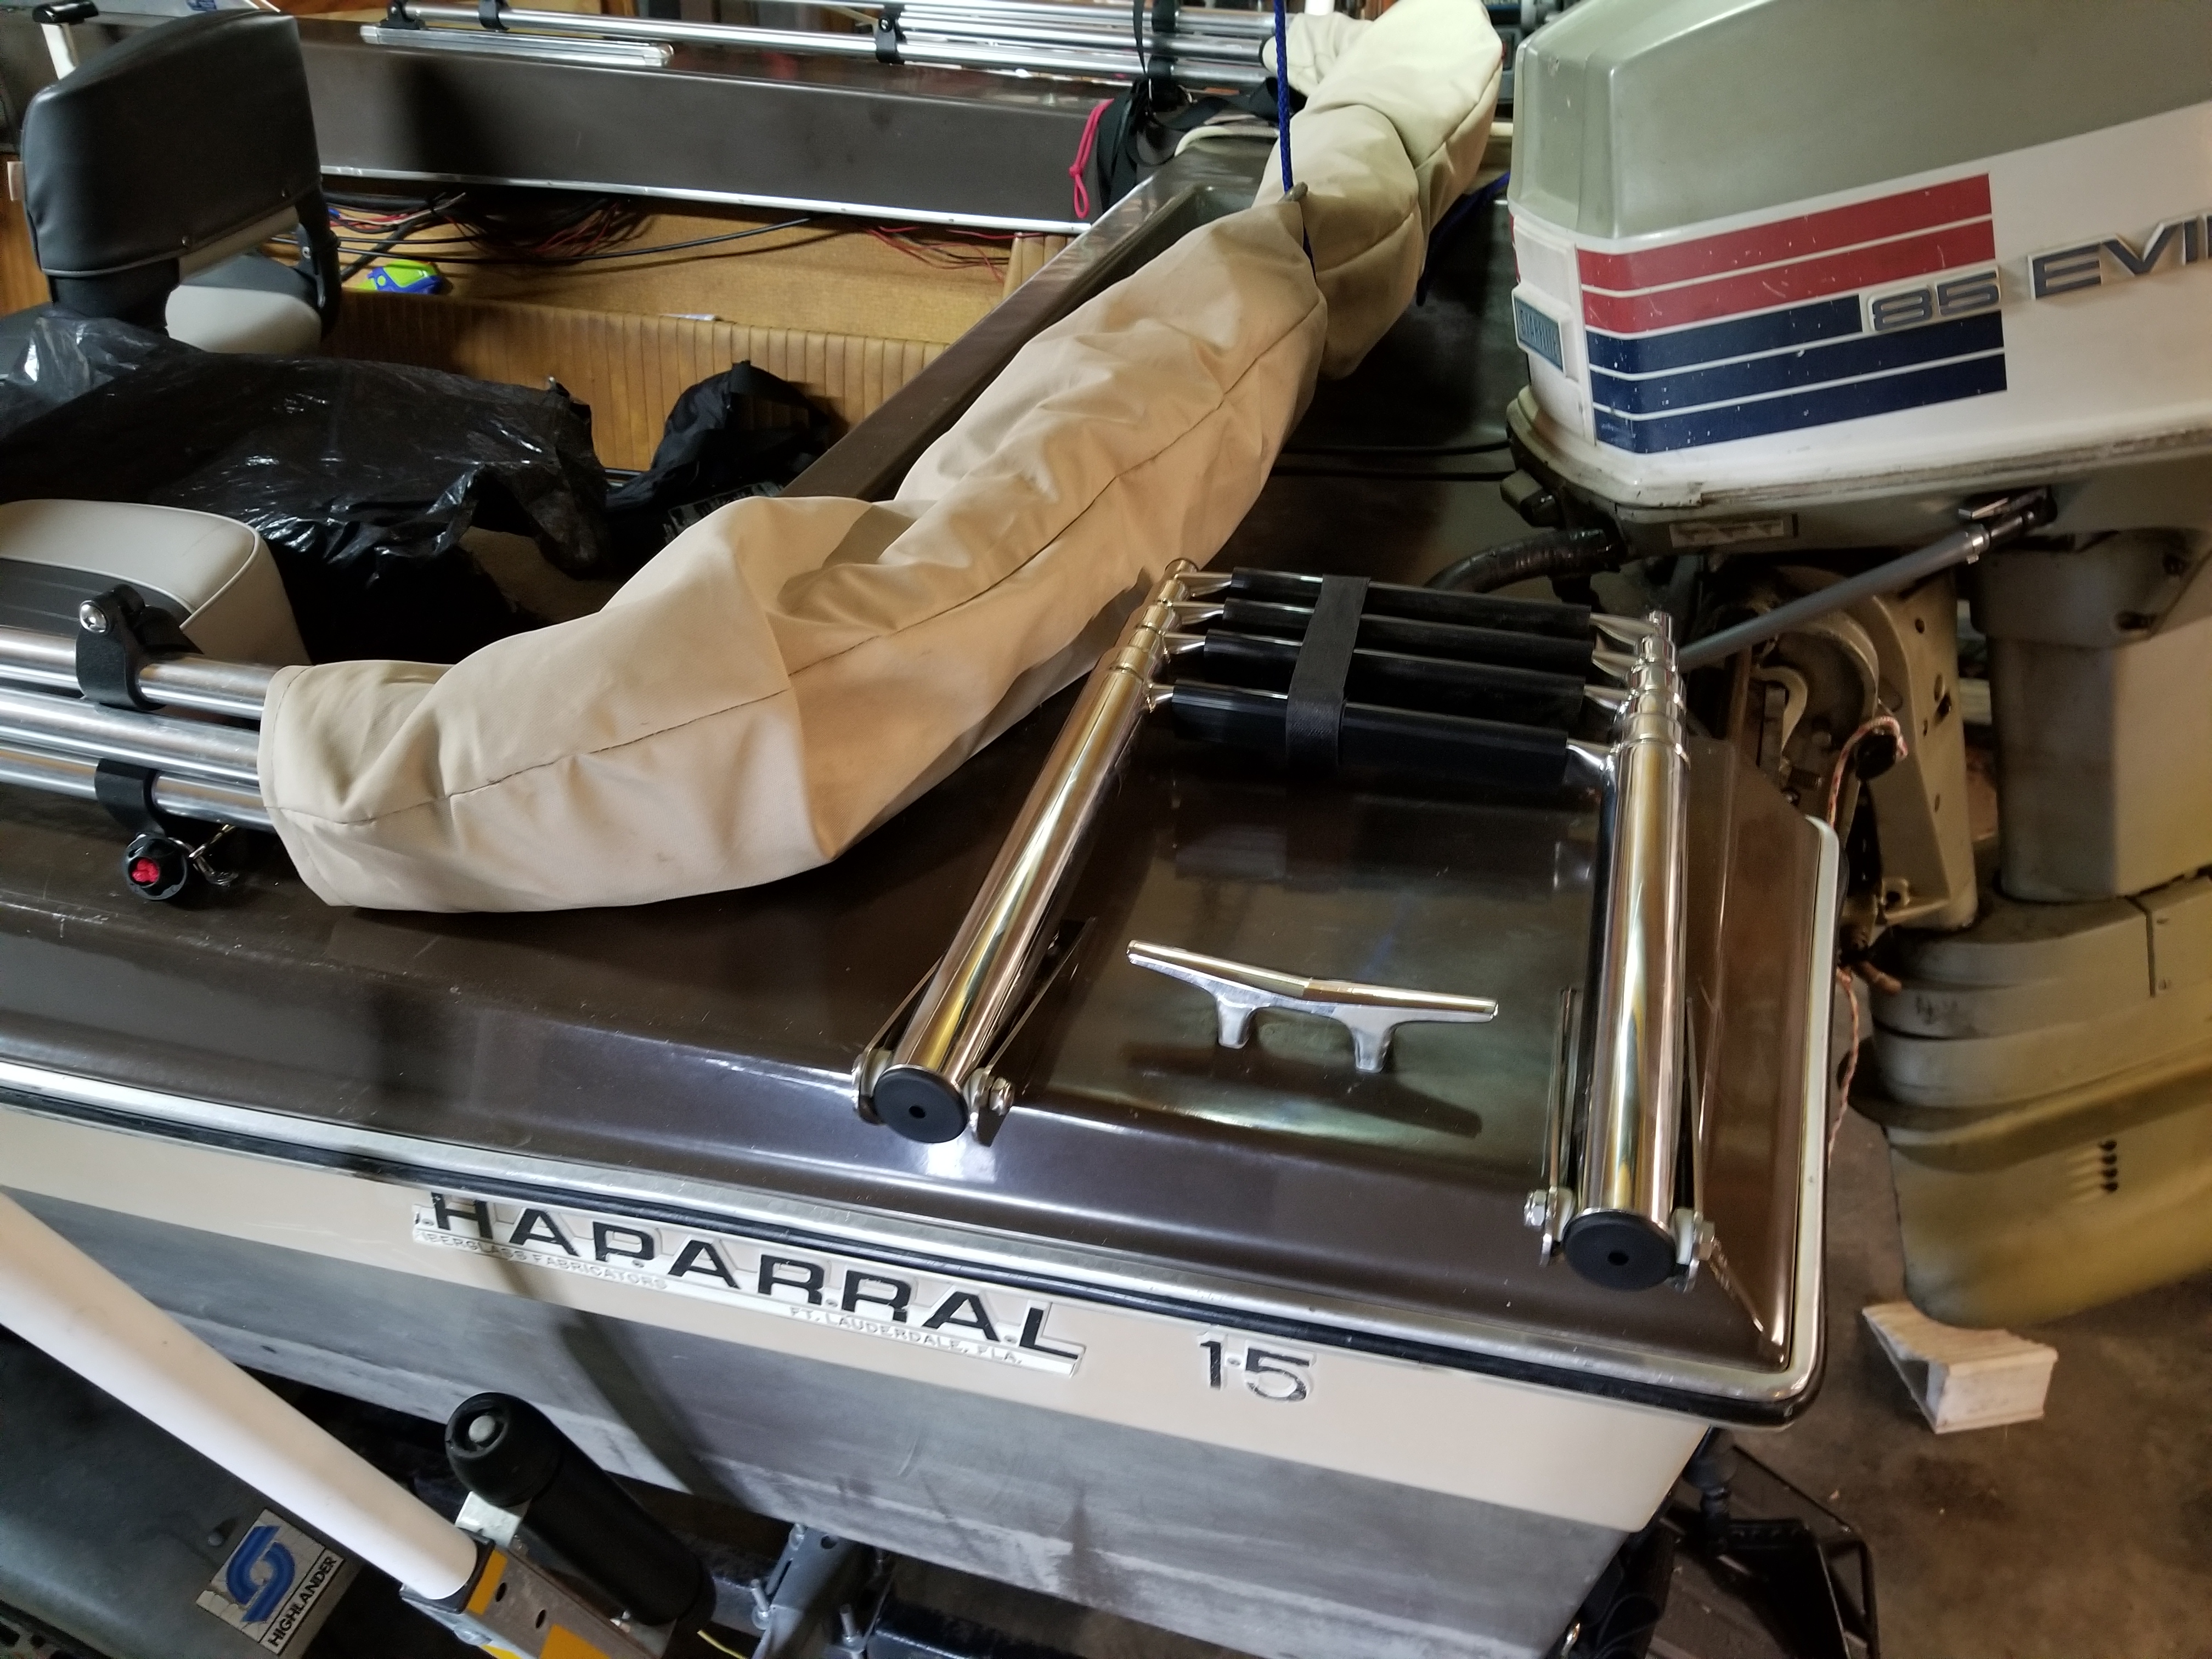
TOPIC: 1973 Chaparral 15

1973 Chaparral 15 7 years 6 months ago #127318

  • ultraclyde
  • ultraclyde's Avatar Topic Author
  • Offline
  • Senior Boarder
  • Senior Boarder
  • Posts: 171
  • Karma: 3
  • Thank you received: 8
I'm giving up and starting this thread in the member projects forum so there aren't a thousand threads on my weekend projects in the main forum. Maybe this way if someone out on the net is searching for info on an old Chaparral 15 they can find some, cause I sure haven't been able to.

First, the recap. I'm just going to link to the other threads I've made, so if you've seen those, don't bother to read them. If not, follow the links and, Gods of the Internet willing, you should still find the info.

Initial purchase write up and condition

Maiden voyage

Bimini top addition

Stranded by dead battery, rectifier replacement

Sanding gel coat oxidation

Forward Trailer Bunks, Steering wheel tilt

...And that brings us up to present. Next post I'll cover what I did this past weekend.

Please Log in or Create an account to join the conversation.

Re:1973 Chaparral 15 7 years 6 months ago #127321

  • ultraclyde
  • ultraclyde's Avatar Topic Author
  • Offline
  • Senior Boarder
  • Senior Boarder
  • Posts: 171
  • Karma: 3
  • Thank you received: 8
While working on the forward trailer bunks last weekend I noticed that the gray, bubble-gum-like patch on the bow keel had started to fall off. This boat has obviously been patched and repaired at the front of the keel, with less than stellar skill. I assume it's been driven by kids and beached regularly for most of it's 40+ years. The repairs were UGLY but seemed watertight. Until I finished removing the gray epoxy and watched water slowly drip out of the hull. SO this weekend I sanded the area and added 3 layers of glass and epoxy resin to questionable area.

The biggest problem is that the PO coated most of the bow with some kind of clear coat that is rubbery, like he brushed on silicone caulk or something. It's peeling now, doesn't sand off easily, and looks like the boat has leprosy. It peels off by hand in little. tiny. pieces.

I peeled enough to get he new resin on. The rest will have to wait. It's ugly but doesn't affect the boat function. If I ever decide to make the boat look nice, though, all of it will have to come off before painting. Yech.

The leprosy


Set up my fiberglass work station


After MUCH sanding and peeling of rubbery coating,I brushed epoxy on the hull, then soaked three strips of glass and applied them to the keel. I'm kind of new to fiberglass, but I've found the best way to minimize sanding after an epoxy coat is to cover the repair with a layer of lightweight nylon ripstop material and smooth out the air bubbles. It's cheap at the local fabric store. Once the resin cures you can peel the stuff right off. It gives you a nice smooth finish with a slight texture that sands out and gives the next layer some tooth to adhere to. Then I finish it with a brush thin layer of epoxy. Long term I'll scuff that and give it a gel coat top once I know it's not leaking.

I smoothed a big piece of ripstop over it and taped that to the hull, then worked out the air bubbles which are easily visible through the fabric. Once that cured overnight I peeled off the cloth, sanded it with 220 grit and brushed on another coat of epoxy.

Finished patch:


The clossy clear area at the keel is the cured last top coat of epoxy. The frosted area above it is the rough sanded section. I'll probably go back and sand all this with some 400 grit just to knock the gloss off the shiny and smooth some of the rough-sand frosting, but that will be after a water test. Honestly, that's just cosmetic and with the silicone/whatever on there...it's just going to look like hell for now.


While that was curing I started working on improving access over the bow from the trailer. I'm new enough to boating and this boat in particular that I'm still working out my launch and retrieve mojo. I'd really like to have a way to do that and keep my feet dry in the cooler months. Step one of that was the front trailer bunks which should keep the boat centered when loading, but I also need to build some steps off the trailer up to the bow. The first part of that was to cut some unnecessary height off the winch post. With it cut down I can use it as a final step onto the bow, and it turned out that turning the cut-off piece down and welding it back on worked perfectly.


I slapped a couple coats of rustoleum over the welds, and when it cures I'll add some non-slip tape to the top. Now I just need a wider step on the trailer tongue below...


Another lingering issue was a glove box drawer with no hinge pins. It stayed on pretty well but vibrated on rough water and occasionally fell off on a hard wake impact. It also required 2 hands and some fidgeting to open. I found a couple machine screws that are small enough to just slip into the channel in the extruded aluminum door. I marked their length and then tapped the channel with a ball peen hammer to close it down on the screws. This allows me to run the screws through the remains of the plastic hinge and then screw them into the tightened channel.


Add a couple stacks of electrical tape where the worn out bumpers are, and voila. Working door with no rattle.


Next weekend we'll finally get some cool mornings and highs under 90, so I plan to get her back on the water.

Please Log in or Create an account to join the conversation.

Re:1973 Chaparral 15 7 years 6 months ago #127336

Excellent work so far.

Bob

Please Log in or Create an account to join the conversation.

Re:1973 Chaparral 15 7 years 6 months ago #127373

  • ultraclyde
  • ultraclyde's Avatar Topic Author
  • Offline
  • Senior Boarder
  • Senior Boarder
  • Posts: 171
  • Karma: 3
  • Thank you received: 8
Thanks Bob. I was kind of hesitant to start a thread in the "Members projects" section because it isn't my intention to restore the boat. I bought it cheap to use the heck out of it, but like all old boats it needs some repairs. I figure I might as well document the things I fix in case it helps someone else. I also haven't found much info on the old Chappys, so maybe this will give some other owner some info.

Please Log in or Create an account to join the conversation.

Re:1973 Chaparral 15 7 years 6 months ago #127376

  • Dr.Go!
  • Dr.Go!'s Avatar
  • Offline
  • Contributing Member
  • Contributing Member
  • Posts: 1719
  • Karma: 19
  • Thank you received: 125
I always appreciate when people share their existing conditions and their talented and creative solutions. I have picked up many great tips to keep me moving forward in a more positive direction. One day, "My" restoration will actually be a combination and collection of many "Fiberglassics" member's talents and techniques... so I would like to give all contributing members credit for "my" restoration project as well as a big Thank You. Without all of this help, I am sure I would not be as proud of the potential end result as I think I will be. My talent will be my only "hold back", the information I gather here has been priceless to me!! Hopefully when my project hits the water, I will feel it will be the best that I could do with my limited talent and resources (but abundance of ideas and encouragement from all here at Fiberglassics! SO glad I joined this site.

Please Log in or Create an account to join the conversation.

Dr.Go!

Re:1973 Chaparral 15 7 years 5 months ago #127819

  • ultraclyde
  • ultraclyde's Avatar Topic Author
  • Offline
  • Senior Boarder
  • Senior Boarder
  • Posts: 171
  • Karma: 3
  • Thank you received: 8
I thought I'd come back and give an update on the last round of work after taking the boat out. The steering wheel angle and seat move work great - it's a LOT more comfortable to drive. The new bow bunks on the trailer were fantastic too. Between those and the use of a line to the bow eye in addition to the front side cleat, we loaded the boat easier than ever.

I don't think I mentioned it in the write-up here, but I also changed the winch line from the strap type to a Dyneema line that's rated high enough to hang the entire boat and trailer. This made a big difference too since I didn't have to stop and unwind/rewind the winch to try and keep the strap flat while cranking the boat onto the trailer.

I think I may actually be able to drive the boat onto the trailer with the new setup.

My bow patch seems okay too, I didn't get any water out of the hull when I pulled the plug.

Please Log in or Create an account to join the conversation.

Re:1973 Chaparral 15 7 years 5 months ago #127820

  • 63 Sabre
  • 63 Sabre's Avatar
  • Offline
  • Contributing Member
  • Contributing Member
  • Posts: 4676
  • Karma: 147
  • Thank you received: 167
All good info with good results. When you boat alone, lining up a boat to the trailer can be a real pain. Not mentioning those Tee Nee single spine rigs :angry:

Please Log in or Create an account to join the conversation.

Re:1973 Chaparral 15 7 years 5 months ago #127825

  • ultraclyde
  • ultraclyde's Avatar Topic Author
  • Offline
  • Senior Boarder
  • Senior Boarder
  • Posts: 171
  • Karma: 3
  • Thank you received: 8
yeah, I'm not great at handling the boat yet and the weather's warm so we've been hand lining it on. I've got side roller guides at the back but I'd like to upgrade to long side bunks to keep her in line as I come on.

I'll try to find a confluence of money and time to fab them but it doesn't happen often.

Please Log in or Create an account to join the conversation.

1973 Chaparral 15 6 years 8 months ago #132628

  • ultraclyde
  • ultraclyde's Avatar Topic Author
  • Offline
  • Senior Boarder
  • Senior Boarder
  • Posts: 171
  • Karma: 3
  • Thank you received: 8
Looks like all my old photos that were hosted on Dropbox are now dead links due to a policy change over there. Sorry about that.

Repairs and upgrades progress on the Chaparral, now officially named the Dragonfly. I've replaced the rusty throttle cable, asimple hour-long project that made the boat MUCH more pleasant to use. I also added some Nauticus Smart Tab automatic trim tabs. My first test run with 60lb actuators was unsatisfactory - lots of bow steer as they were forcing the bow down too much. A phone call to Nauticus resulted in them shipping a set of 40lb actuators out for free with the instructions to try them out and decide which set I'd like to keep. I haven't tried them yet, so that will require an update later. Here's a shot of the installed tabs:


I also picked up a backer disc and foam pad for my buffer finally, along with some Meguiar's mirror glaze fine-cut 205 polishing compound. It's not a strong enough abrasive for the heavy oxidation on the hull below the rub rail, but I've done all of the exterior hull above it. Man, it's looking great! not perfect, and not mirror gloss, but damn I'm happy for as little work as I'm actually putting in. I'm finding the process very zen too. Here's a shot of the bow as I was going to work this morning:


I should get a bottle of heavy-cut glaze in today and start working the lower hull as I have time along with the interior surfaces. I can't wait to wheel her out in the sun all shiny!

Please Log in or Create an account to join the conversation.

1973 Chaparral 15 6 years 8 months ago #132849

  • ultraclyde
  • ultraclyde's Avatar Topic Author
  • Offline
  • Senior Boarder
  • Senior Boarder
  • Posts: 171
  • Karma: 3
  • Thank you received: 8
More minor projects. I added a mount on the dash for my cell phone so I can use it as GPS navigation on the water. Not a big deal for lake running, but it gets to be pretty critical running the coastal areas. This mount is from RAM. It's an X-Grip Standard with the optional flat mount. These things are unbelievably sturdy and don't move once you lock them down. They're available with a lot of different mount options, I chose the flat mount that screws to the top of the dash.

Had to remove the windshield to have room to drill the holes.


The mount is plenty adjustable, so I set it to hold the phone even with my fish/depth finder:


Here it is with the nav running. I'm using Navionics USA which works beautifully and costs me $10/year.


Looking pretty sweet with GPS nav, Fish/depth finder, magnetic compass, and the white box on the right holds my VHF. If I'm running around the salt marshes with family I like to have back ups to my back ups.

I also noticed my bow eye was bent last time I loaded her on the trailer. I ordered a replacement and made a backer plate out of some scrap stainless - something the factory piece didn't have. Sure enough when I pulled the factory piece one stud was so rusty it broke off and the other was 1/3 thinner than it should have been. This new piece should be stronger than the boat itself:


Bolted it down and bedded it with 3M 4200. Should be good for many years. Now I just need to do the rear ones...
The following user(s) said Thank You: Dr.Go!

Please Log in or Create an account to join the conversation.

1973 Chaparral 15 6 years 8 months ago #132852

  • Dr.Go!
  • Dr.Go!'s Avatar
  • Offline
  • Contributing Member
  • Contributing Member
  • Posts: 1719
  • Karma: 19
  • Thank you received: 125
Nice idea. Let us know if that mount keeps the phone in place after a day on the water. Might consider that with a good test report from a fellow boater...and thanks for reminding me that I need to crawl under my bow because of loose bow eye. I better do that BEFORE I eat a lunch or supper! I like your back-up plate. I think I will add one as well for added insurance. Thanks for tips and pictures!

Please Log in or Create an account to join the conversation.

Dr.Go!

1973 Chaparral 15 6 years 8 months ago #132864

  • ultraclyde
  • ultraclyde's Avatar Topic Author
  • Offline
  • Senior Boarder
  • Senior Boarder
  • Posts: 171
  • Karma: 3
  • Thank you received: 8
The mount has a silicone web thing that wraps over the corners of the phone in addition to the spring arms. Before mounting it I put the phone in it and shook it as hard as I could. Joints didn't move and the phone was rock solid. They designed this mount for putting a phone on a motorcycle, so I have high hopes. Of course my tow vehicle is down for at least 2 weeks, so no real world testing for a while.

Please Log in or Create an account to join the conversation.

1973 Chaparral 15 6 years 7 months ago #133445

  • ultraclyde
  • ultraclyde's Avatar Topic Author
  • Offline
  • Senior Boarder
  • Senior Boarder
  • Posts: 171
  • Karma: 3
  • Thank you received: 8
I'm back with some updates on the phone mount and the trim tabs.

The phone mount is freaking awesome. You get a little bit of movement bouncing over wakes, but under normal running it's rock steady. I don't see any chance of dropping the phone and I haven't even been using the silicone restrainer web, just the spring arms.

The tabs get a less stellar review so far. I started with the 60lb actuators which were WAY too stiff. Although they certainly made the boat stay flat coming on plane and lowered the speed at which I can plane, they caused serious bow steer and even some prop cavitation. I called the manufacturer and they were perfectly happy to ship me a set of 40lb actuators. They said just keep both sets and try them out on the lake, then ship back whichever one you don't want. They were excellent about it.

After a couple of tests the 40lb set works much better but not perfect. I'm still getting some bow steer. This boat has a very pronounced center V that sticks out more than your average V-hull, and it has a tendency to bow steer anyway. I suspect that the tabs and the actuators as I have them now would be ideal on a normal V-hull of similar size to my boat, but I'm still not happy with them on mine. My next step is to reduce the downward angle of the tabs. They are factory set to point down at a 25* angle. I made some brackets so that I can adjust this angle up 0* so that they are in line with the hull bottom surface. My thought here is that running them flat to the hull should give me little to no downforce when running on plane, but still dig in a little as the boat pivots around the transom coming up on plane and provide a longer effective waterline past the prop for a little more on-plane stability. We'll see once I get some testing in.

My other little project was to install a swim ladder. One of my goals with this boat was to be able to swim off it at the lake, but it's taken me over a year to figure out how to mount a usable ladder without getting in the way of other stuff. Small boat problems, I guess. I finally settled on an "over platform" style fold-up, telescoping ladder that deploys to the side of the boat. I found this A-marine Made brand ladder on eBay for $57 shipped, as opposed to $75 on Amazon. This brand is well reviewed but there are several cheap Chinese ones that all look identical. The ladder is heavy and well built, I'm pretty impressed for the money. IT doesn't include fastener hardware so I grabbed some 5/16" stainless bolts, stop nuts, and fender washers from Lowe's. I also made a couple backer plates from stainless scrap. I'm a heavy SOB and I didn't want to chance it breaking out of the glass.

Before:


Backing plates drilled and layed out


Installed and deployed:


And the stowed position with bimini in same:

Please Log in or Create an account to join the conversation.

  • Page:
  • 1
Time to create page: 0.219 seconds

Donate

Please consider supporting our efforts.

FG Login

Glassified Ads

1975 16ft Cobalt
( / Boats)

1975 16ft Cobalt
03-27-2024

Homelie/Bearcat
( / Engines)

noimage
03-17-2024

Thunderbird Apache 1956 hardtop
( / Boats)

noimage
03-10-2024

FiberGoogle

Who's Online

We have 7270 guests and one member online