Welcome, Guest
Username: Password: Remember me
  • Page:
  • 1

TOPIC: Painting the Wrap

Painting the Wrap 13 years 1 week ago #50411

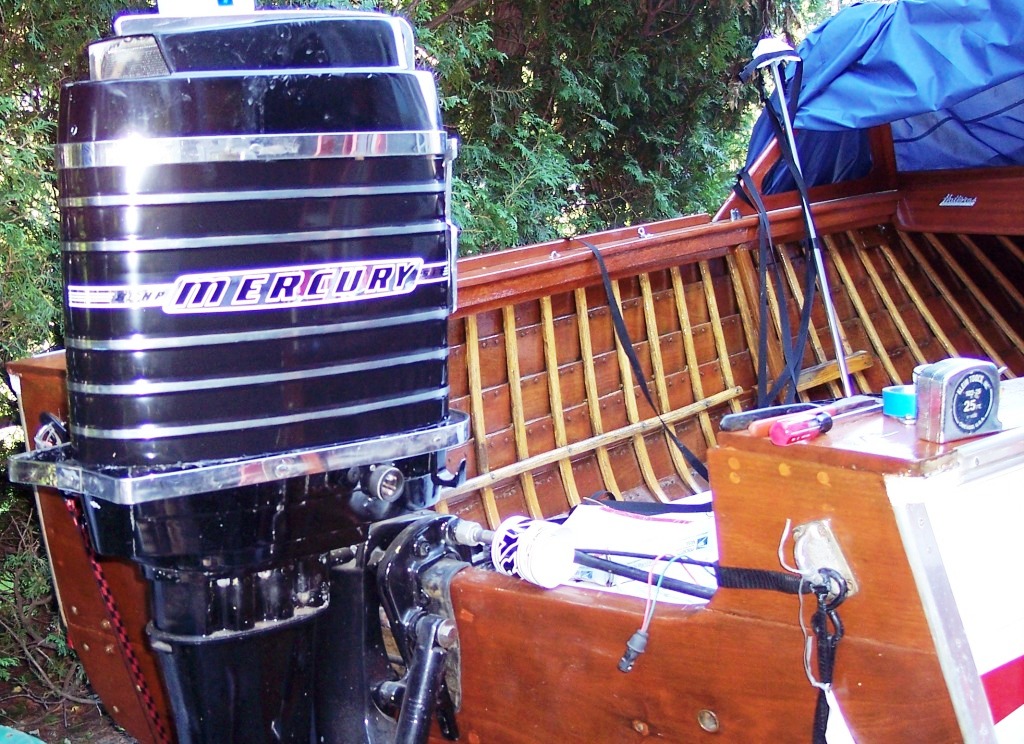
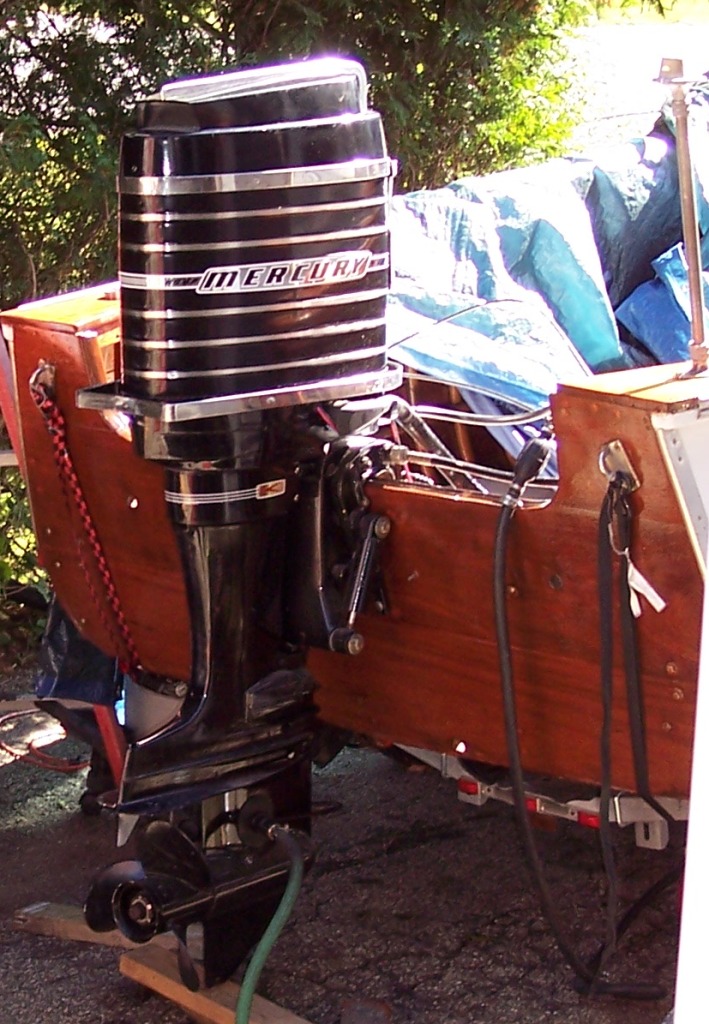
Anyone among us that has painted their cowl wrap? How did you go about it? Remove the decals of course. But then did you tape off the unpainted 'bands' being oh so meticulous then paint, or some other way. Did you polish the stainless bands first then tape & paint? Or did you just beg Doc Frank for an NOS wrap (still in the packing plastic of course. For Free of Course). I suppose its the tape and spray, but I figured I'd ask.

PS.... did you know that tack rags leave a residue that causes paint to bubble? I do now........

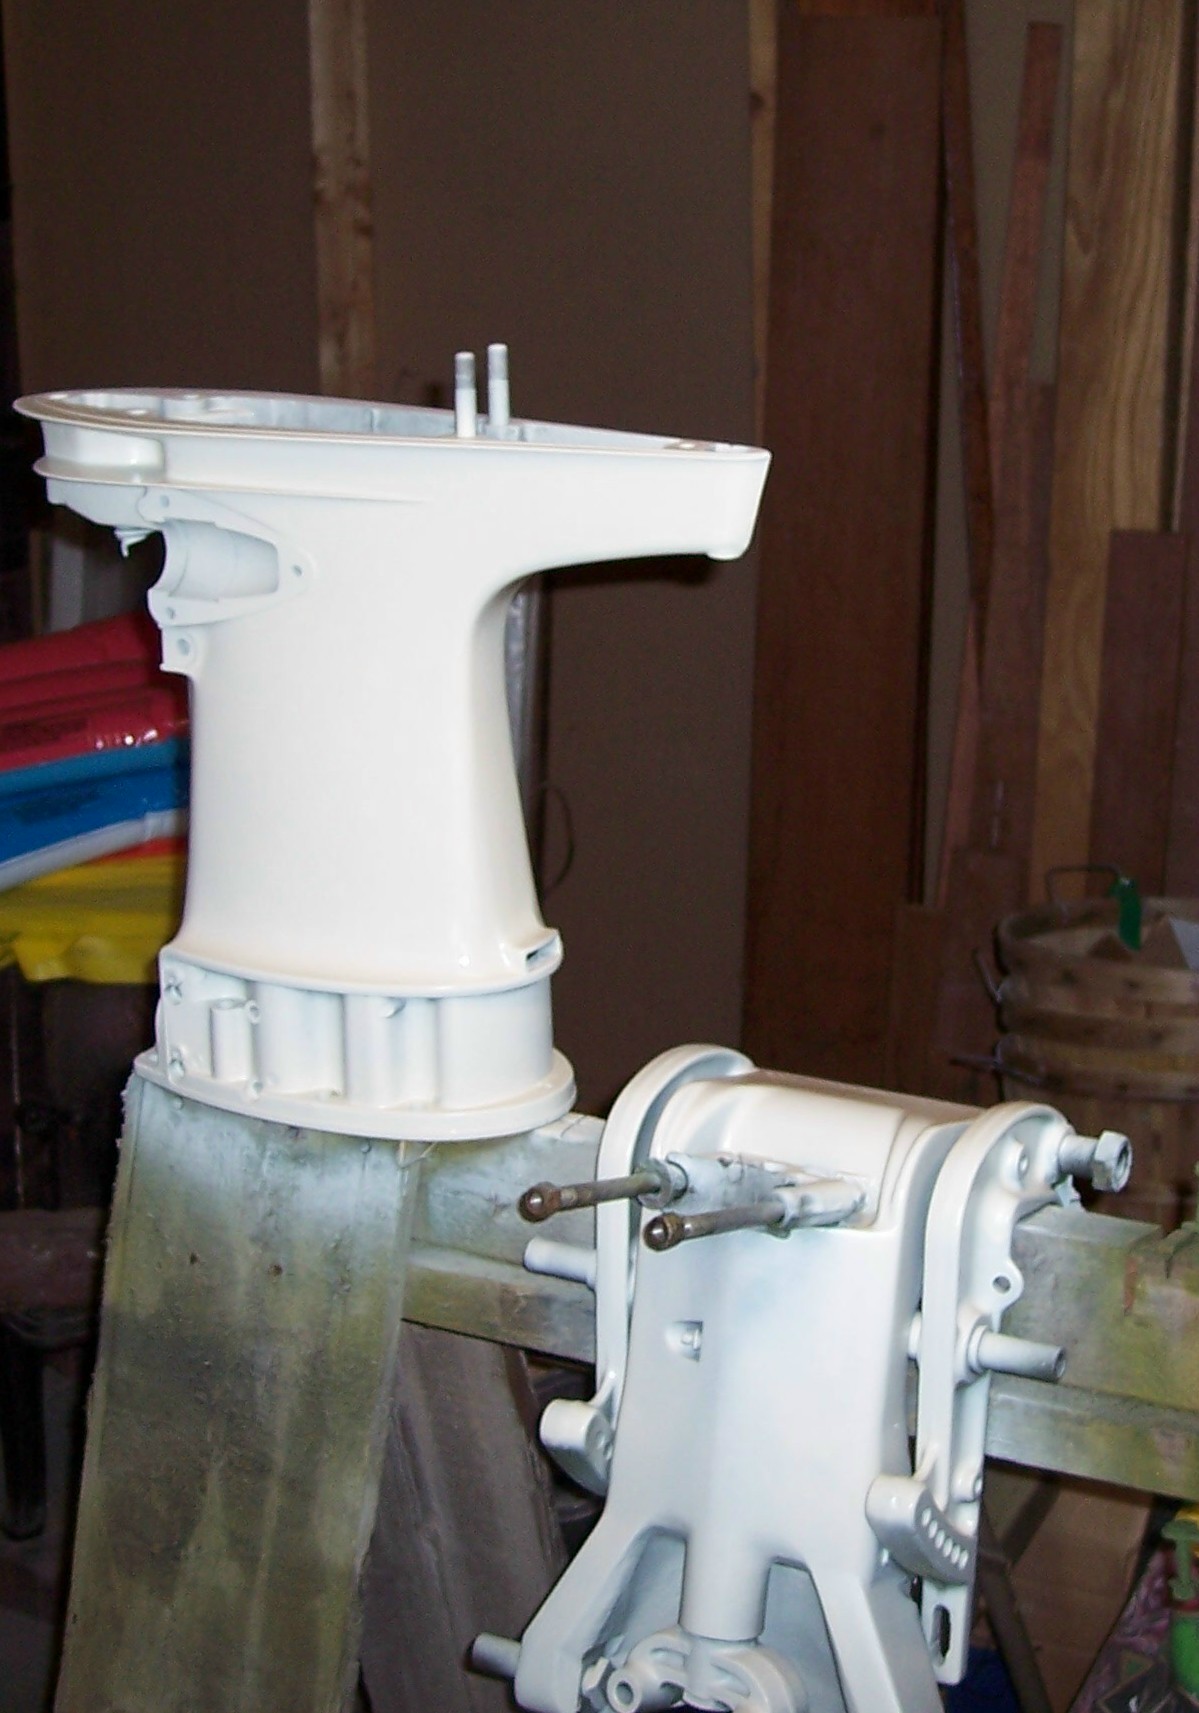
And here is my tip of the day for painting the mid. Bolt it to a piece of plywood. Frees up both hands to work on the piece and then you stand it up for painting.


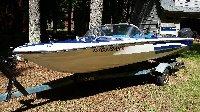
and then there is the gratuitous cool old hull


Can you tell I don't want to go to work?

Please Log in or Create an account to join the conversation.

Re:Painting the Wrap 13 years 1 week ago #50418

  • g3jim
  • g3jim's Avatar
  • Offline
  • Platinum Boarder
  • Platinum Boarder
  • Posts: 1009
  • Karma: -27
  • Thank you received: 0
strip the cowl, polish/clean up where bare metal is to be, mask prime and paint. Basically what i did on the 850 cowl.
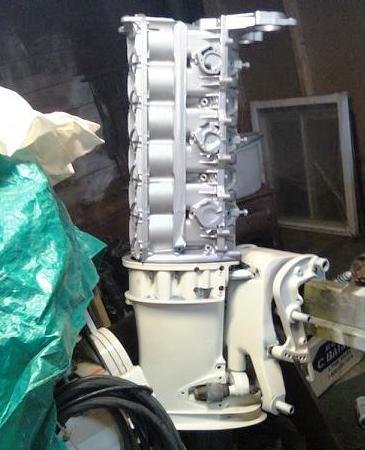
That is a painfully cool old lapstrake Peter. I like the idea of the plyboard for painting too. I hung the mid and its parts for the Merc 800
Attachments:

Please Log in or Create an account to join the conversation.

Re:Painting the Wrap 13 years 1 week ago #50438

Peter:

We hang everything to paint, much easier getting all areas covered.

If tha paint on the wrap is in decent shape you should be able to wet sand it down with like four hundred wet. If it is not in good shape strip the paint. What we do is take the high spots of the wrap that are not a painted area and sand with eighty grit dry paper going in one direction, this makes the brushed look back to the stainless. We mask of the high areas in 1/4 inch fine line tape, prime the wrap, remove the tape sand with 600 wet to get the primer smooth, re-mask the high areas in 1/4 fine line tape, paint the black on the wrap, pull the fine line off then clear coat the entire wrap. The clear coat then protects the edges of the black from pealing.


Darrell

Please Log in or Create an account to join the conversation.

Re:Painting the Wrap 13 years 1 week ago #50442

  • 63g3
  • Offline
  • Contributing Member
  • Contributing Member
  • Posts: 465
  • Karma: 62
  • Thank you received: 2
Hi,
Here is what I do,
If the paint is good, no crazing then wet sand with 320 to scuff it and blend any paint chips. I also do the raised areas this way in one direction to give the final finish on the raised bare ribs. if paint is bad, strip it, no other way. Decals can be done with heat, sometimes you just have to sand what is remaining down to bare in this area.
I mask the ribs with 1/4 inch fine line tape. I prime lightly with black primer where painted and a little thicker where bare is showing. I let it sit and denub with 400 when dry, if I sand through anywhere I locally prime and let it sit for 20 to 30 min, primer drys quick. I then pull the tape off and kiss the rib tops with 320 using my finger, same direction as before. I then mask the ribs again and start painting. When painting is done I wait a few hours for it to set up and pull the tape...very carefully. I find this does not tear the paint away.
After letting it stand for a week I take 400 to 600 grit and very carefully hit the paint edges using my finger across the rib top to eliminate the "ridge" then I'll hand buff these areas with 3M finess-it compound to bring gloss back. This gets it pretty close to original look.
Lot's of ways to do it, all good advice here.
For what it is worth I generally hang parts to paint. The wrap I drape on a board at about eye level.
Randy

Please Log in or Create an account to join the conversation.

Re:Painting the Wrap 13 years 1 week ago #50477

Thanks guys! Excellent feedback! Hope to be posting pics soon of the painted pieces.....

Well, not the cowl, that will be later

Please Log in or Create an account to join the conversation.

  • Page:
  • 1
Time to create page: 0.182 seconds
Donate

Please consider supporting our efforts.

Glassified Ads

1967 23 ft powercat flybridge
( / Boats)

noimage
11-17-2024

Mercury outboard
( / Engines)

noimage
11-03-2024

Classic Mercury Outboard Motors
( / Engines)

Classic Mercury Outboard Motors
10-18-2024

FG Login

FiberGoogle

Who's Online

We have 5716 guests and one member online